Applications in the automotive industry
Functional requirements for technical surfaces are constantly increasing in the automotive industry. These include: reducing noise, reducing friction, and guaranteed 100 percent measurements. There is also pressure to reduce production costs. Scattered light technology is ideally suitable to target all these factors in the automotive industry. The new roughness parameter Aq (recommended in VDA 2009) reacts particularly well to frictional properties. By simultaneously measuring waviness, the technology can track faulty components which could cause noise emissions.
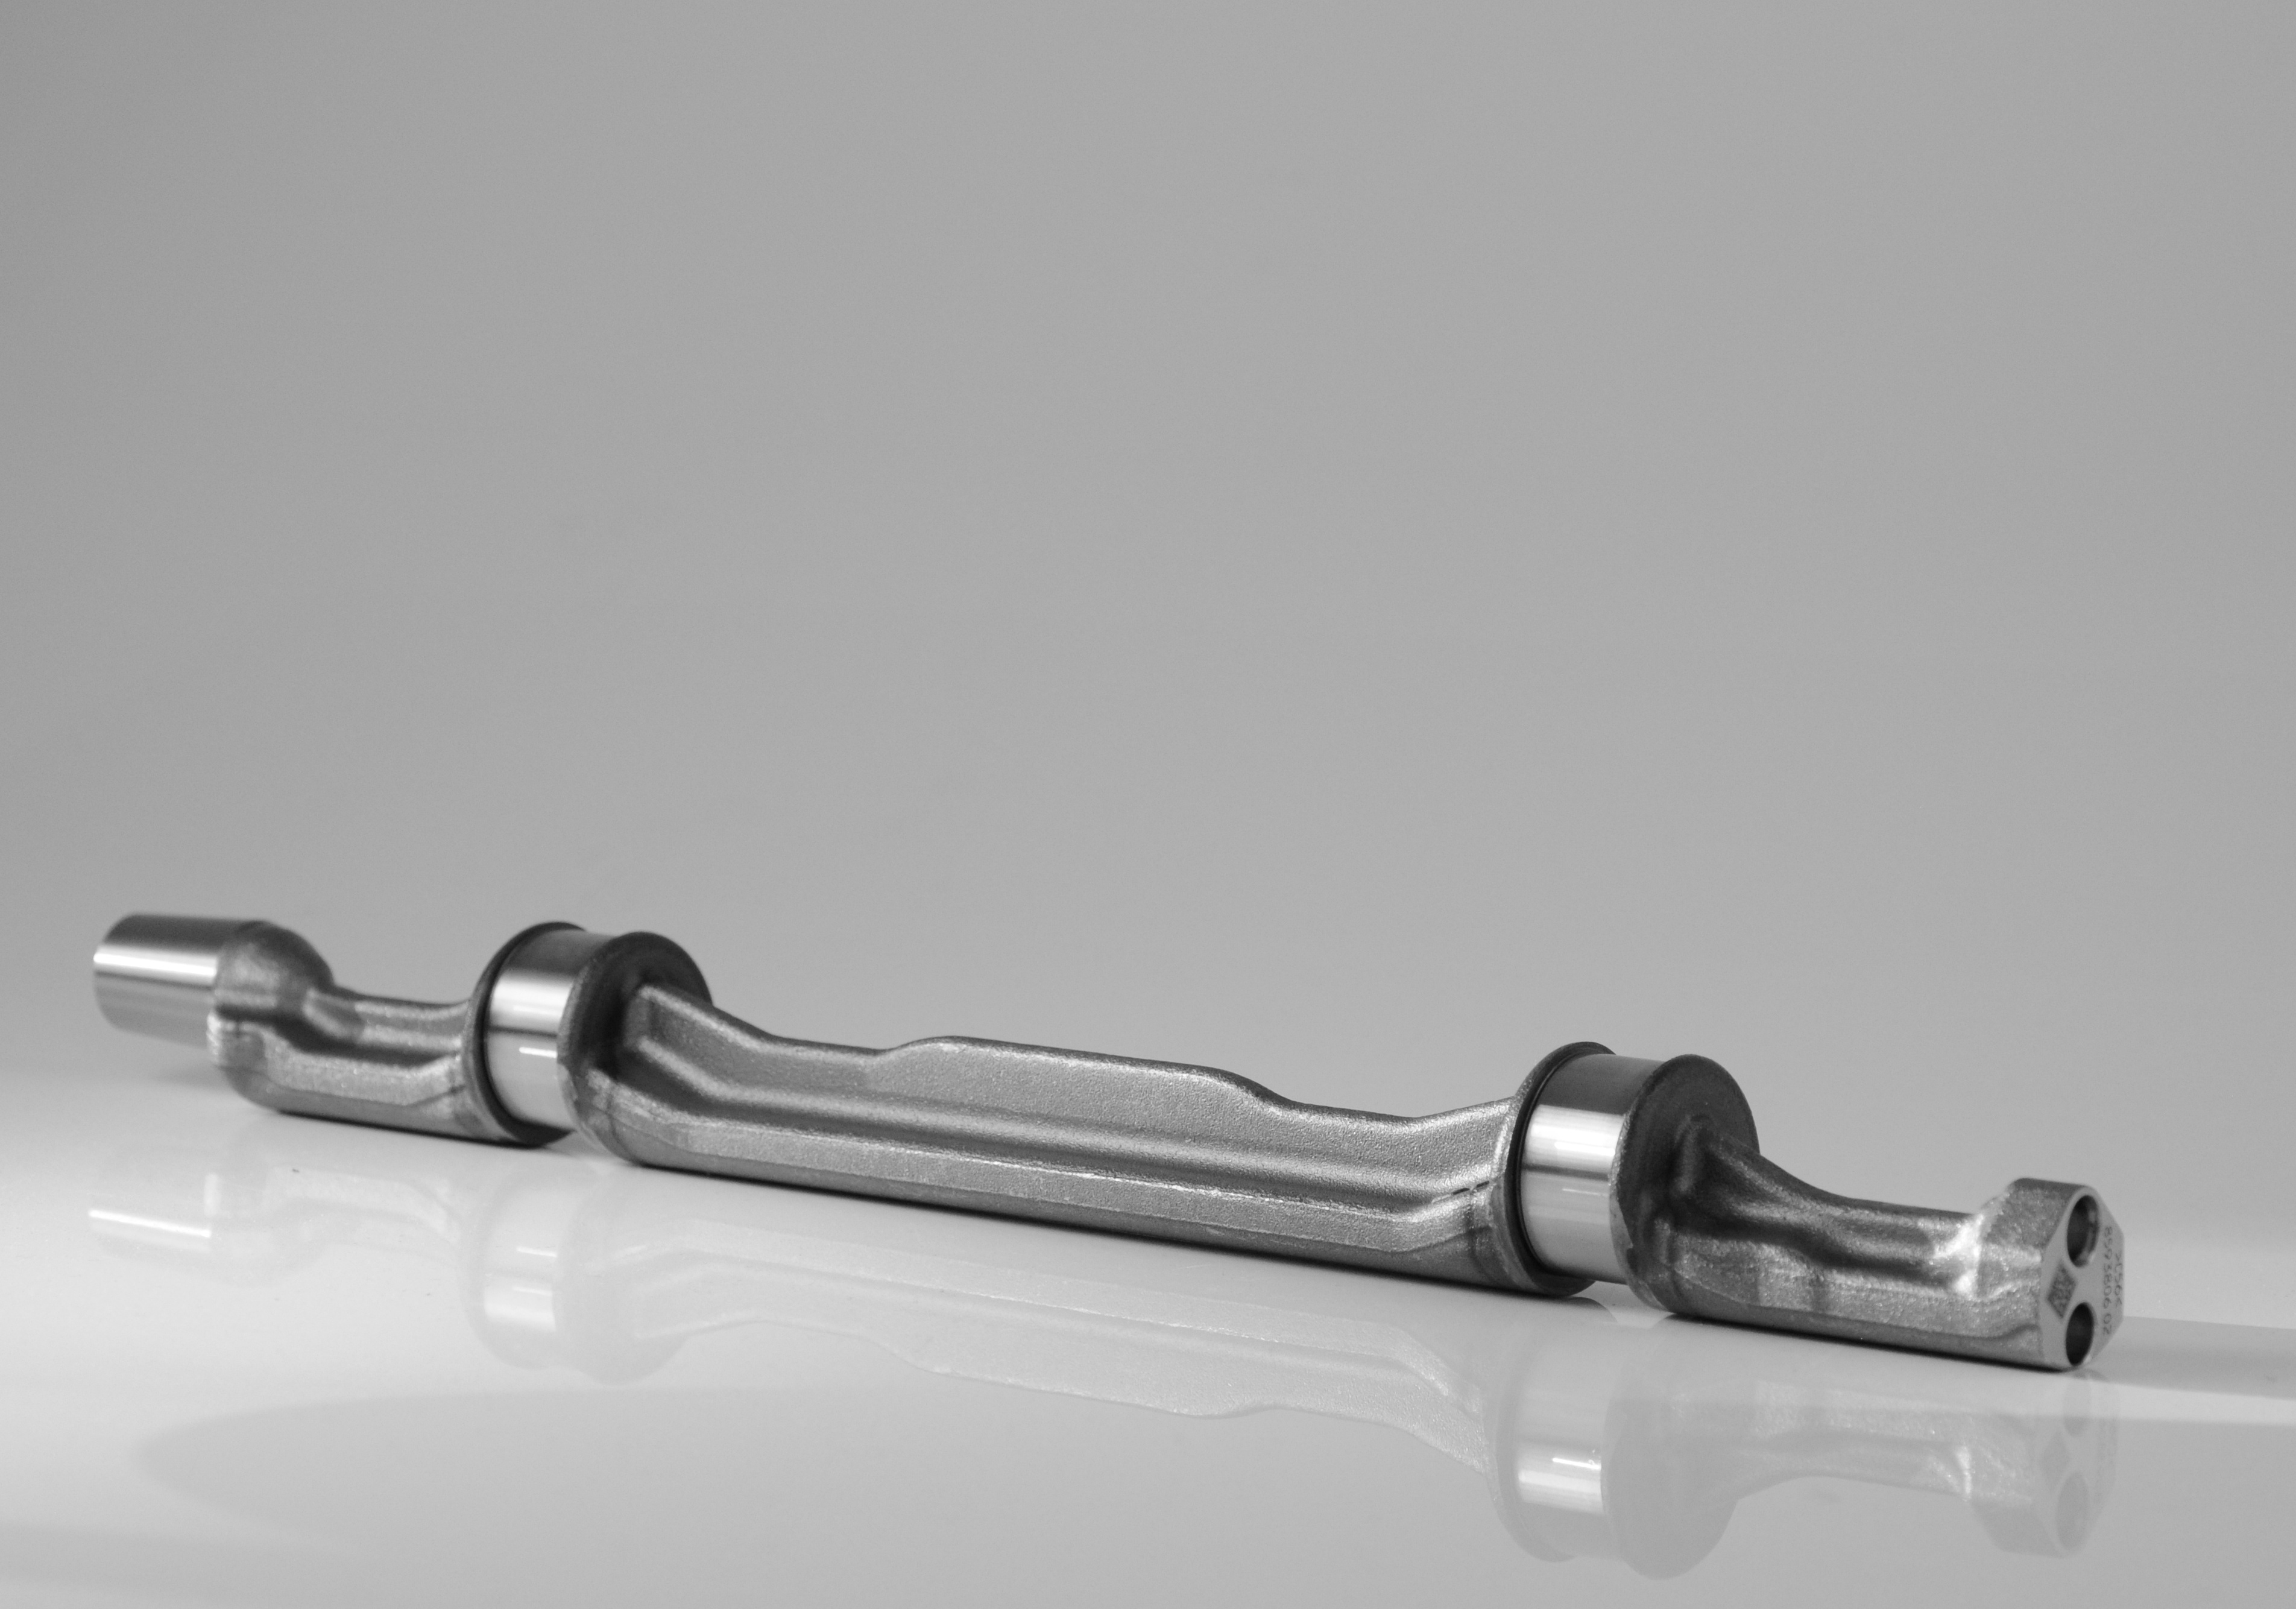
Balance shafts
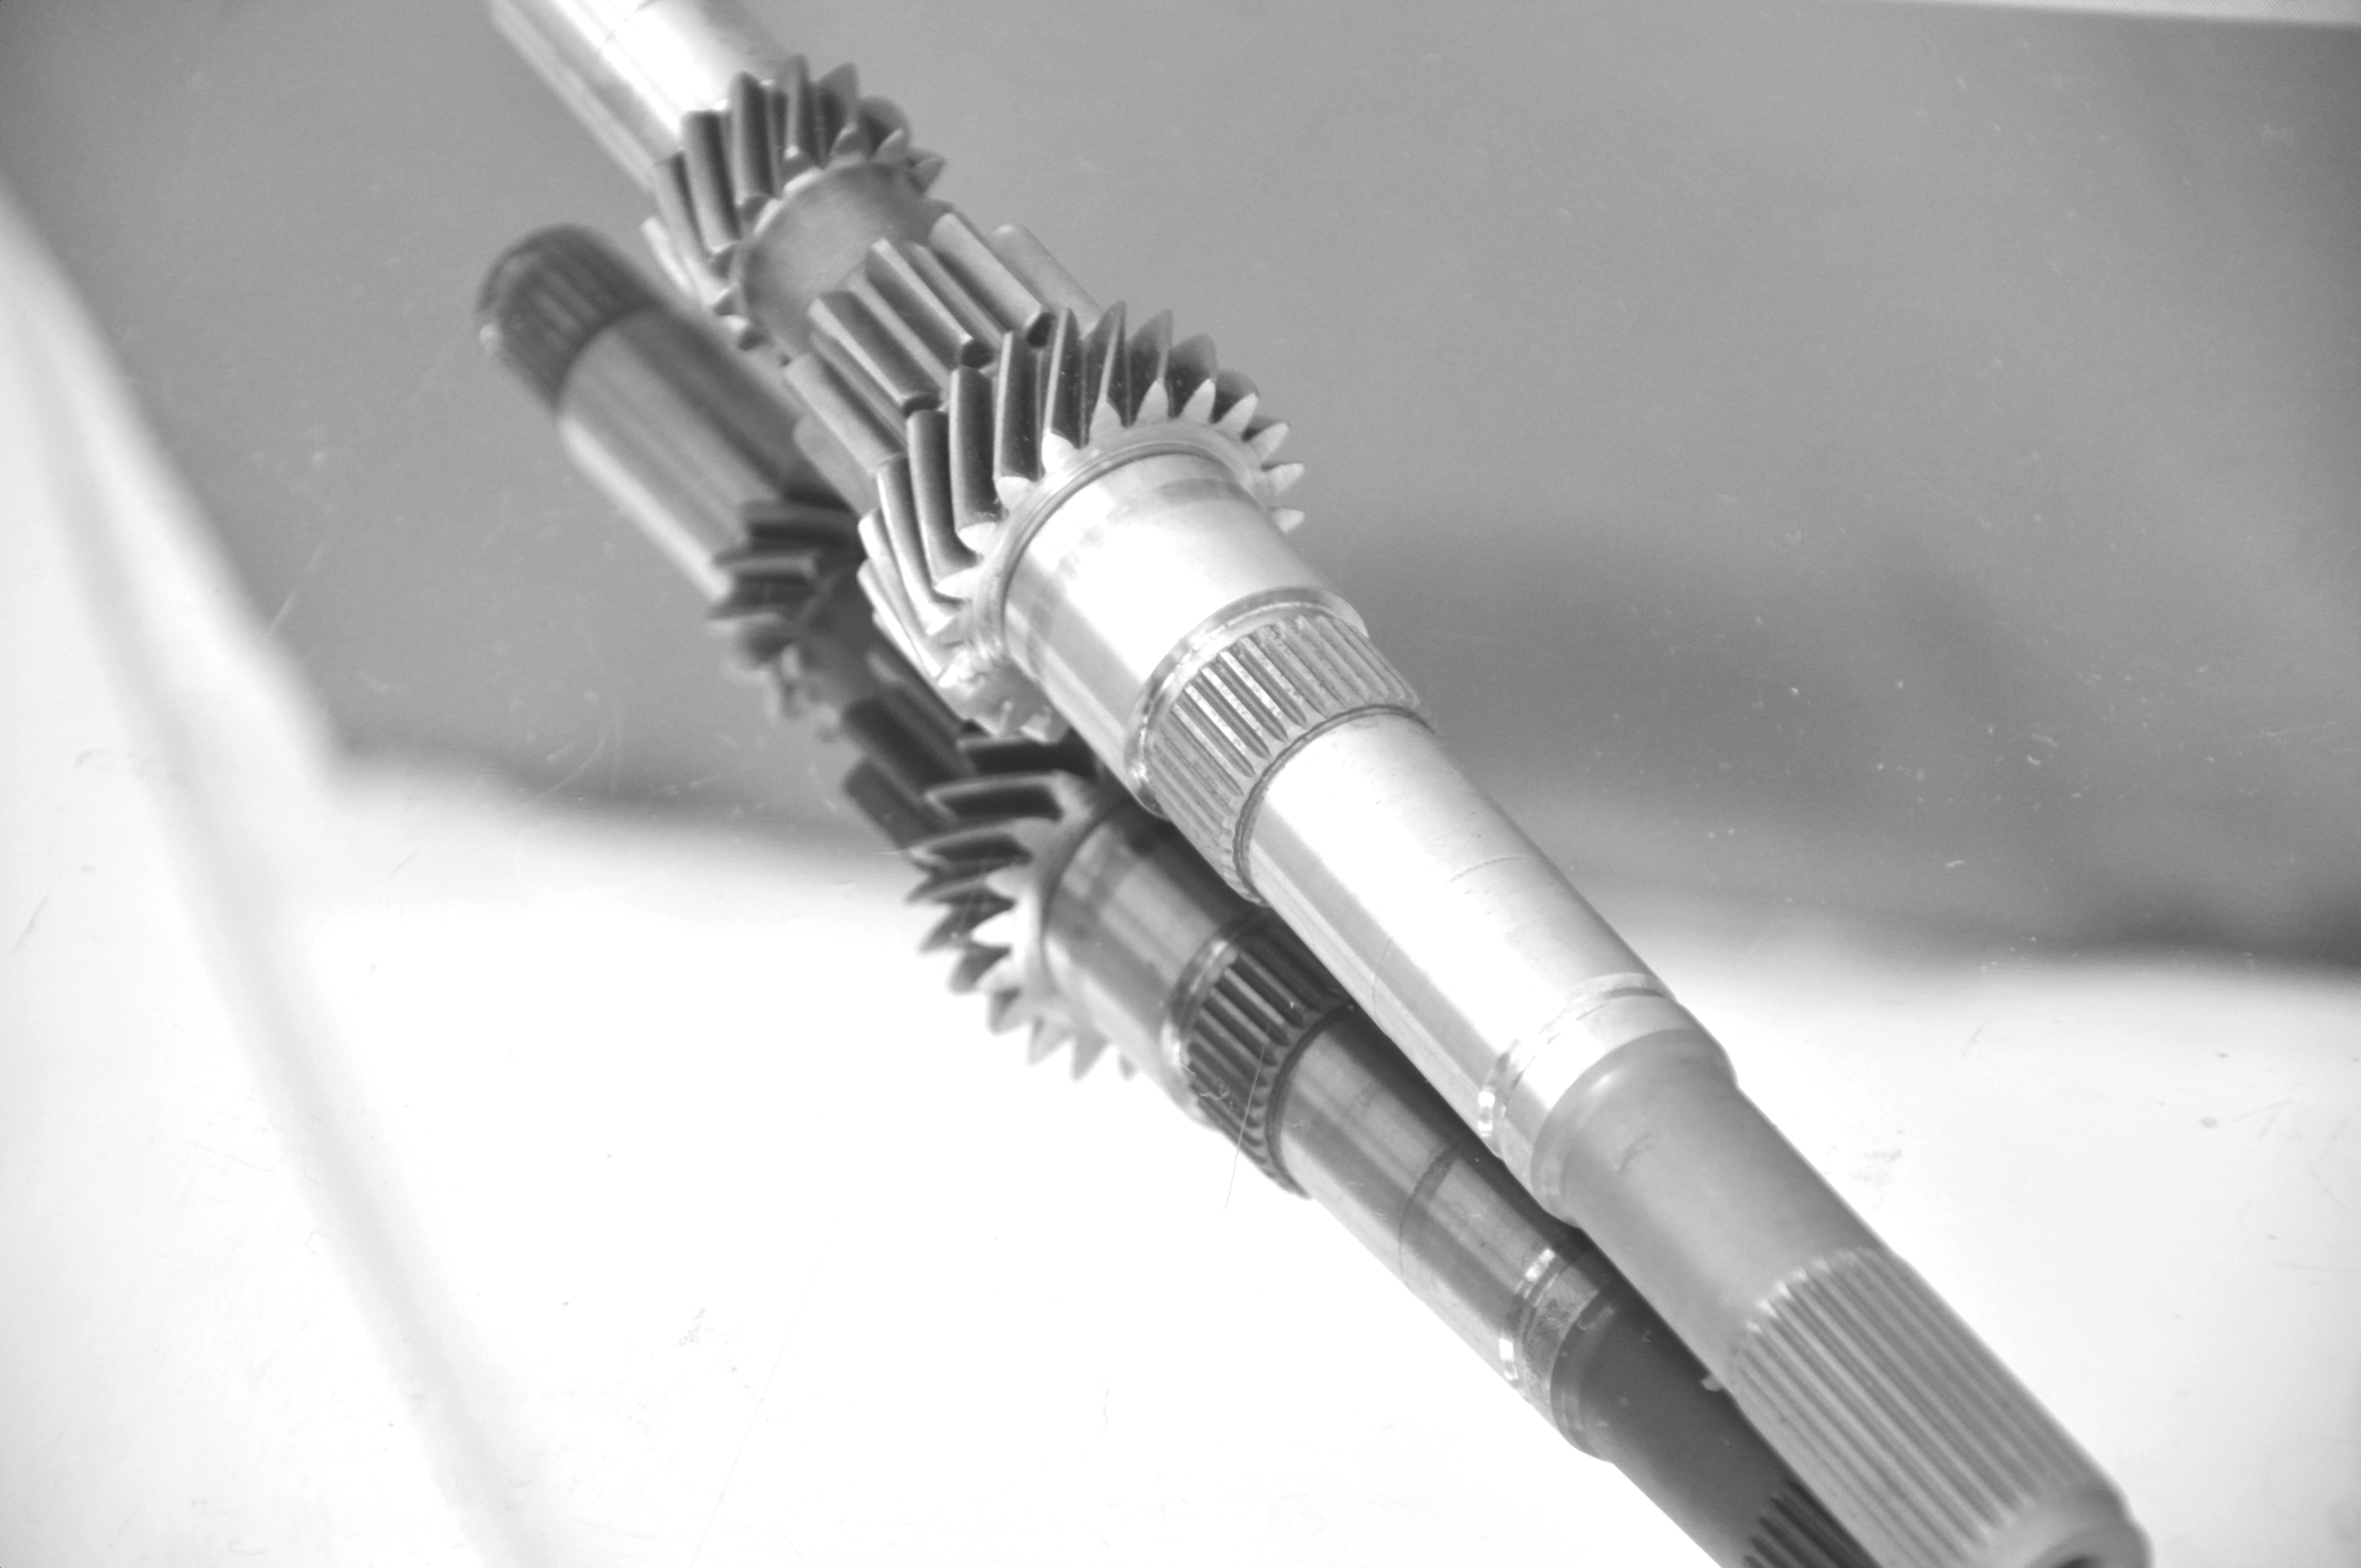
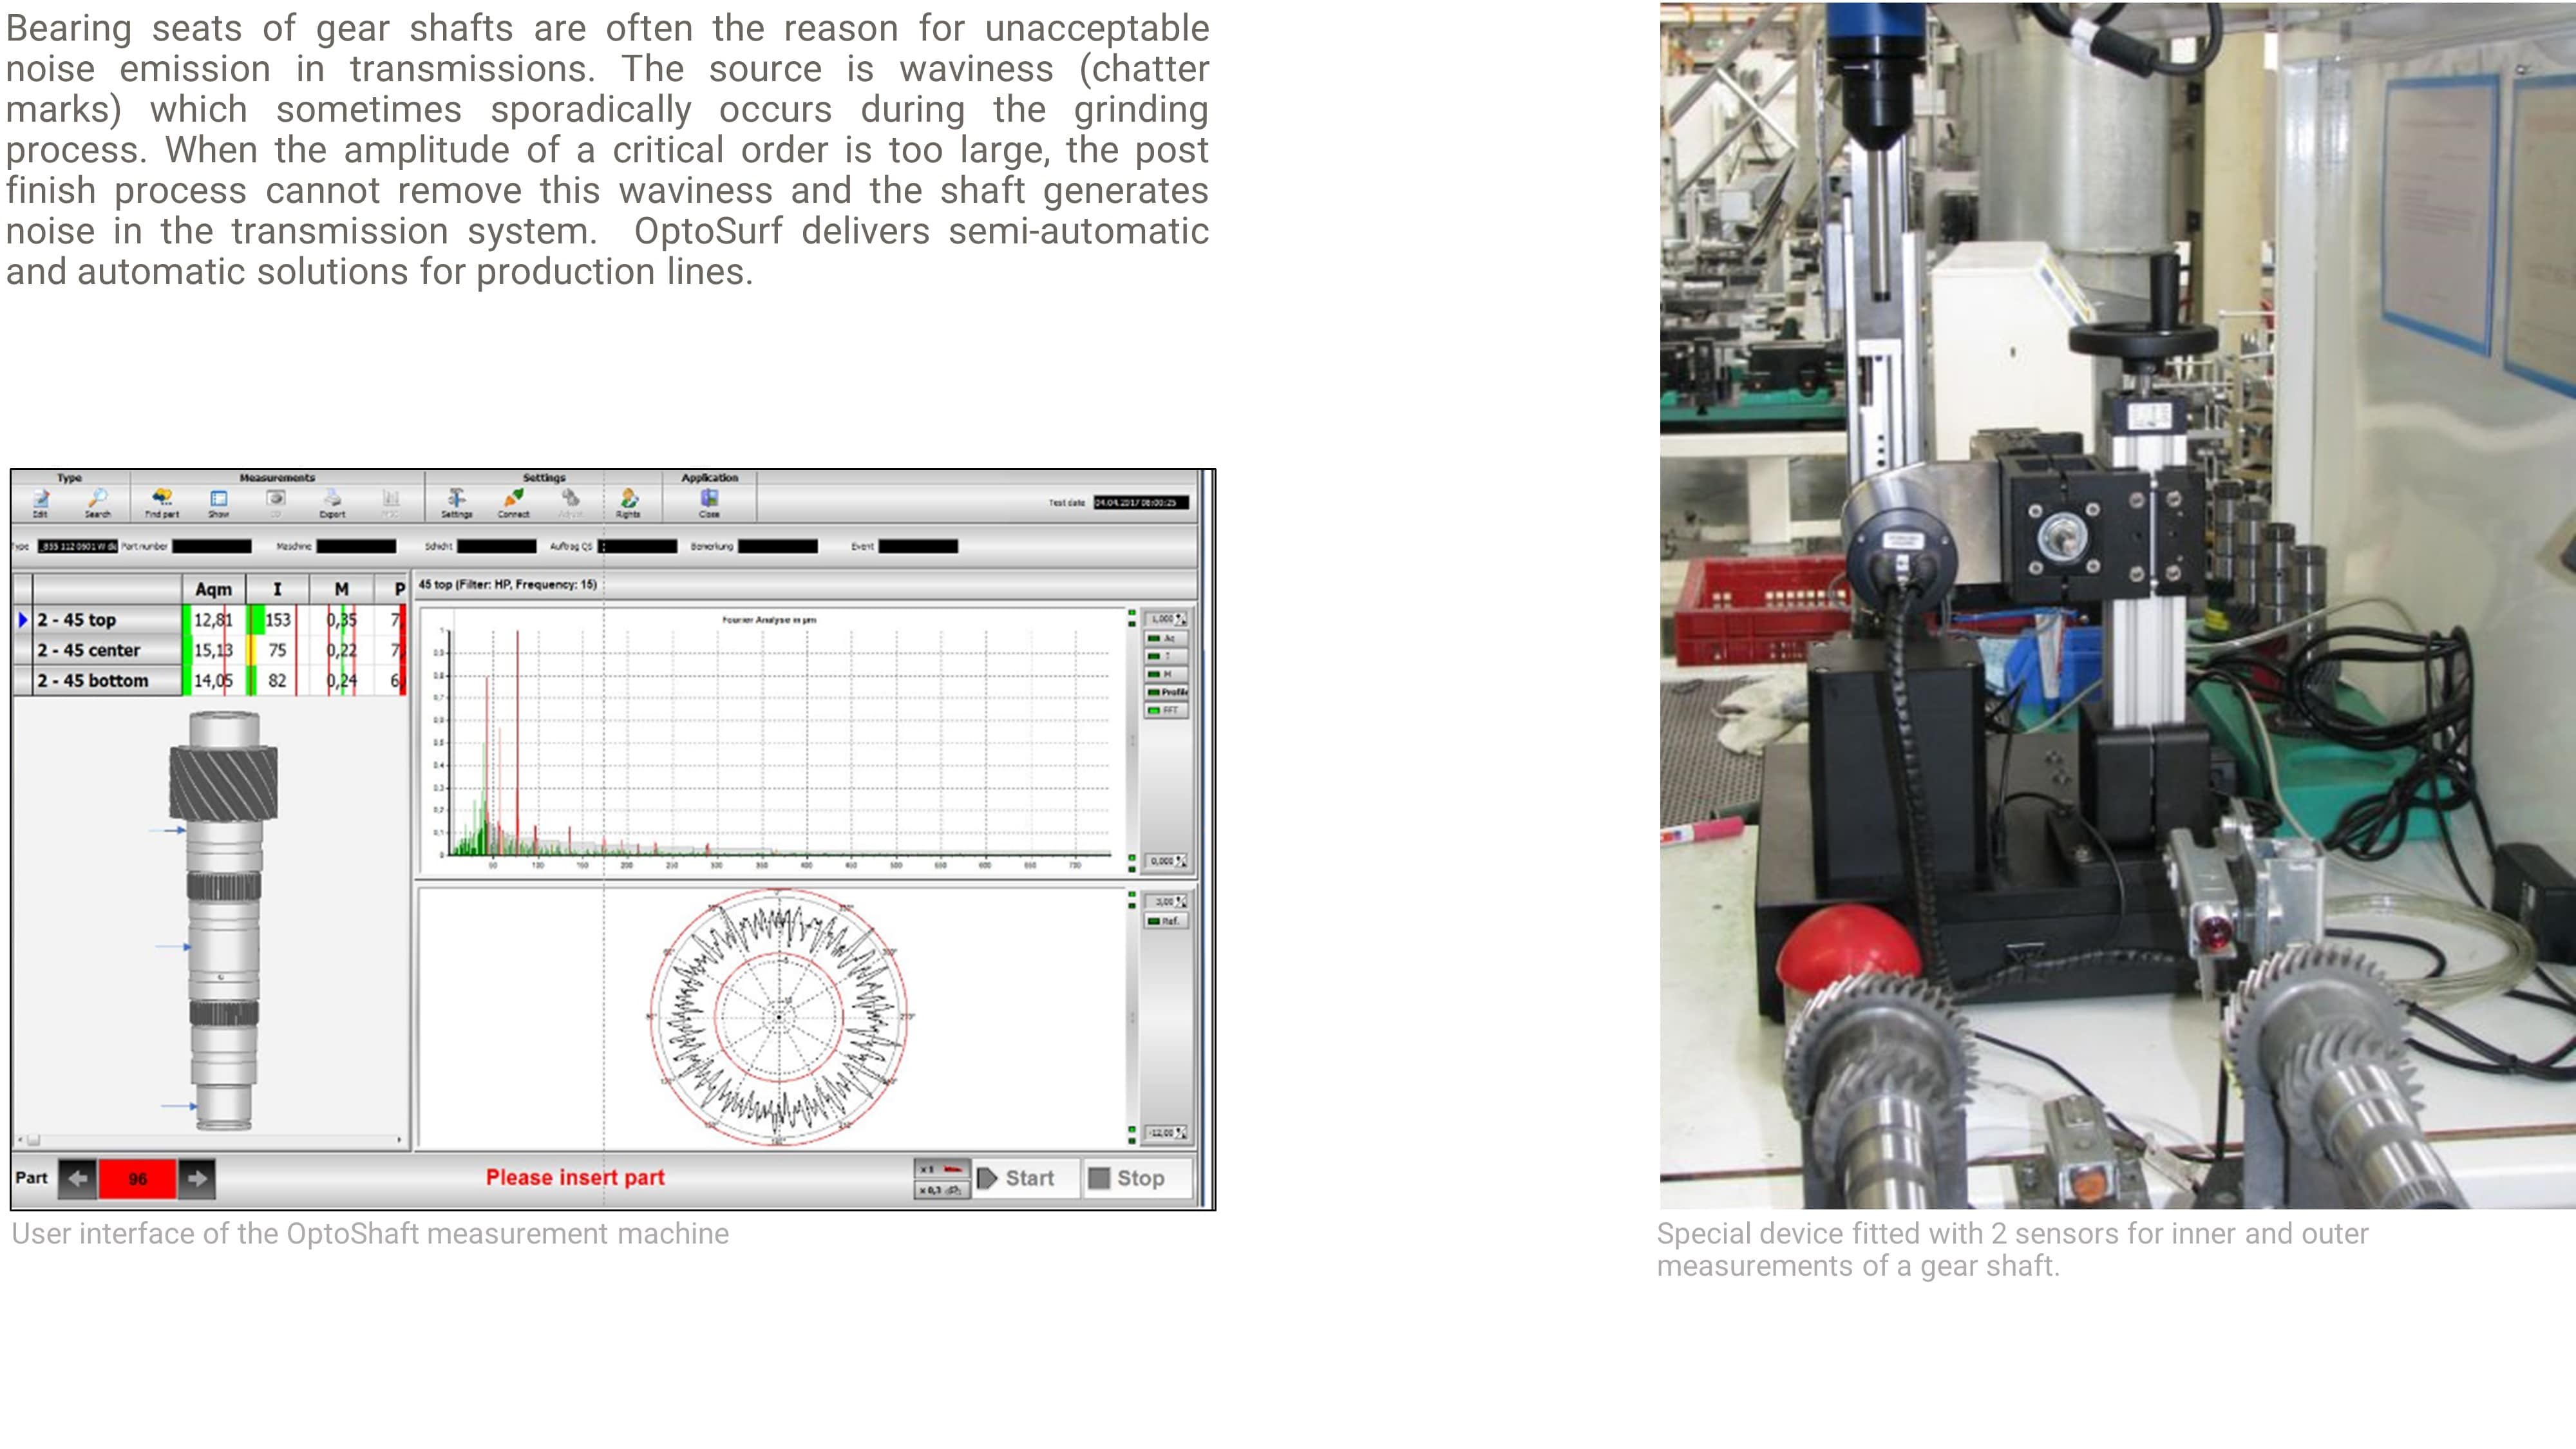
Gearshafts
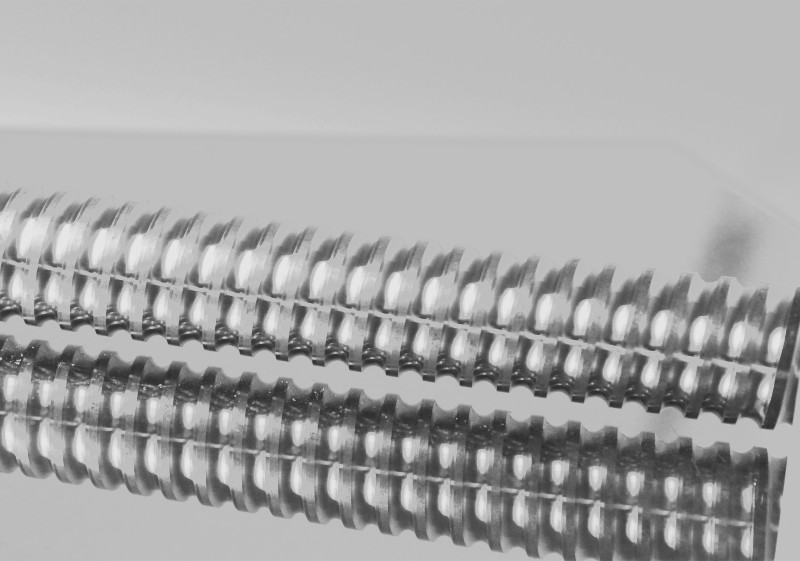
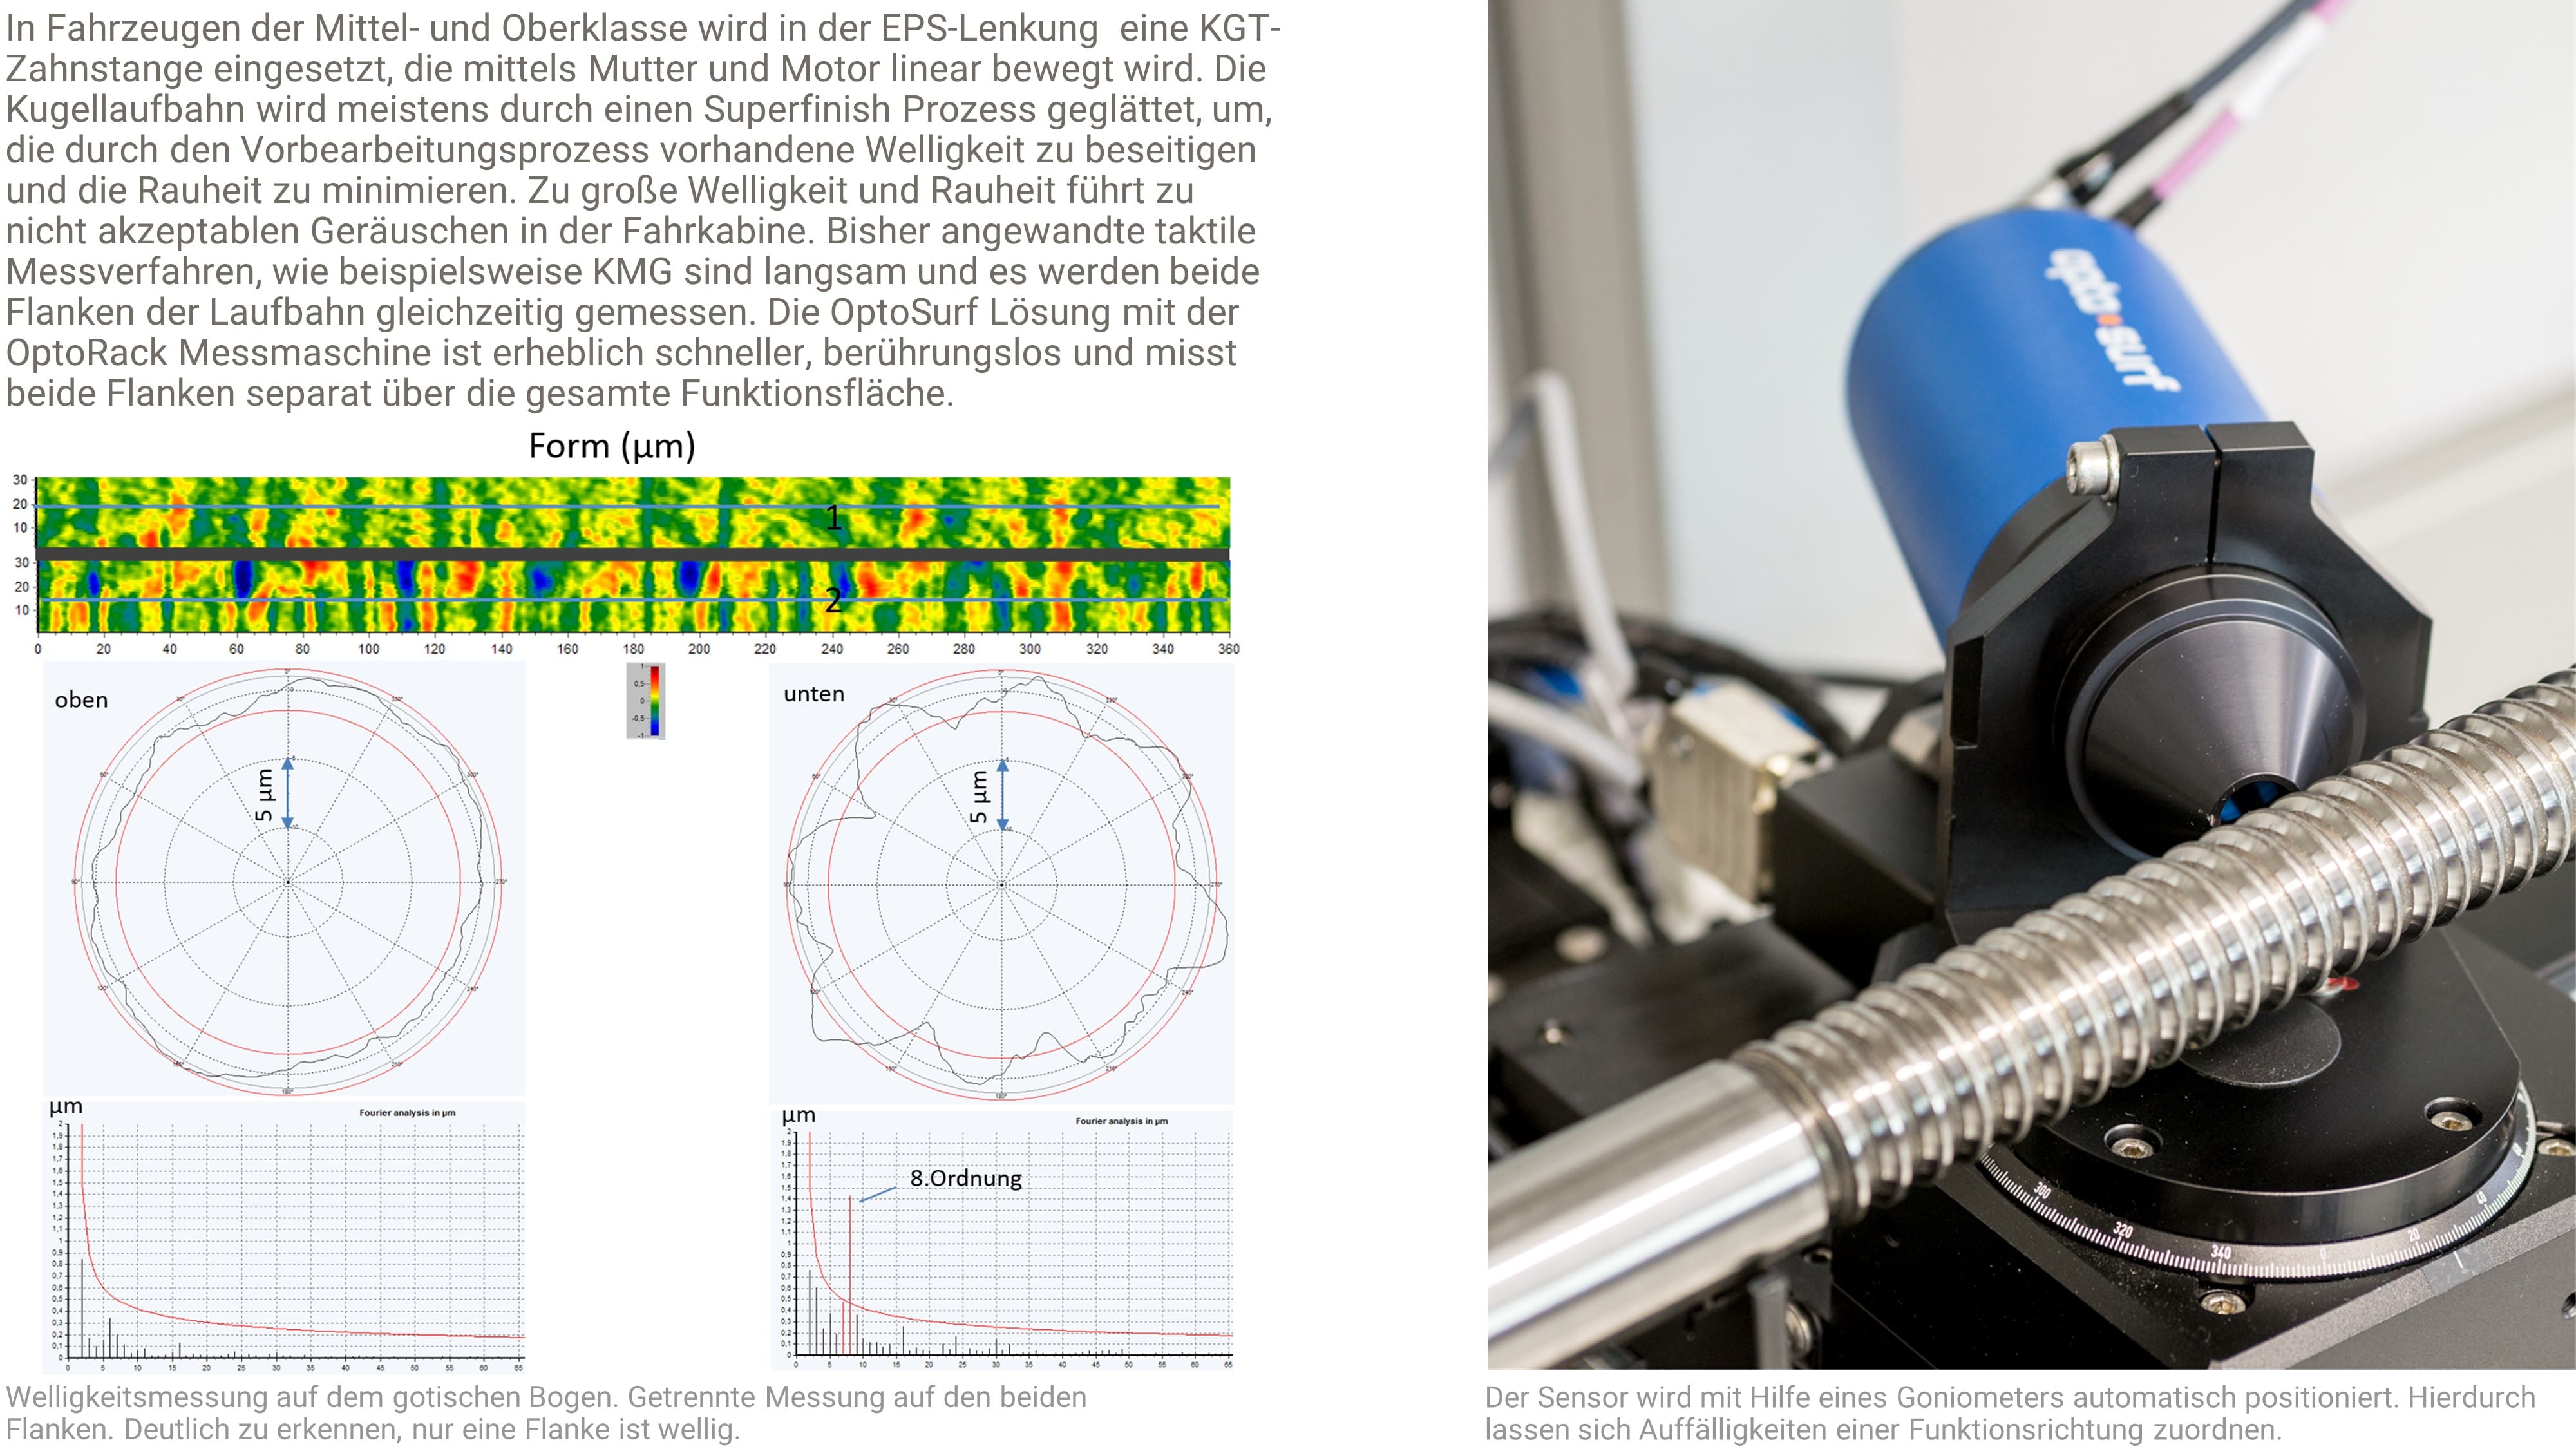
EPS ball screws and rack backs
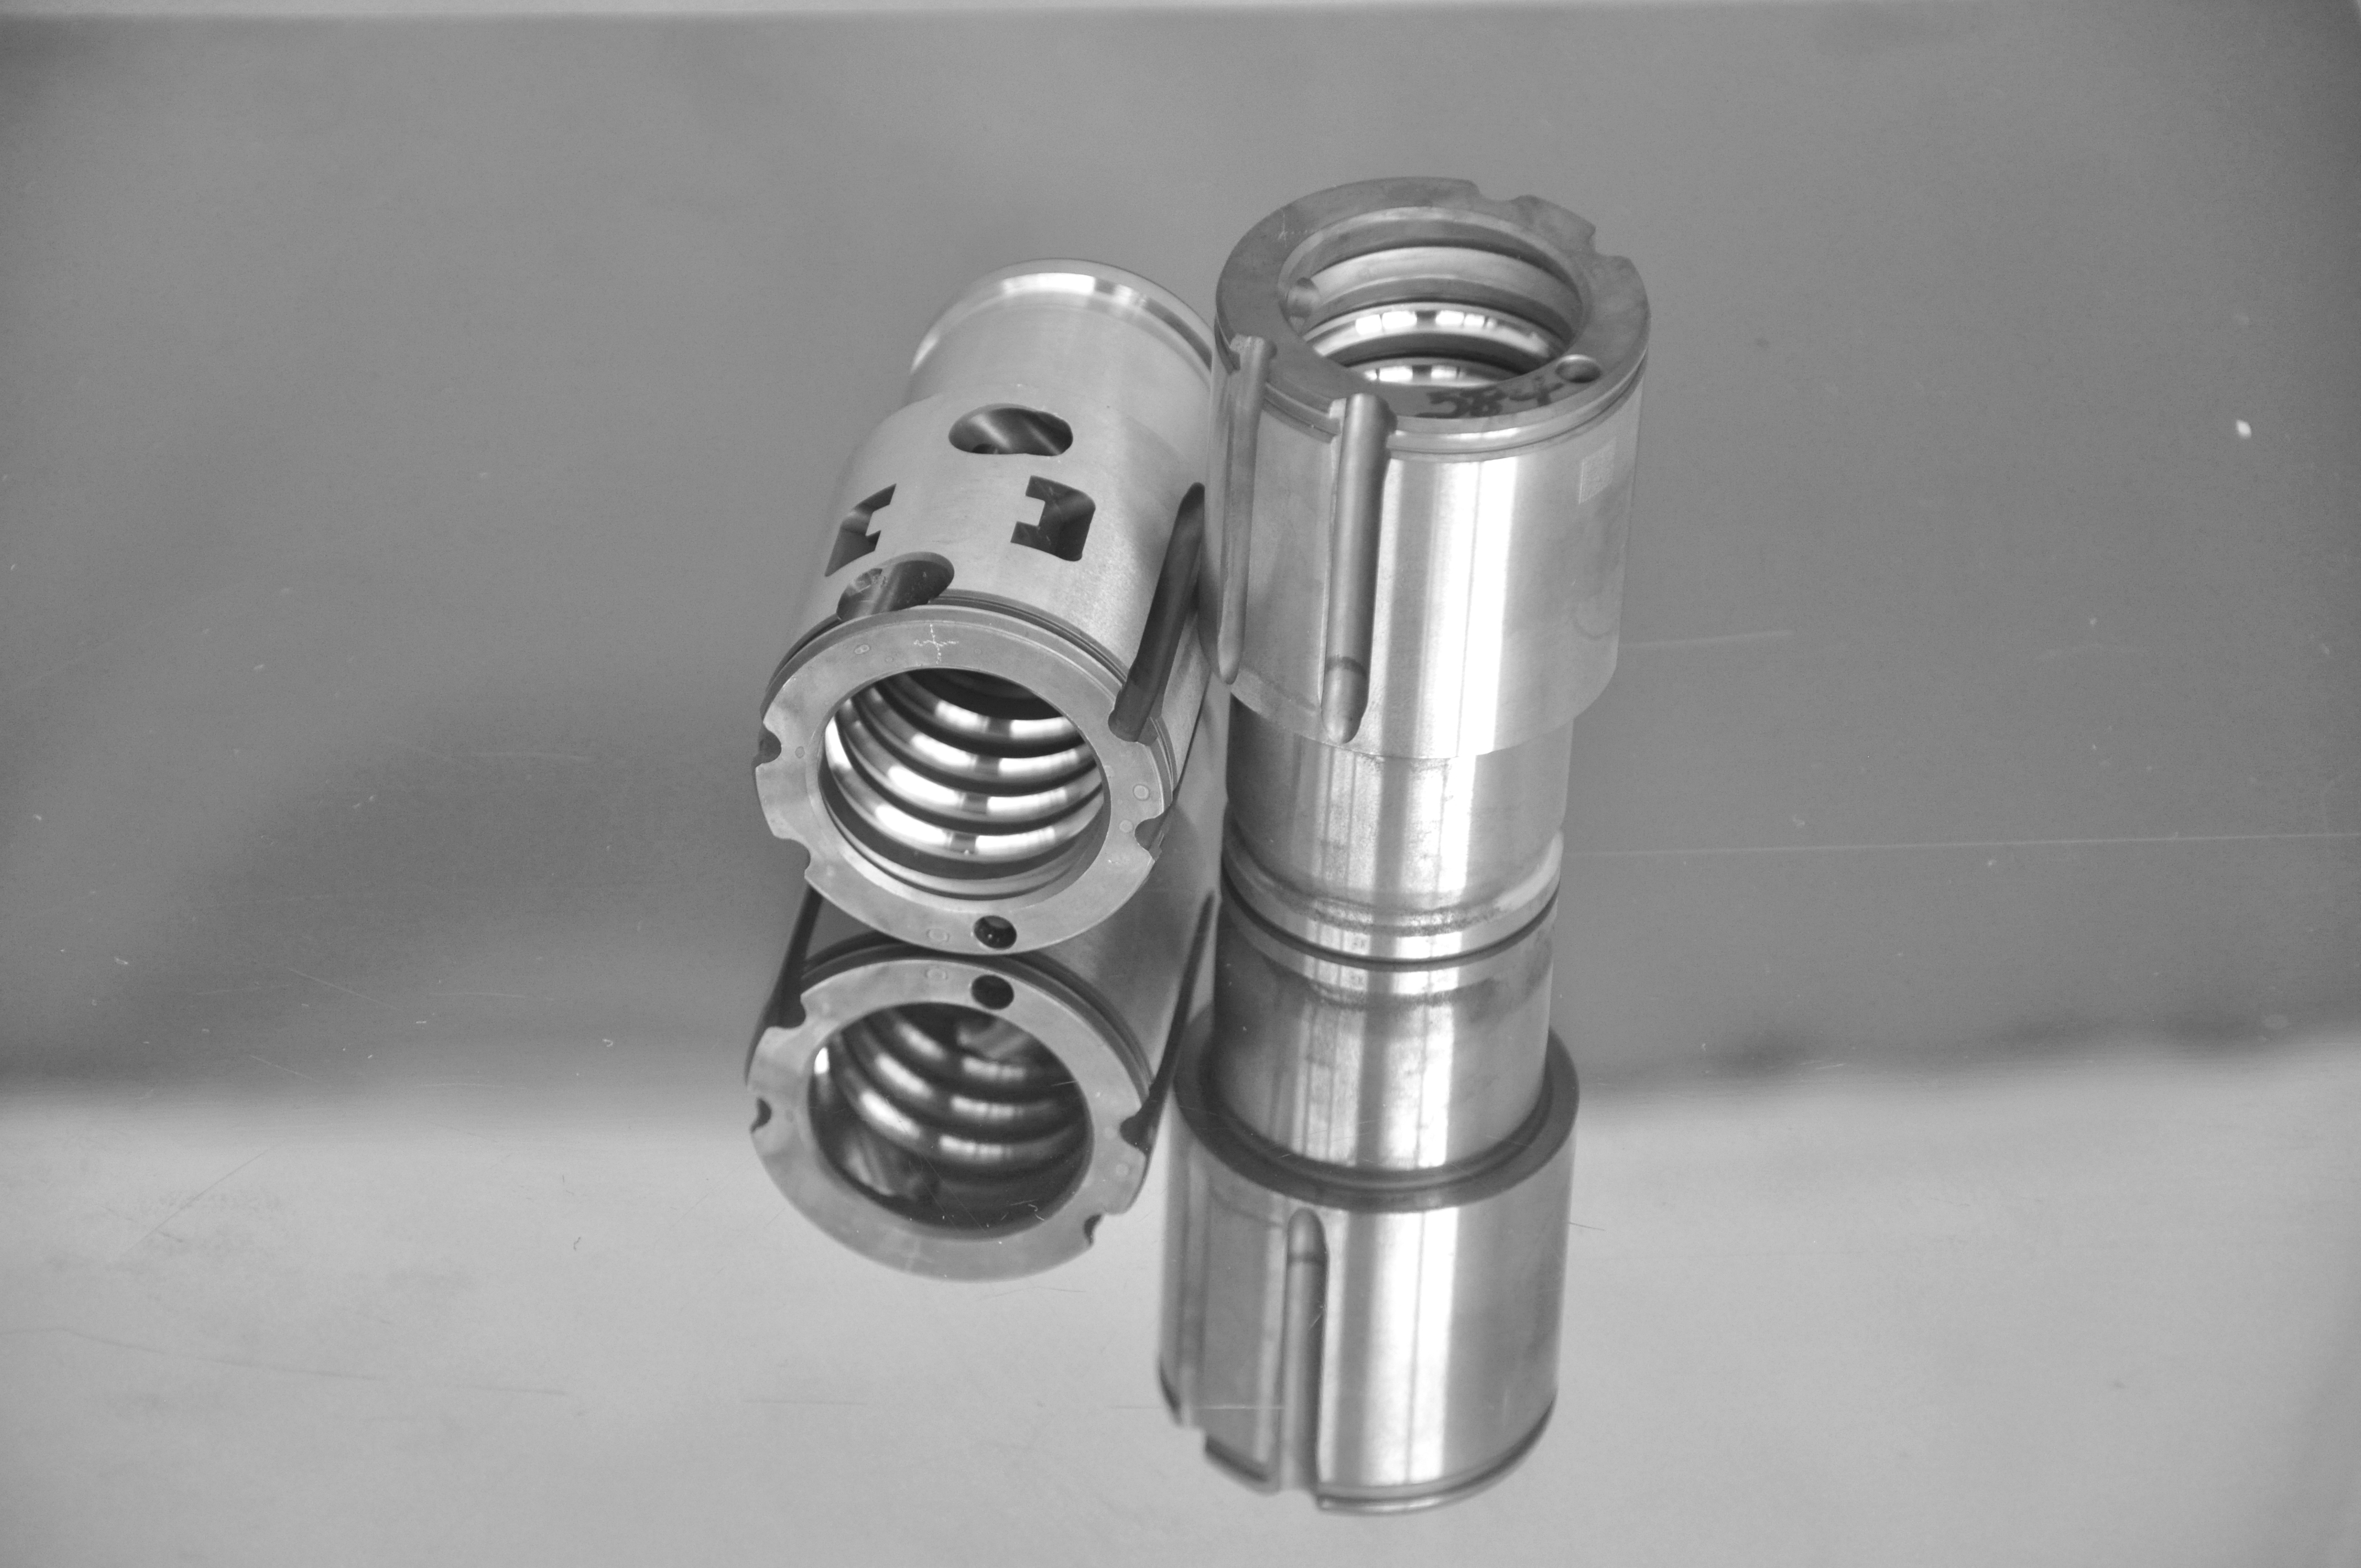
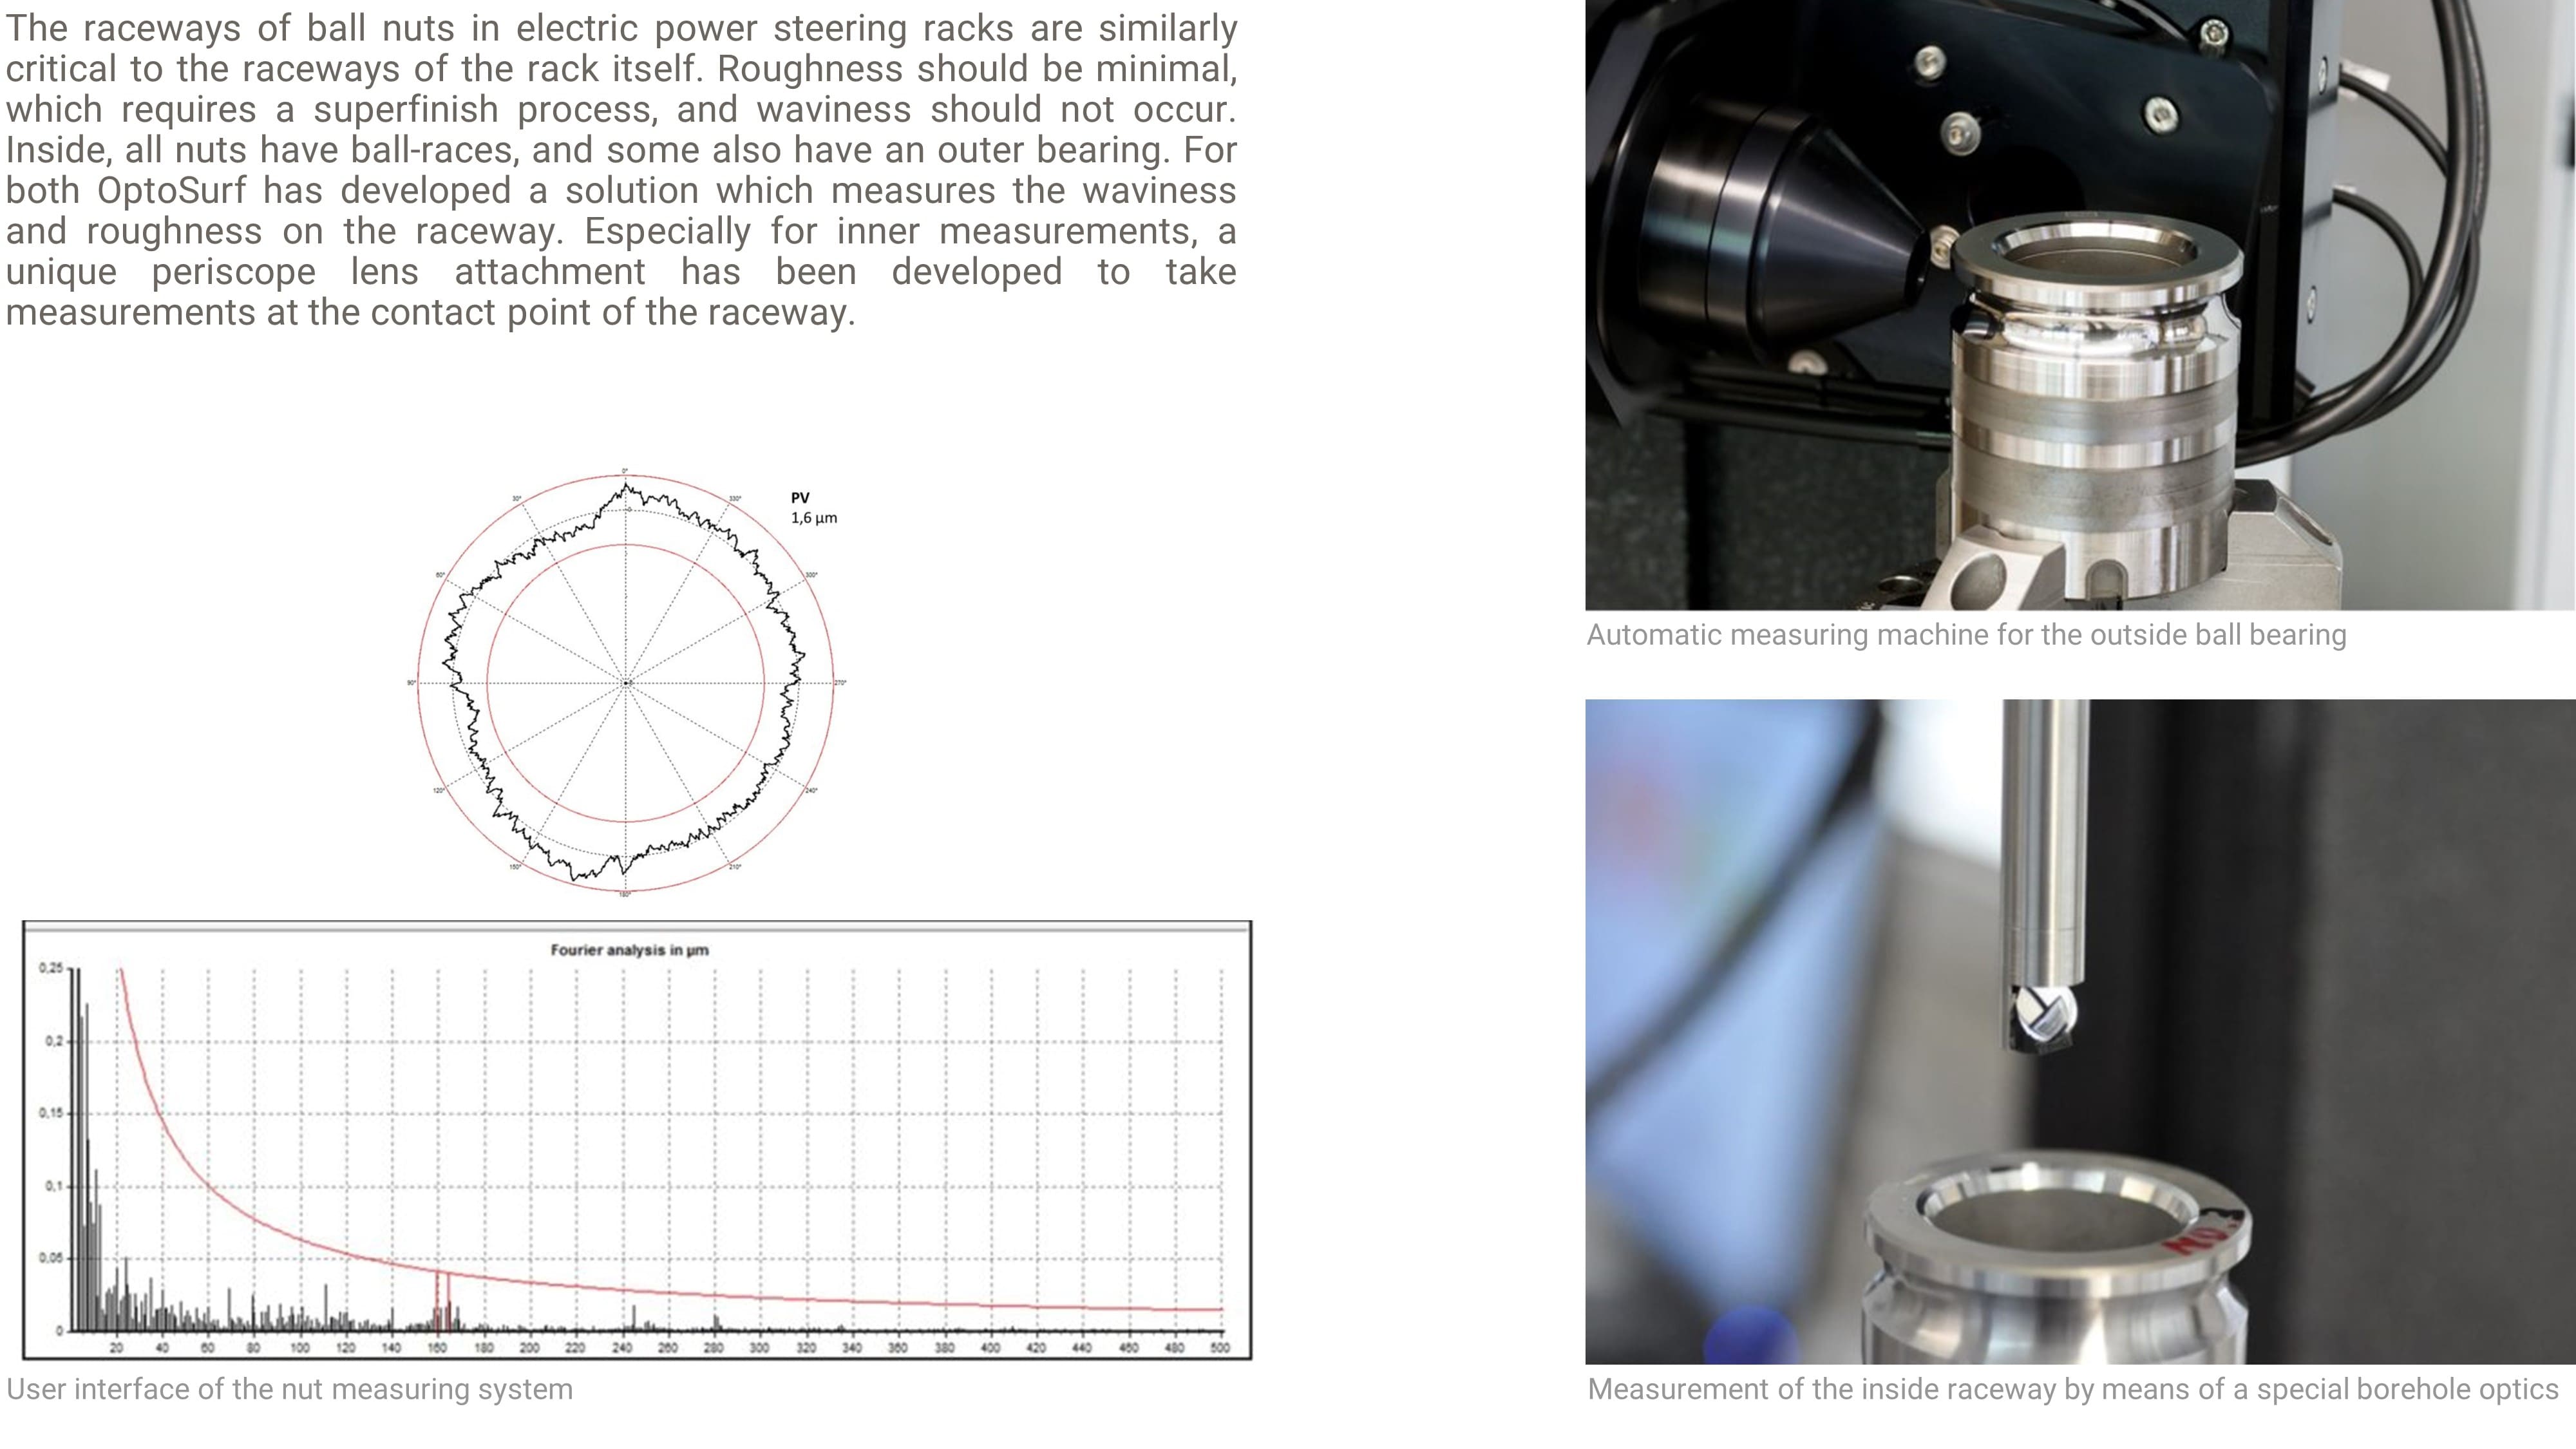
EPS ball-screw nuts
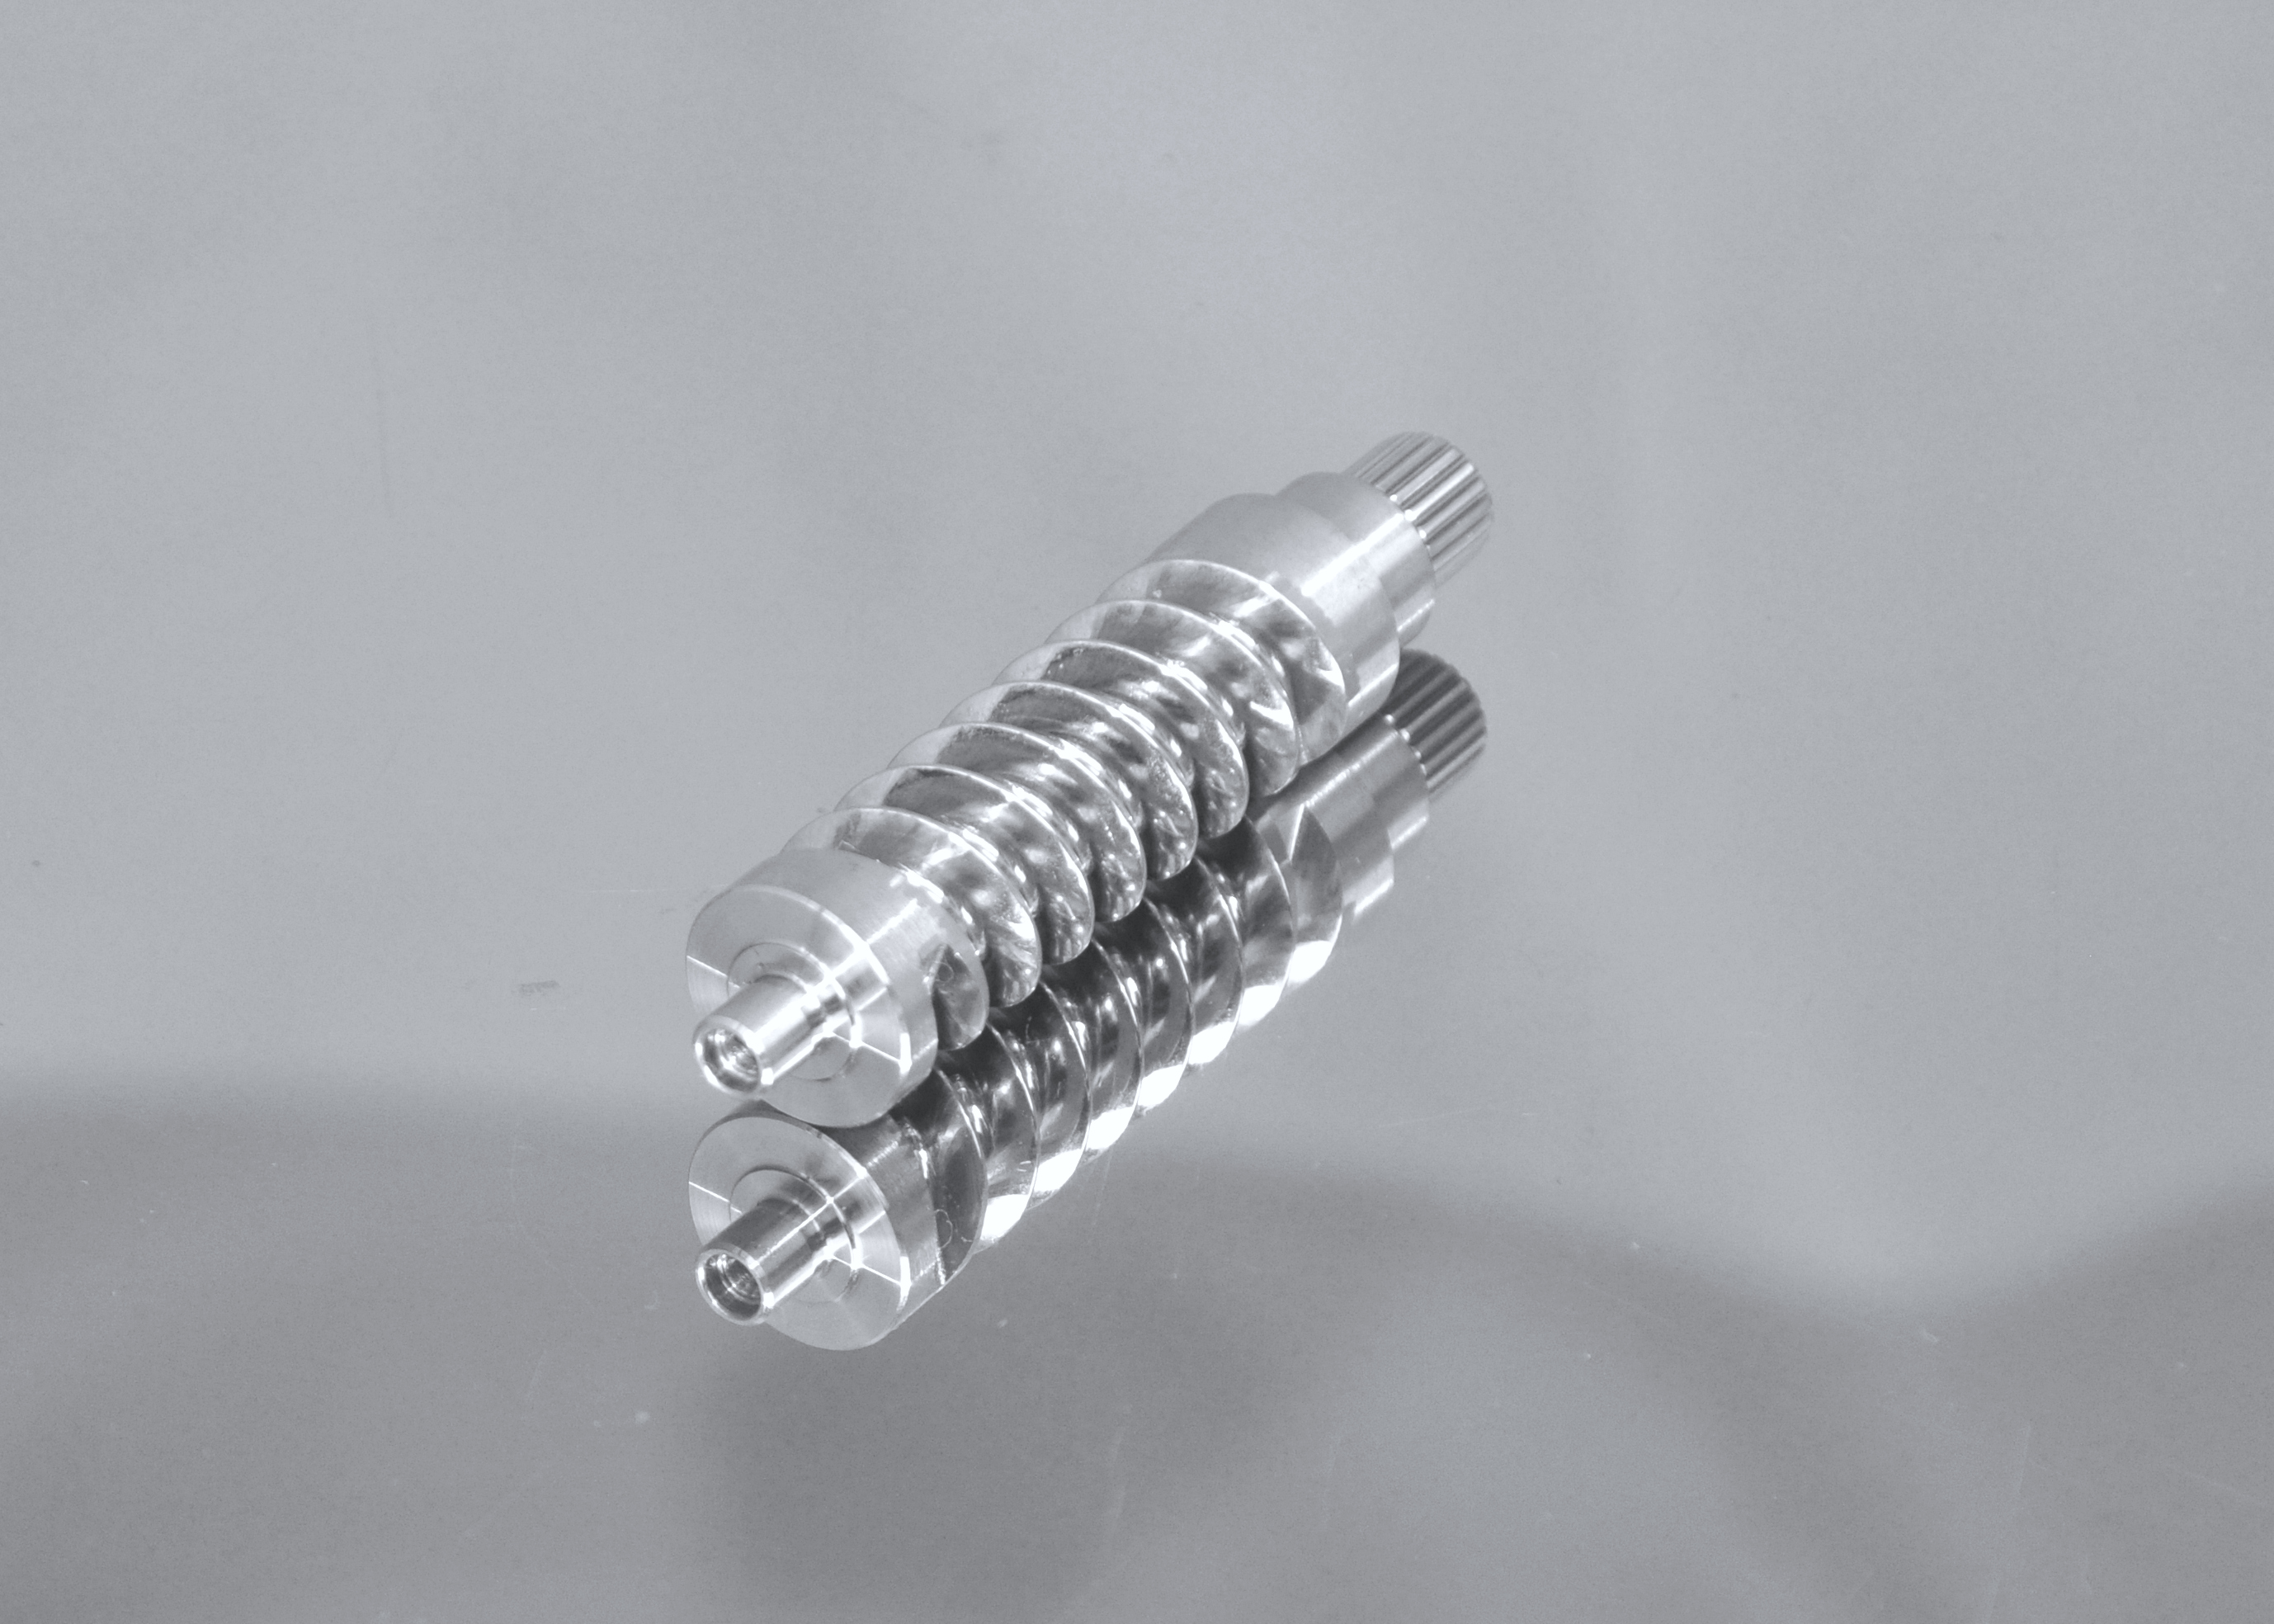
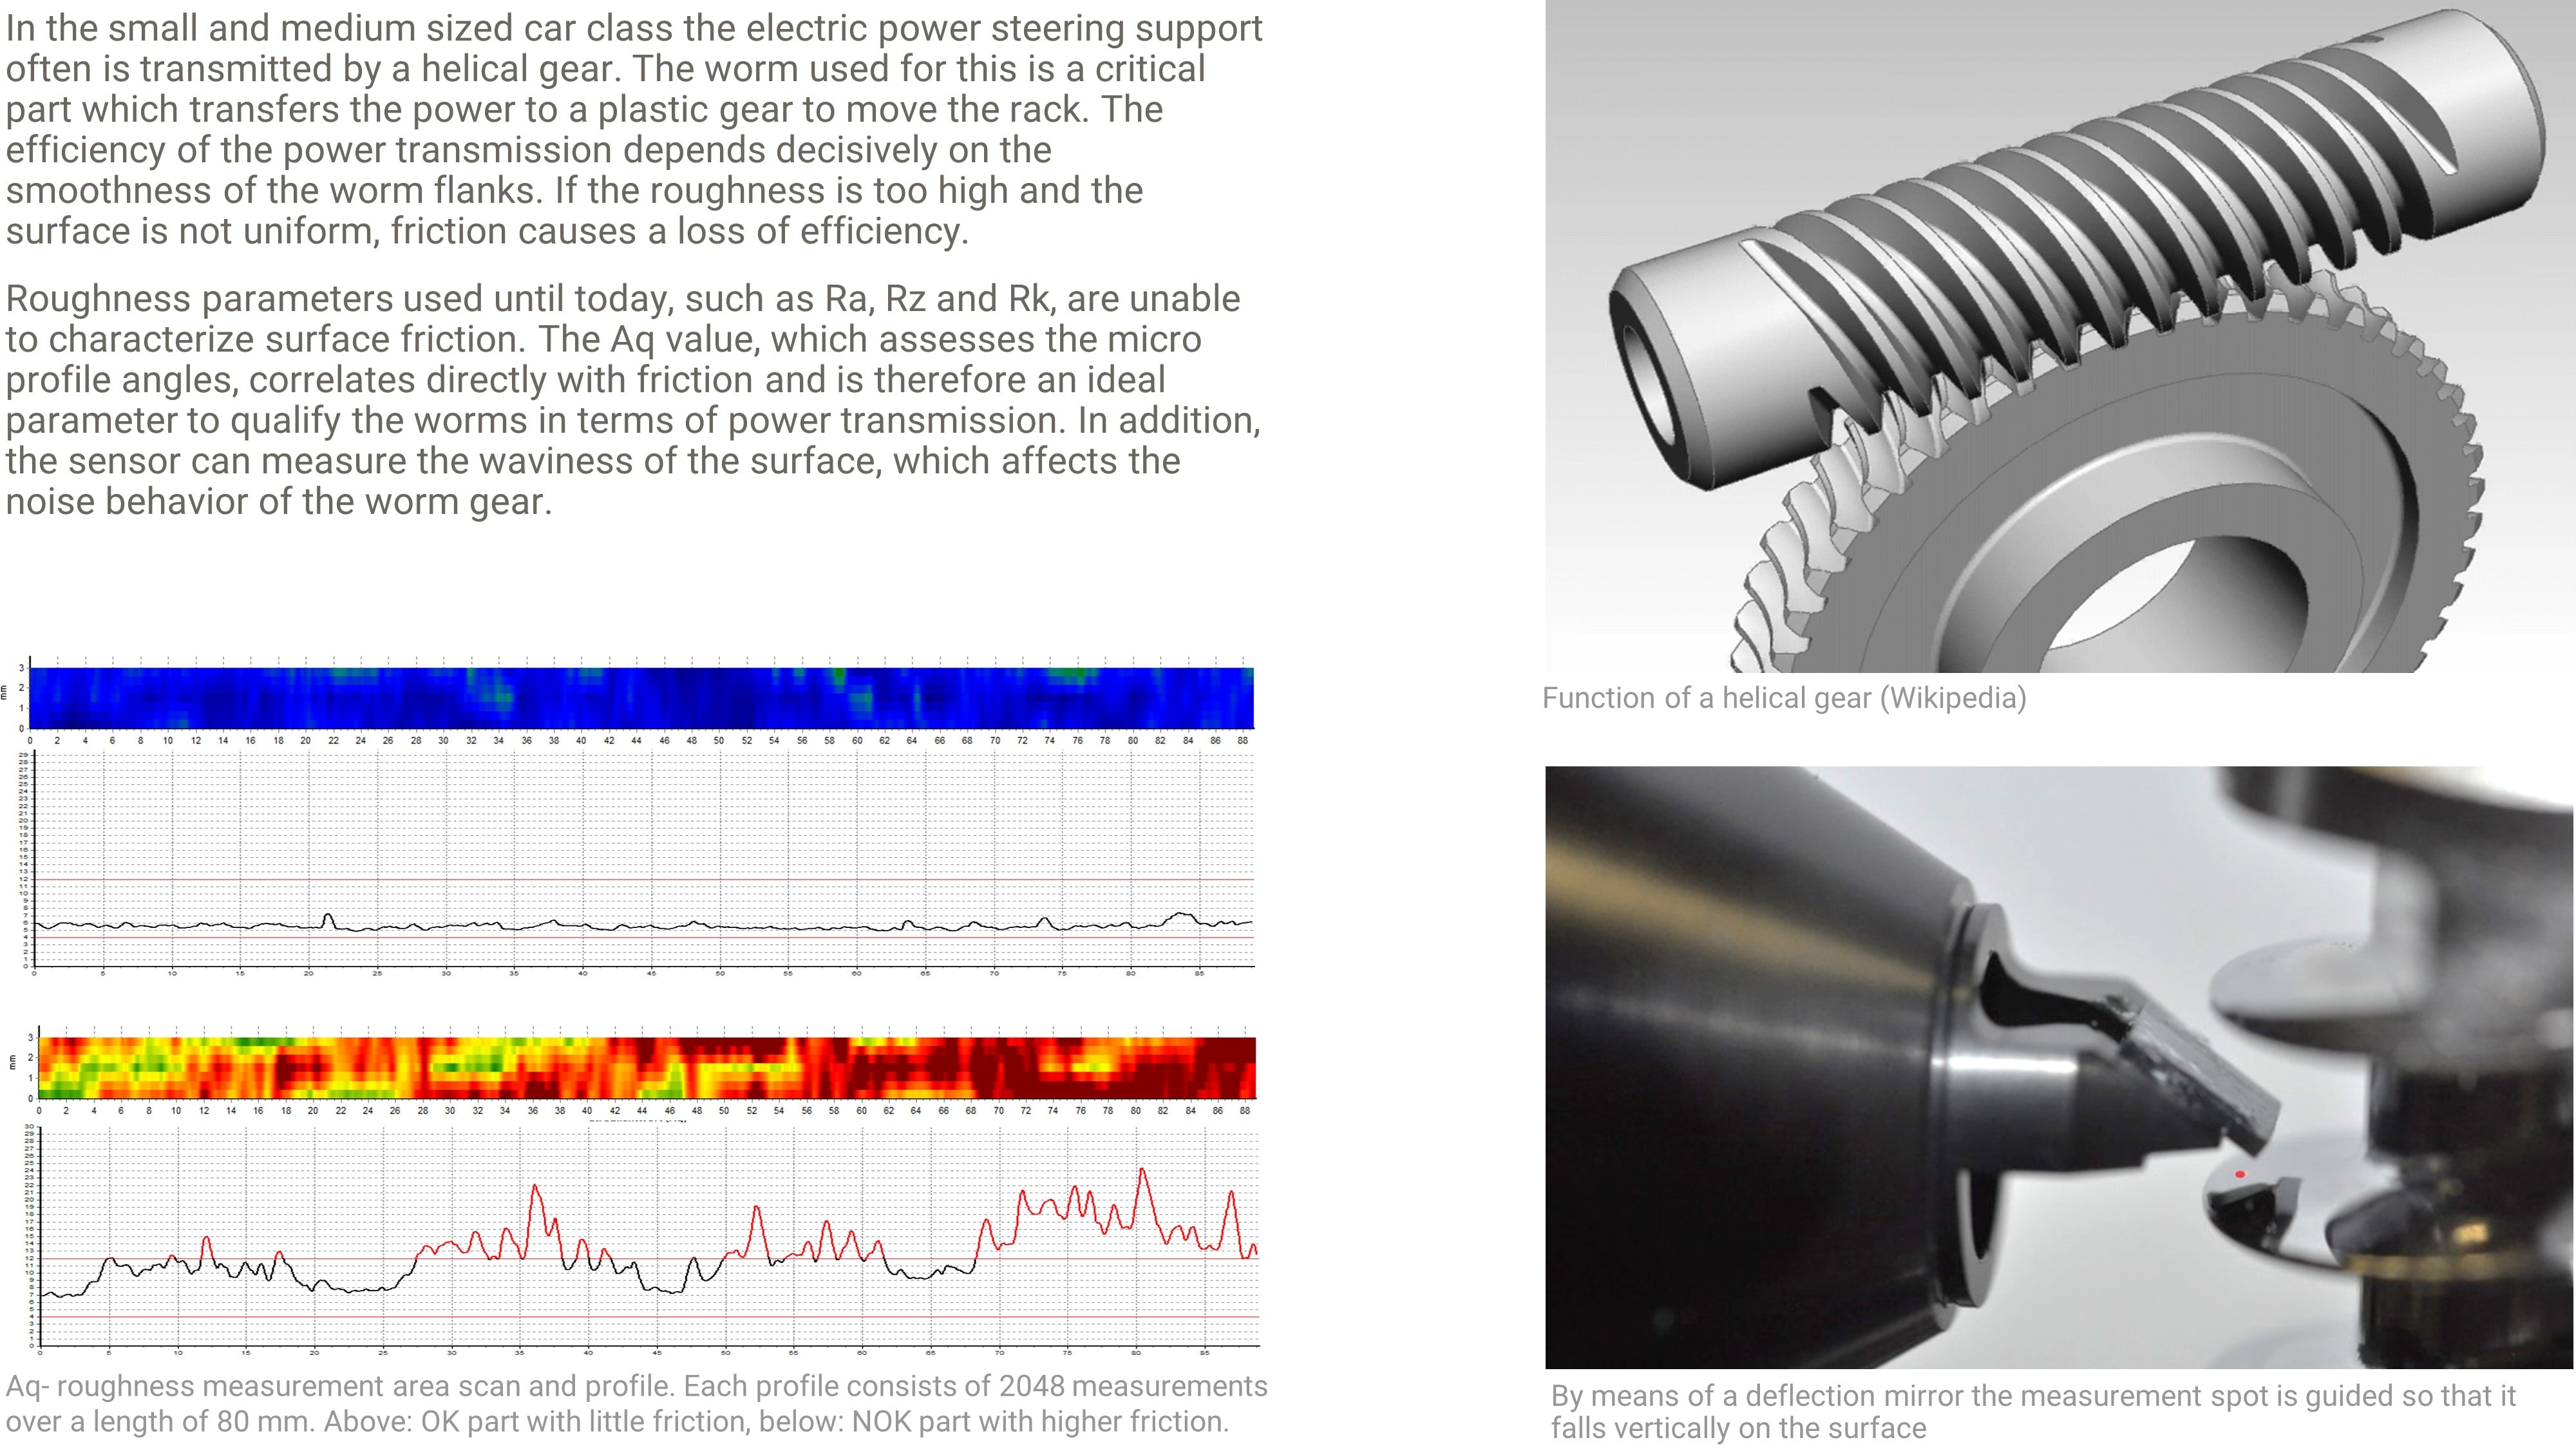
EPS steering worms
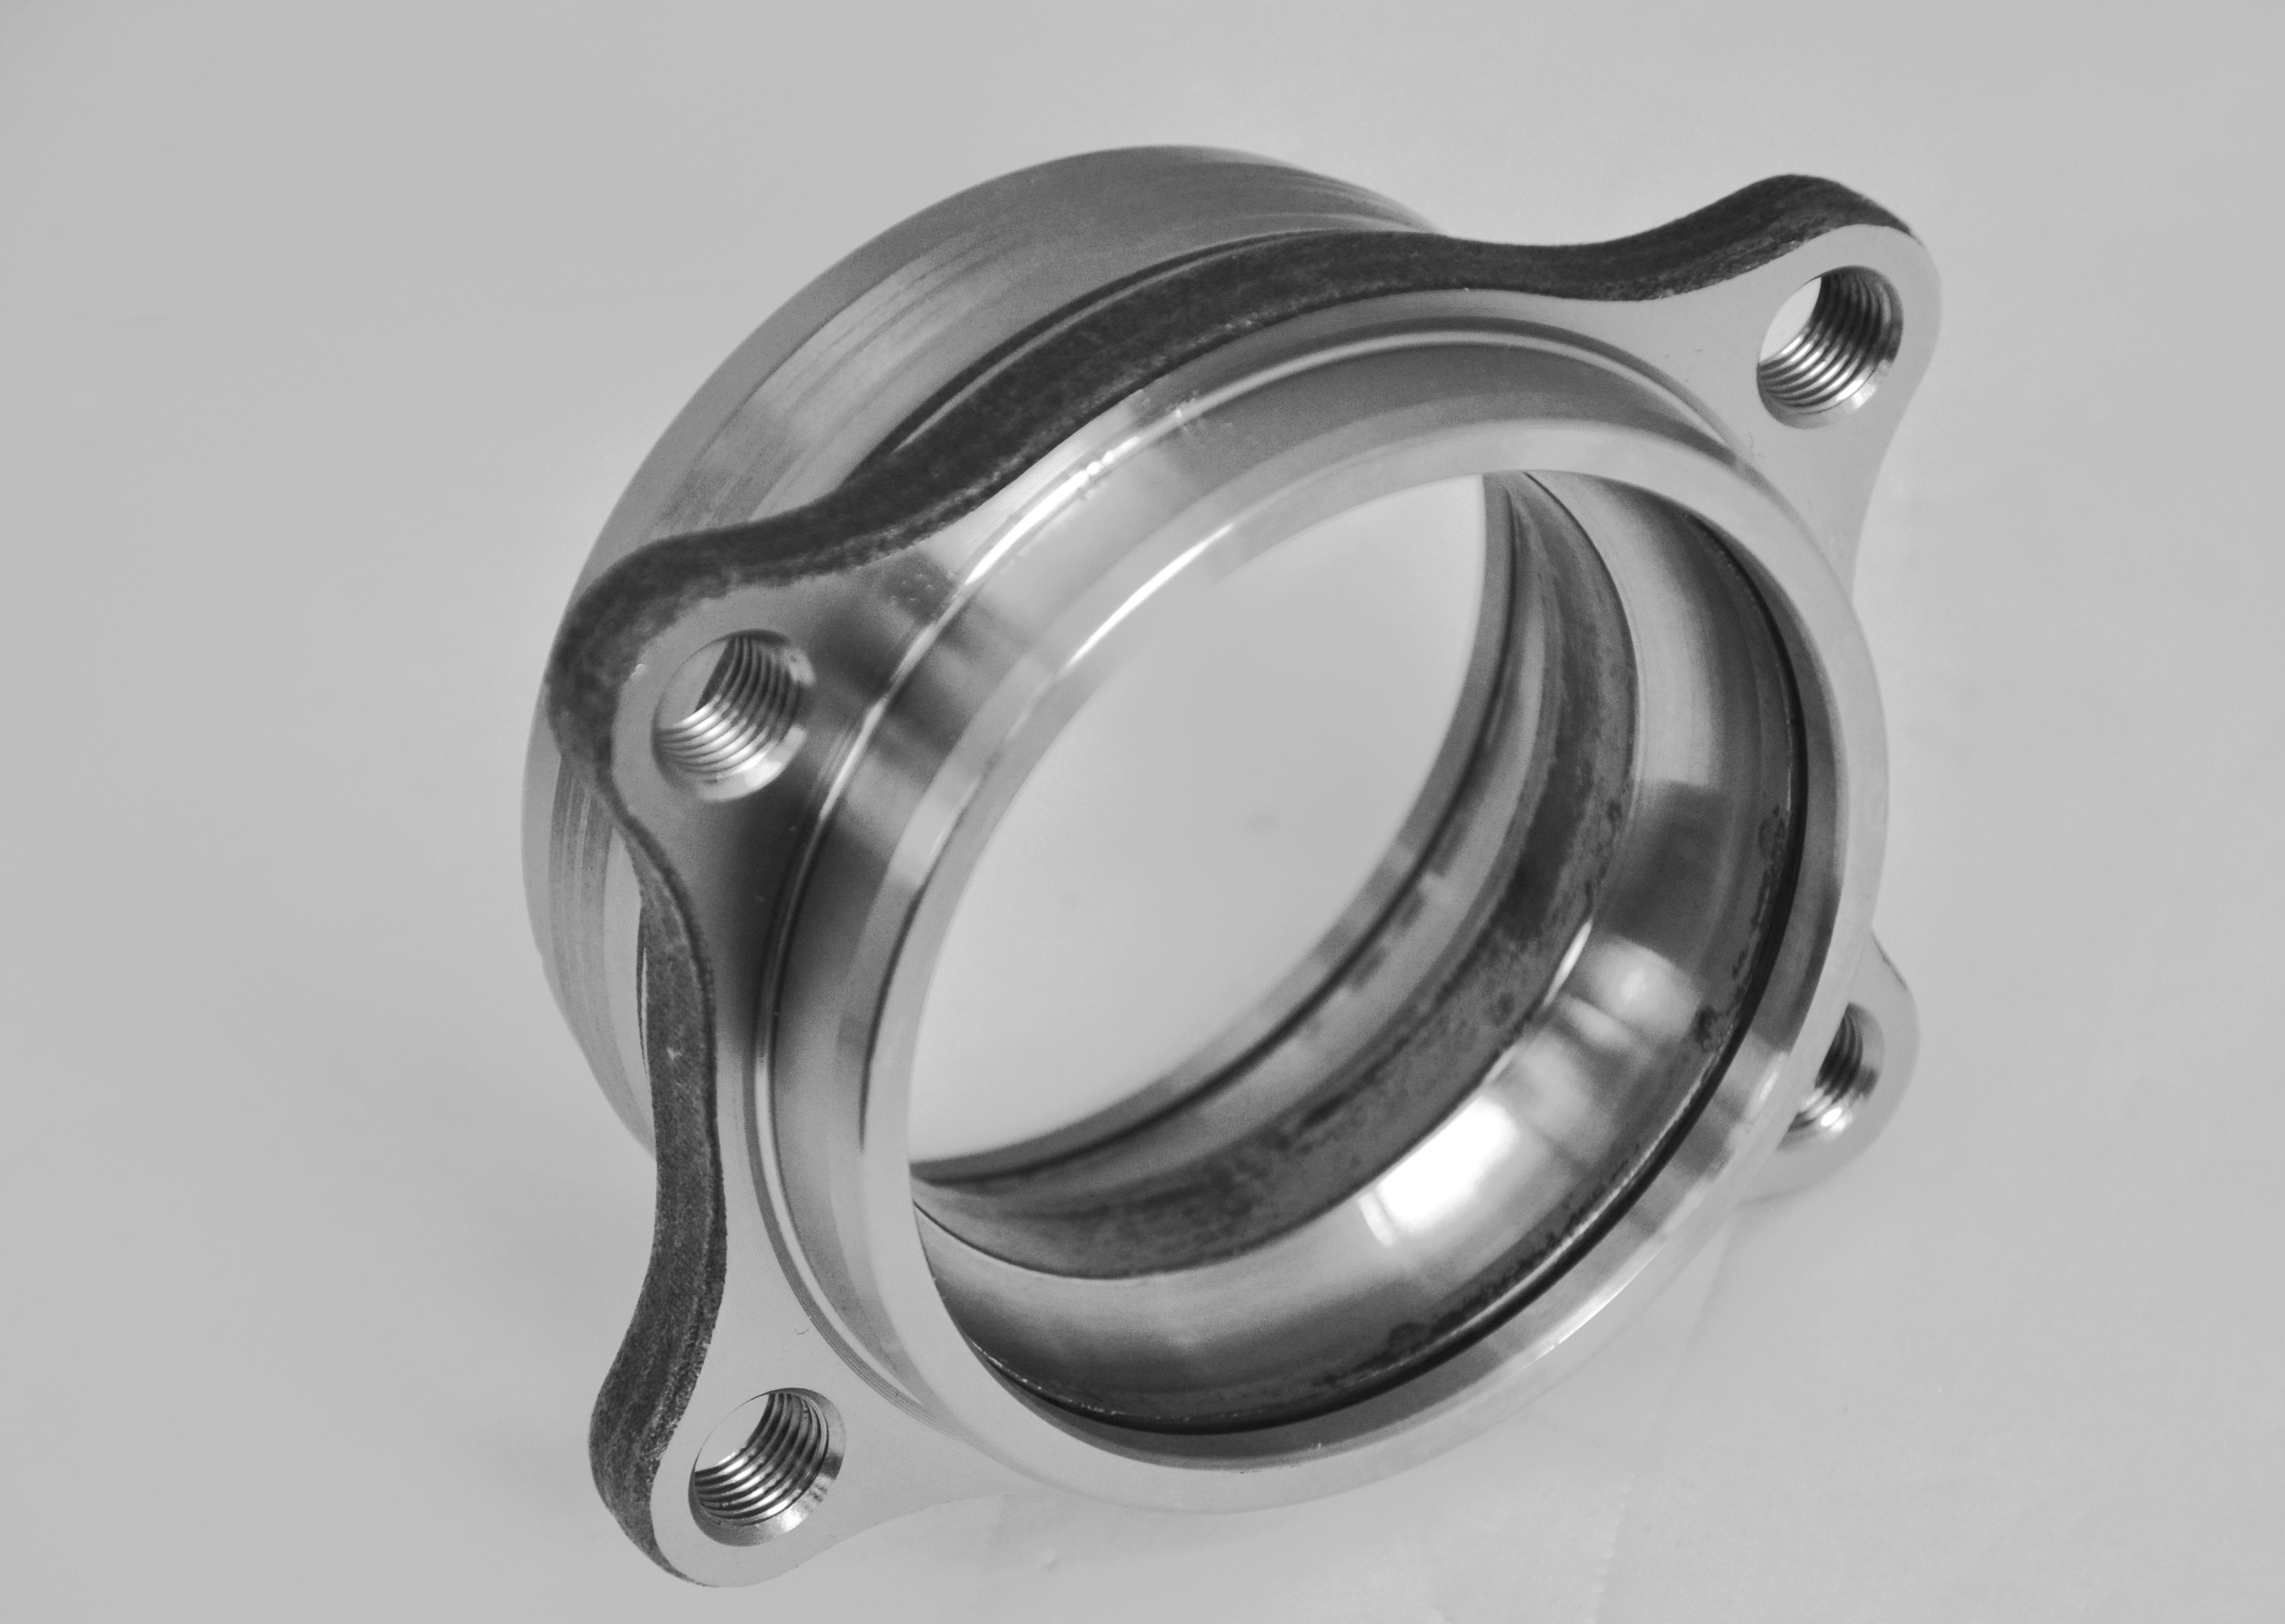
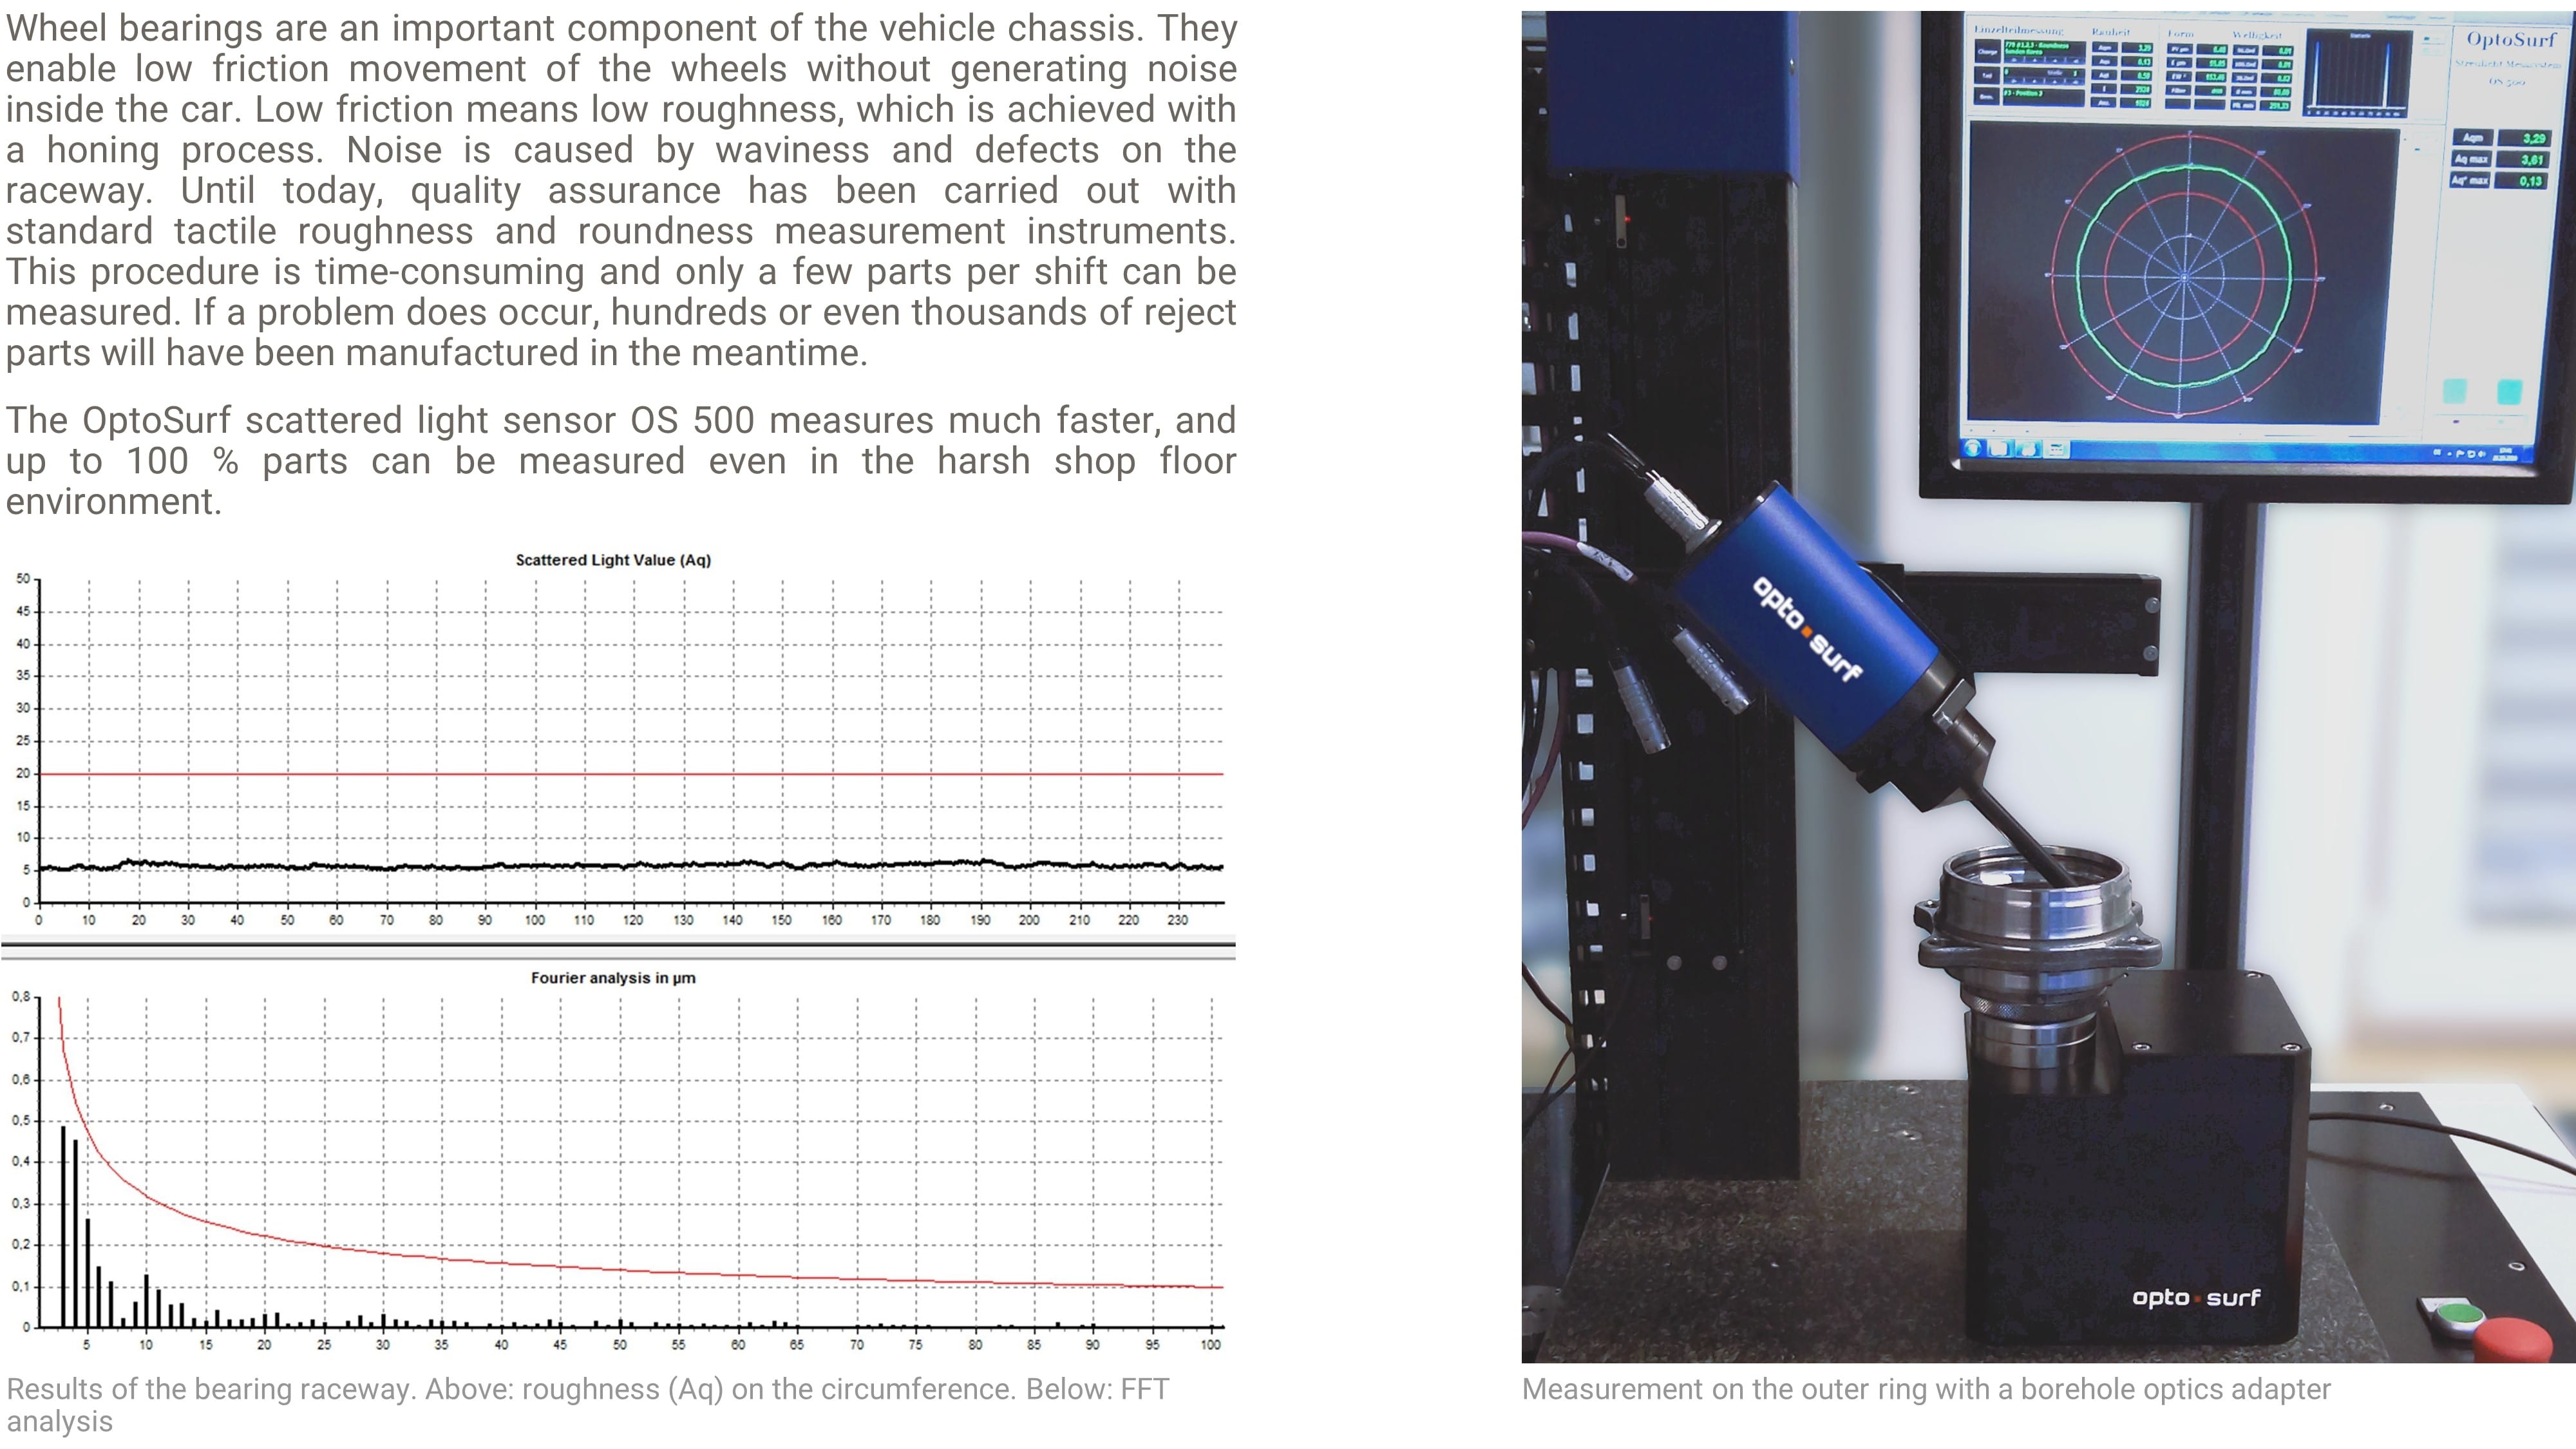
Wheel bearings
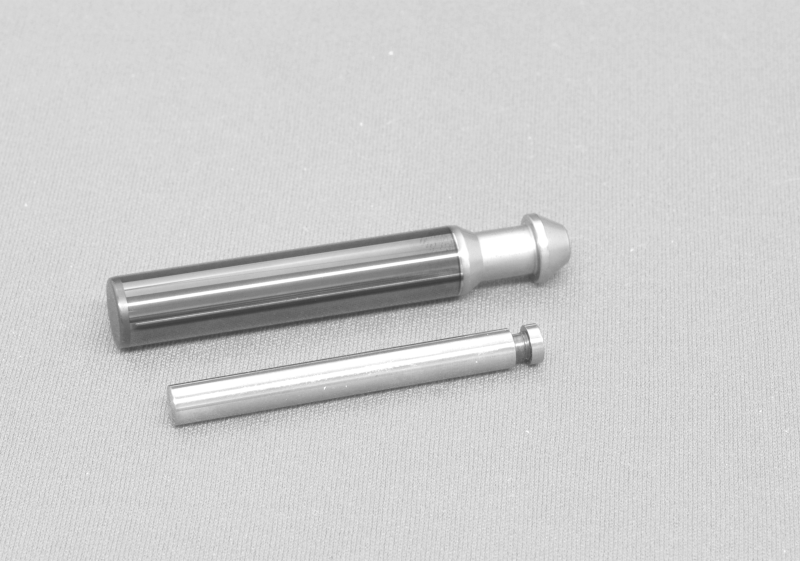
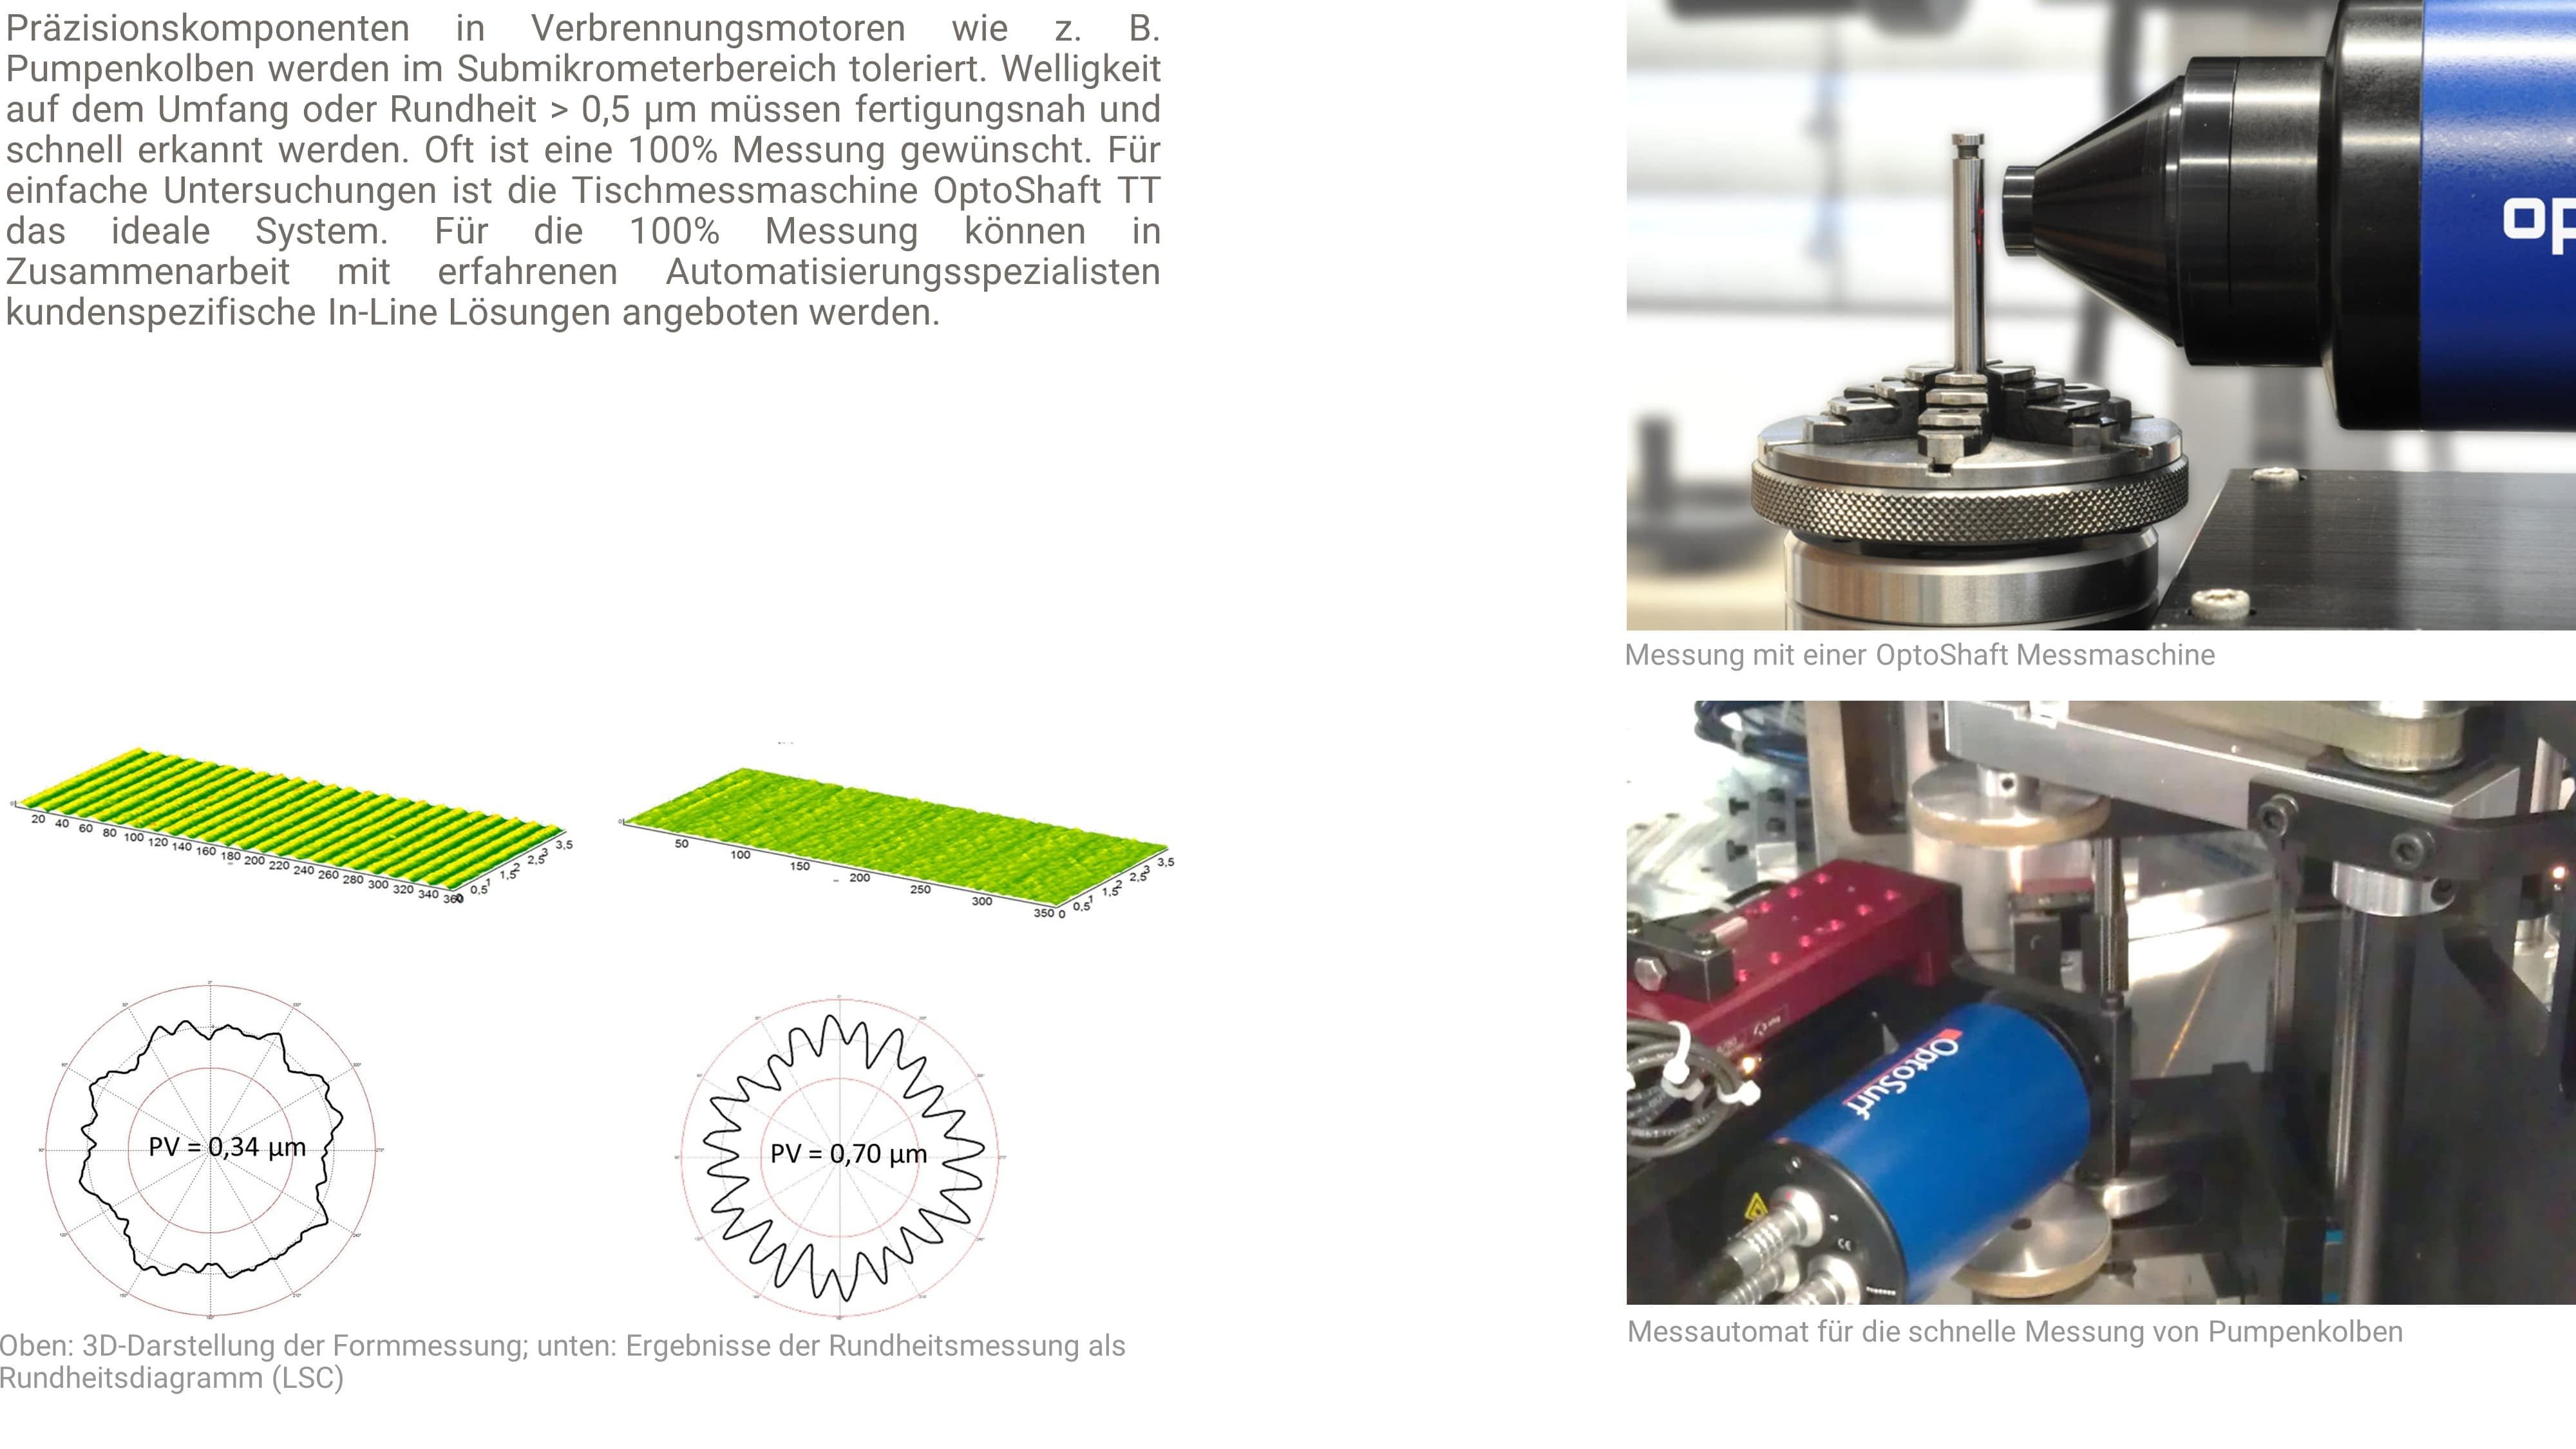
Pump pistons
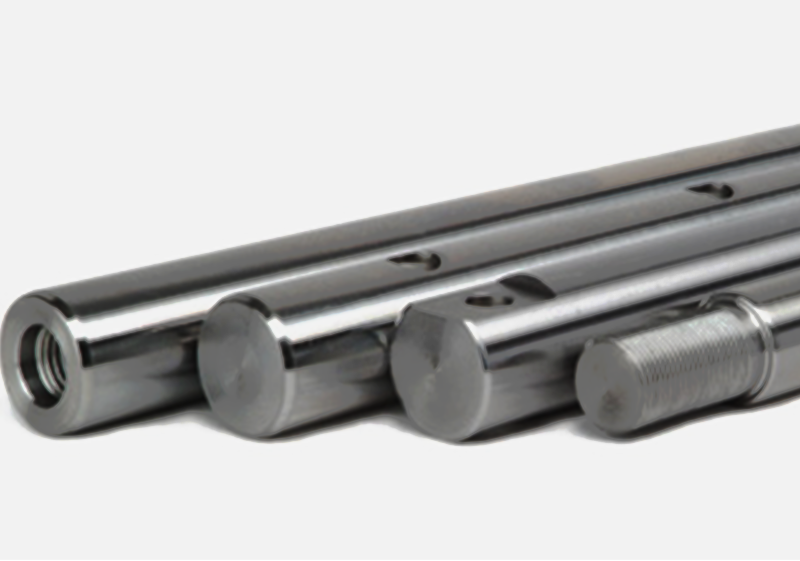
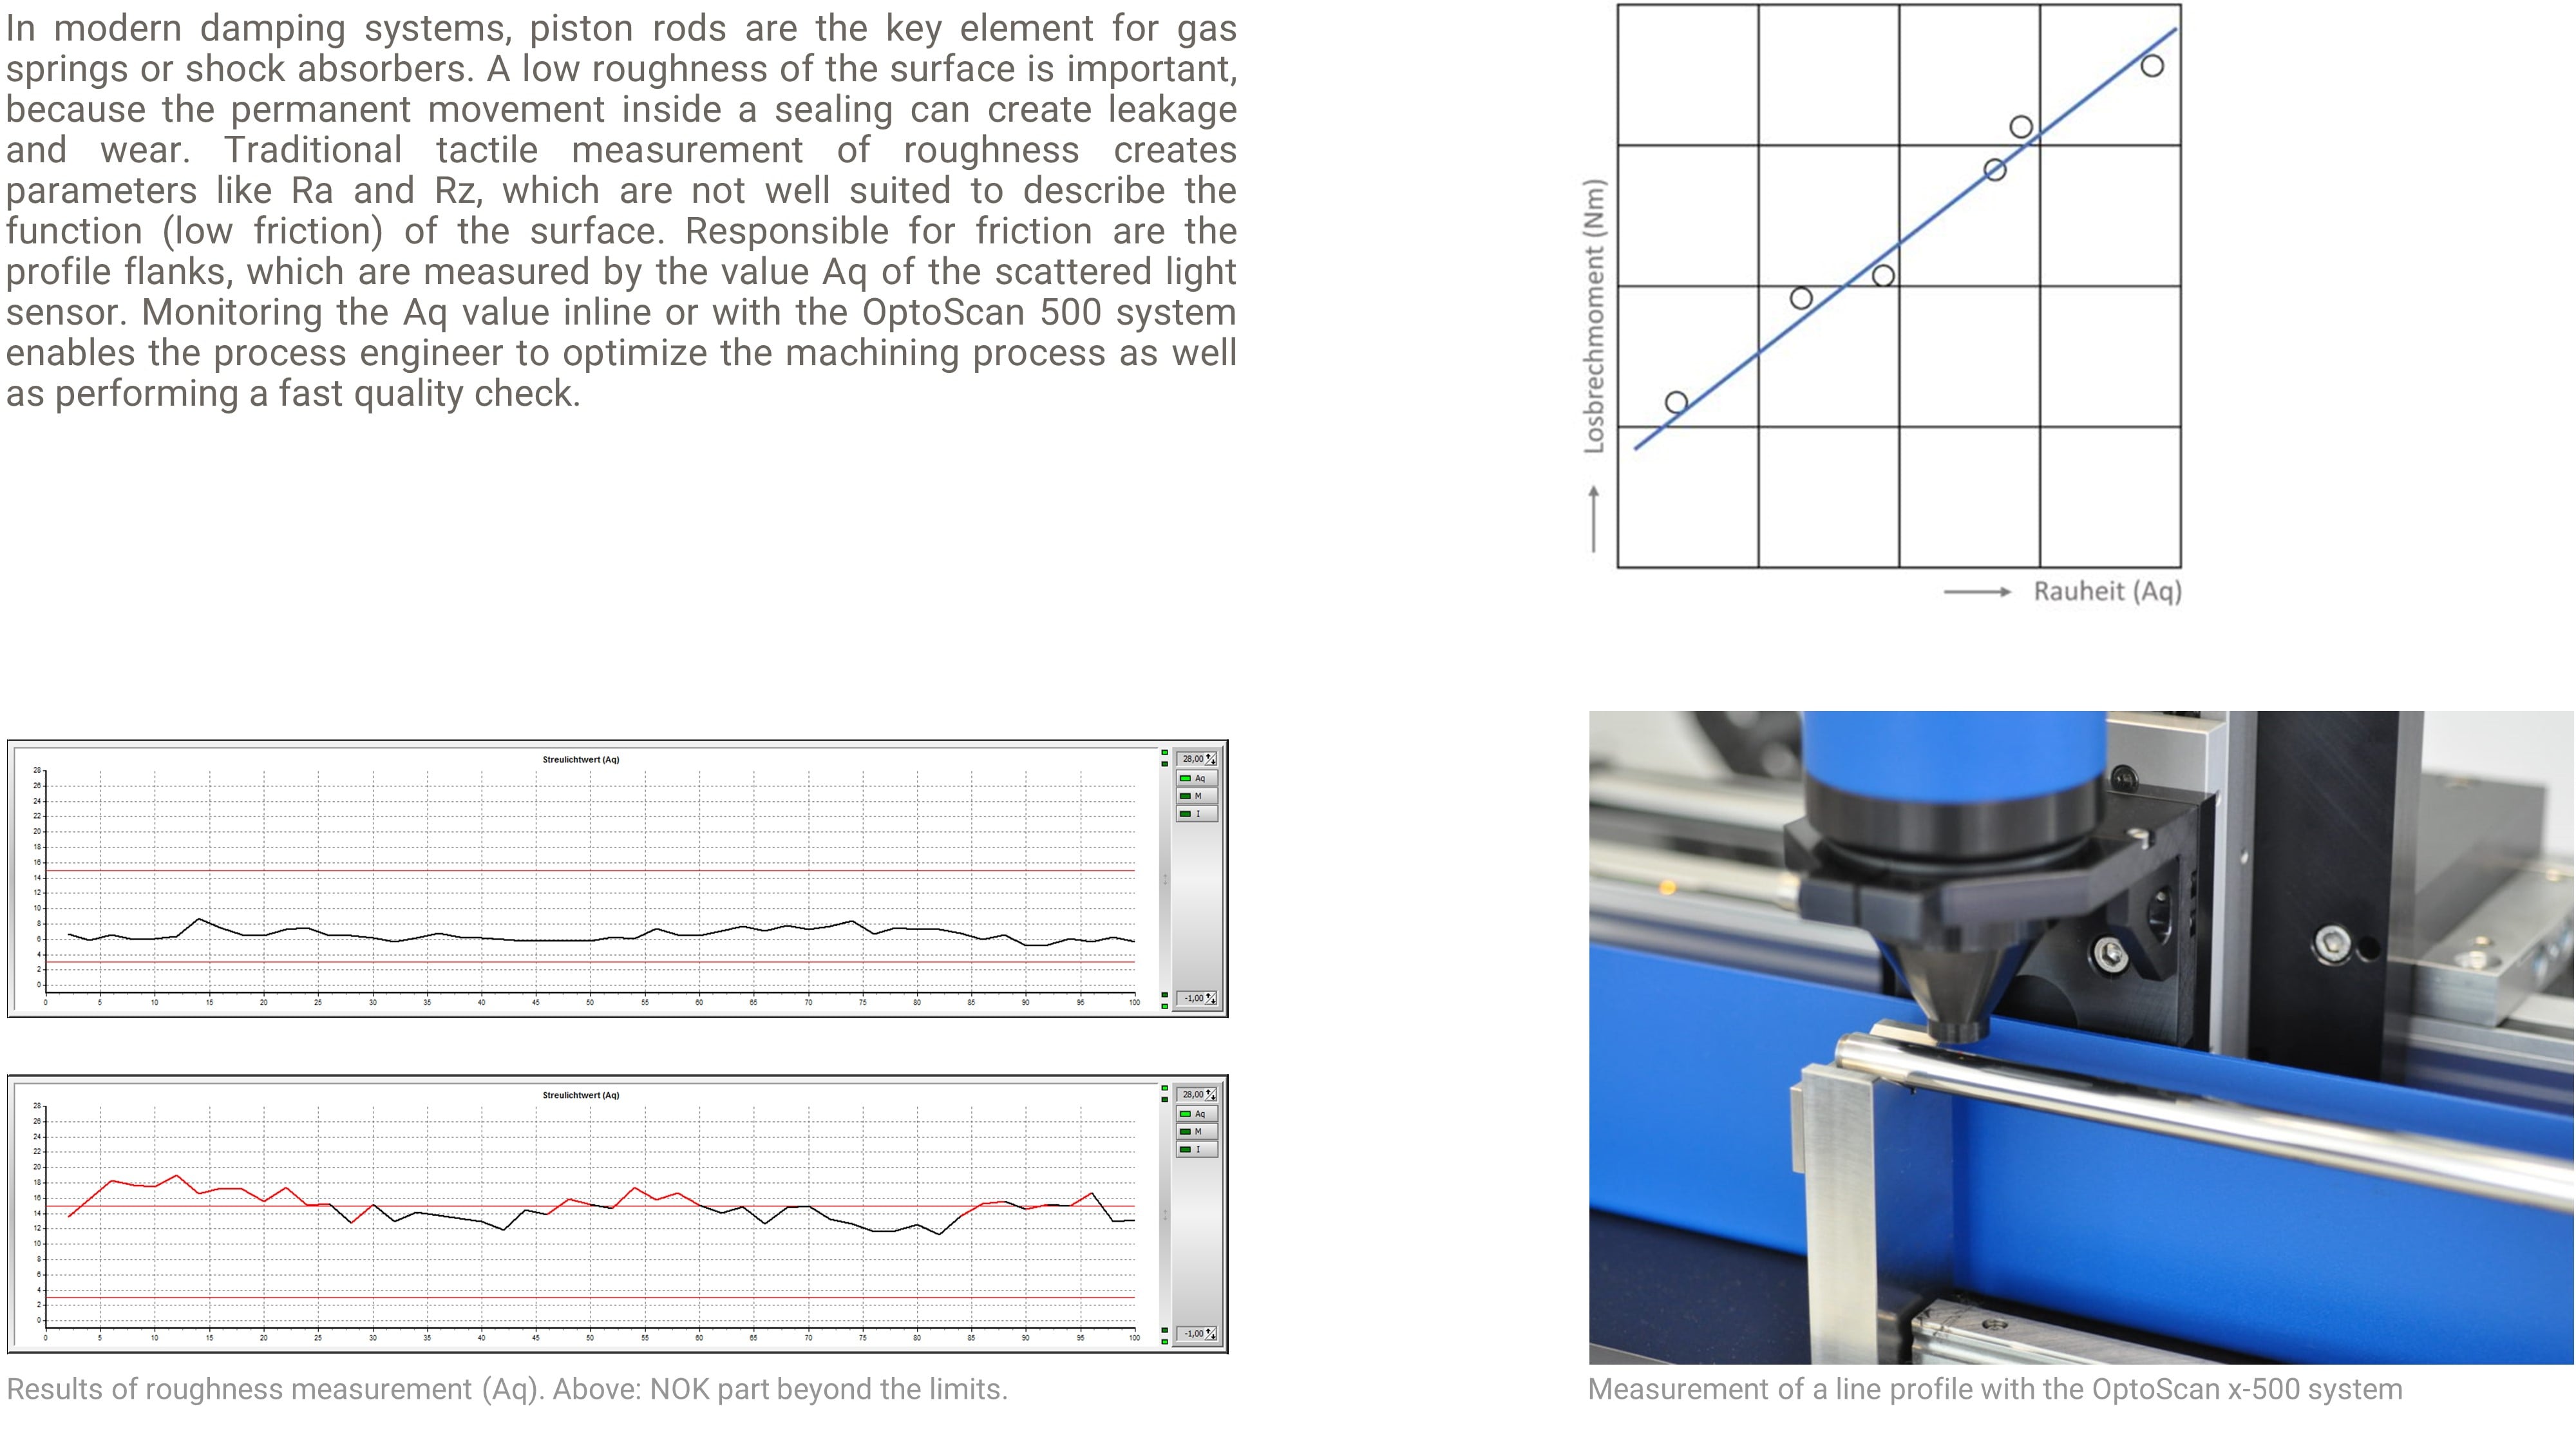
Gas-spring damper rods
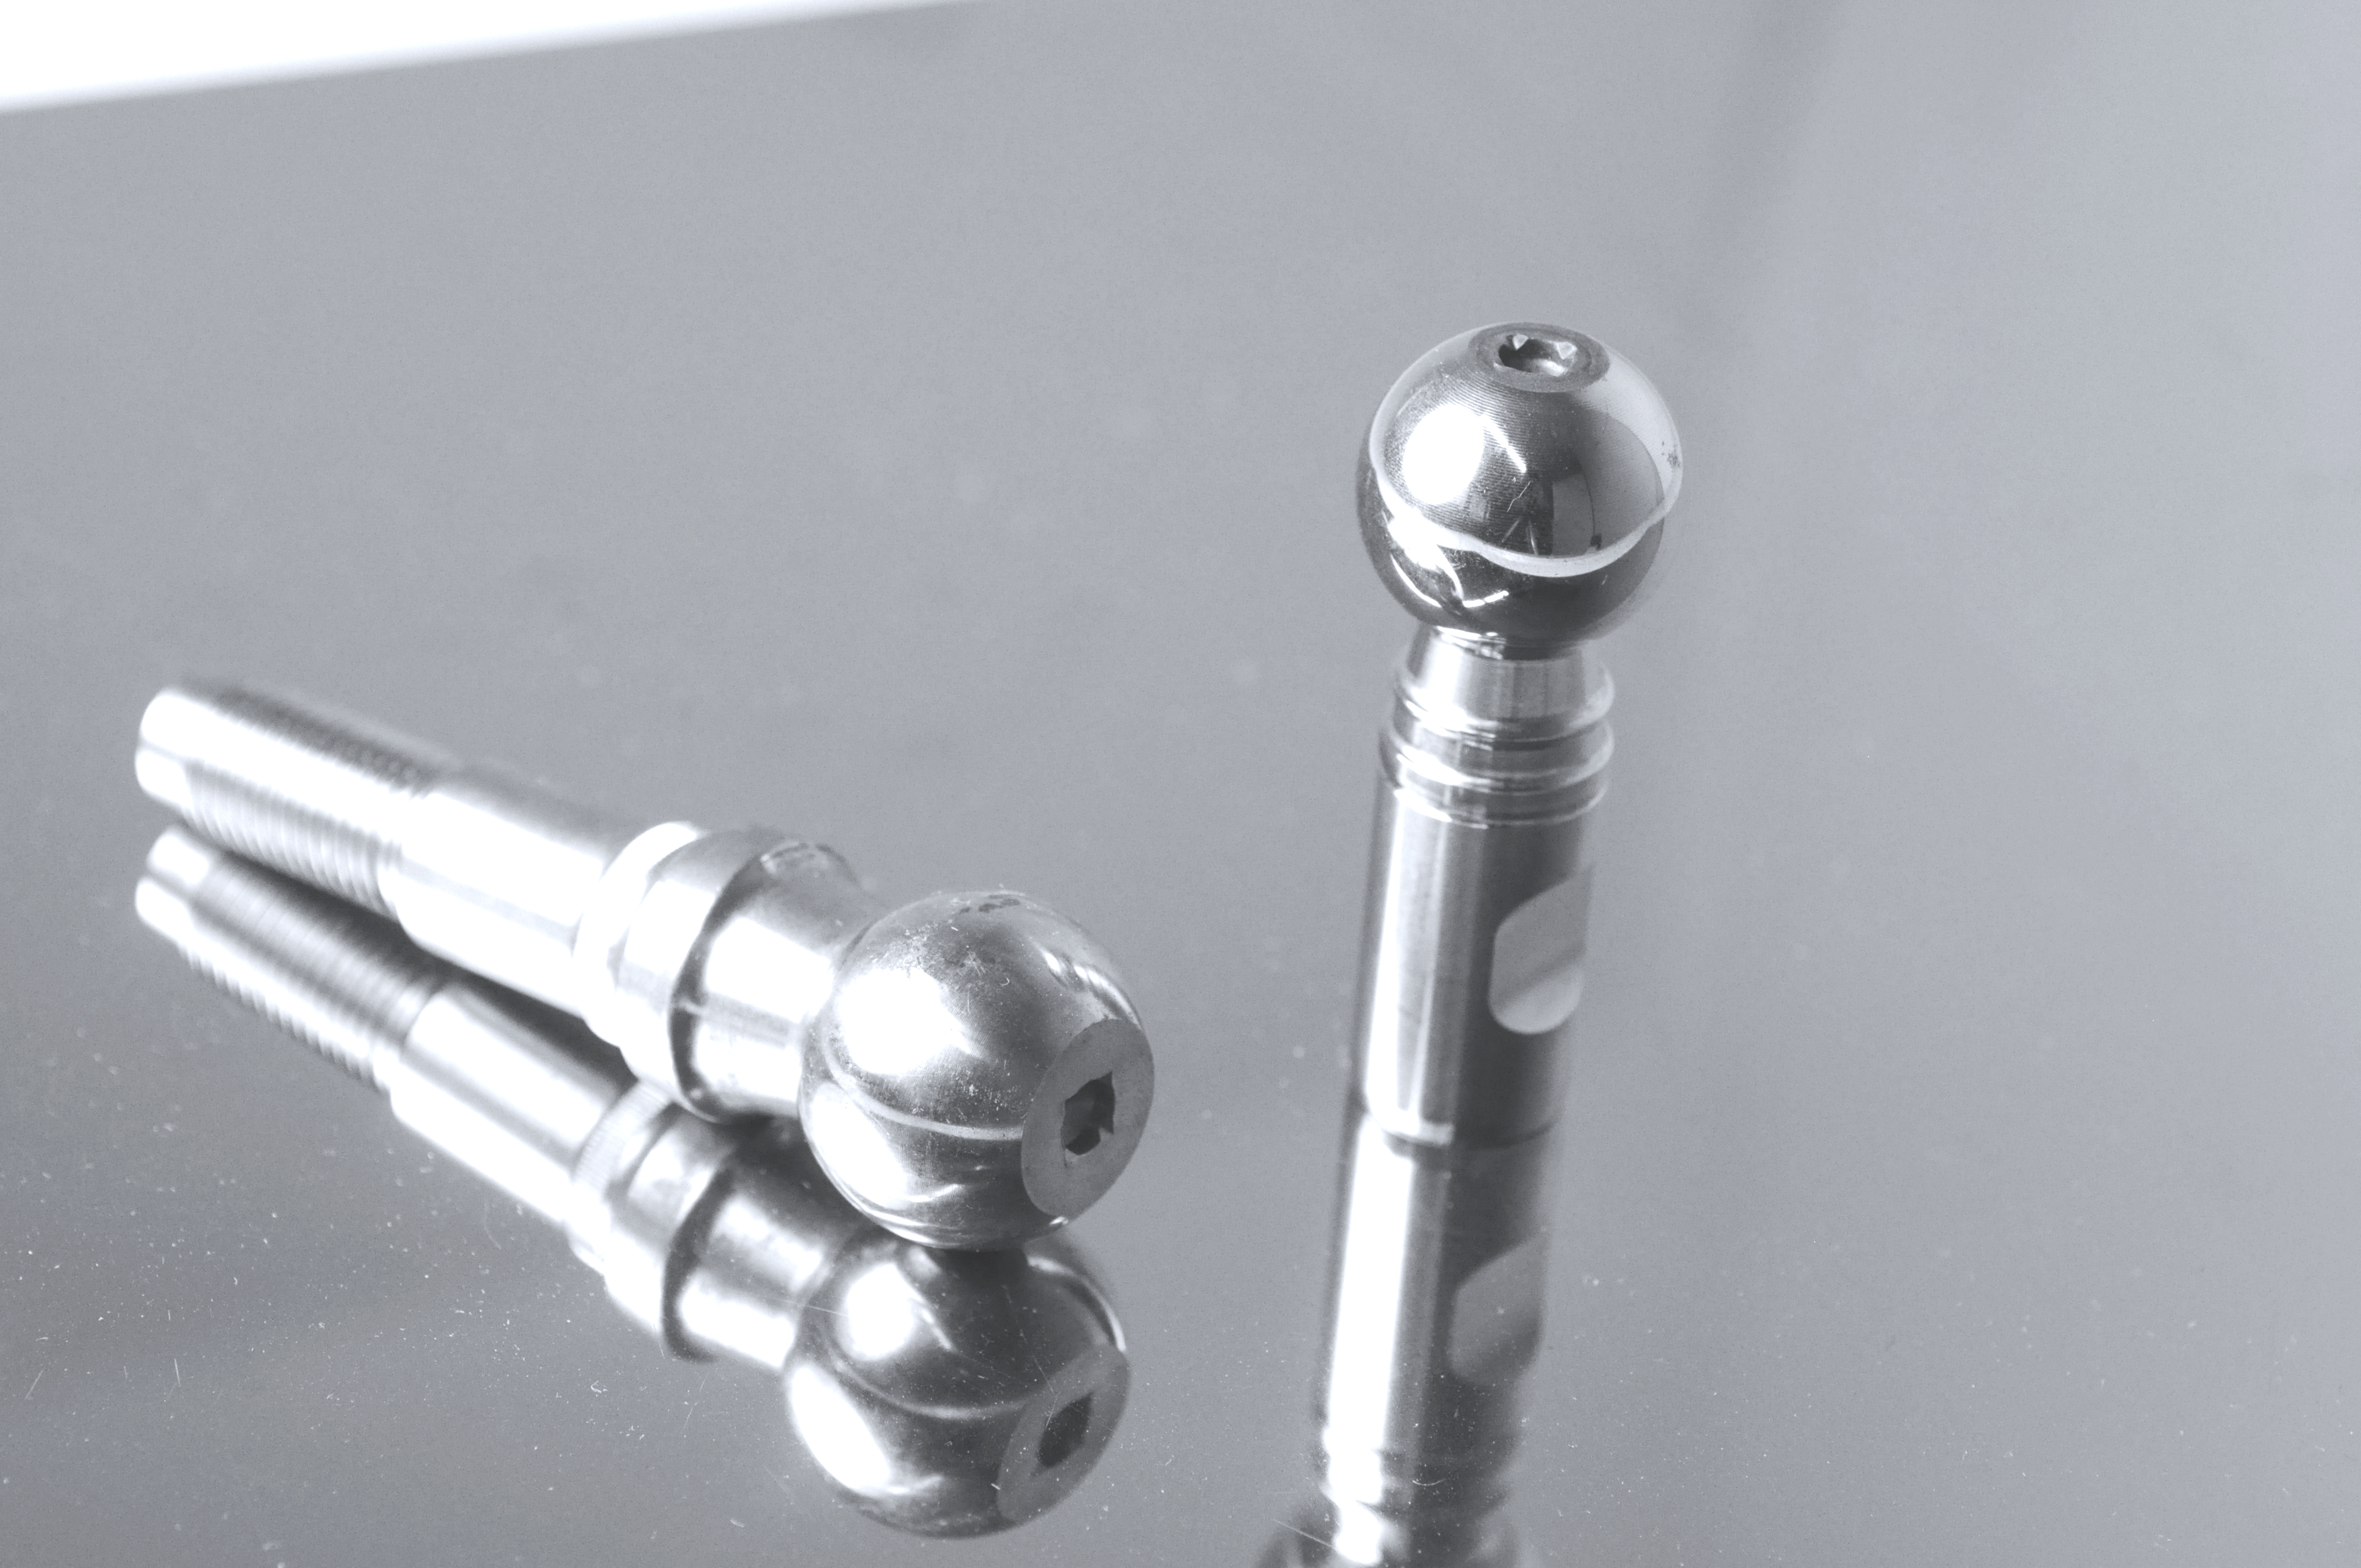
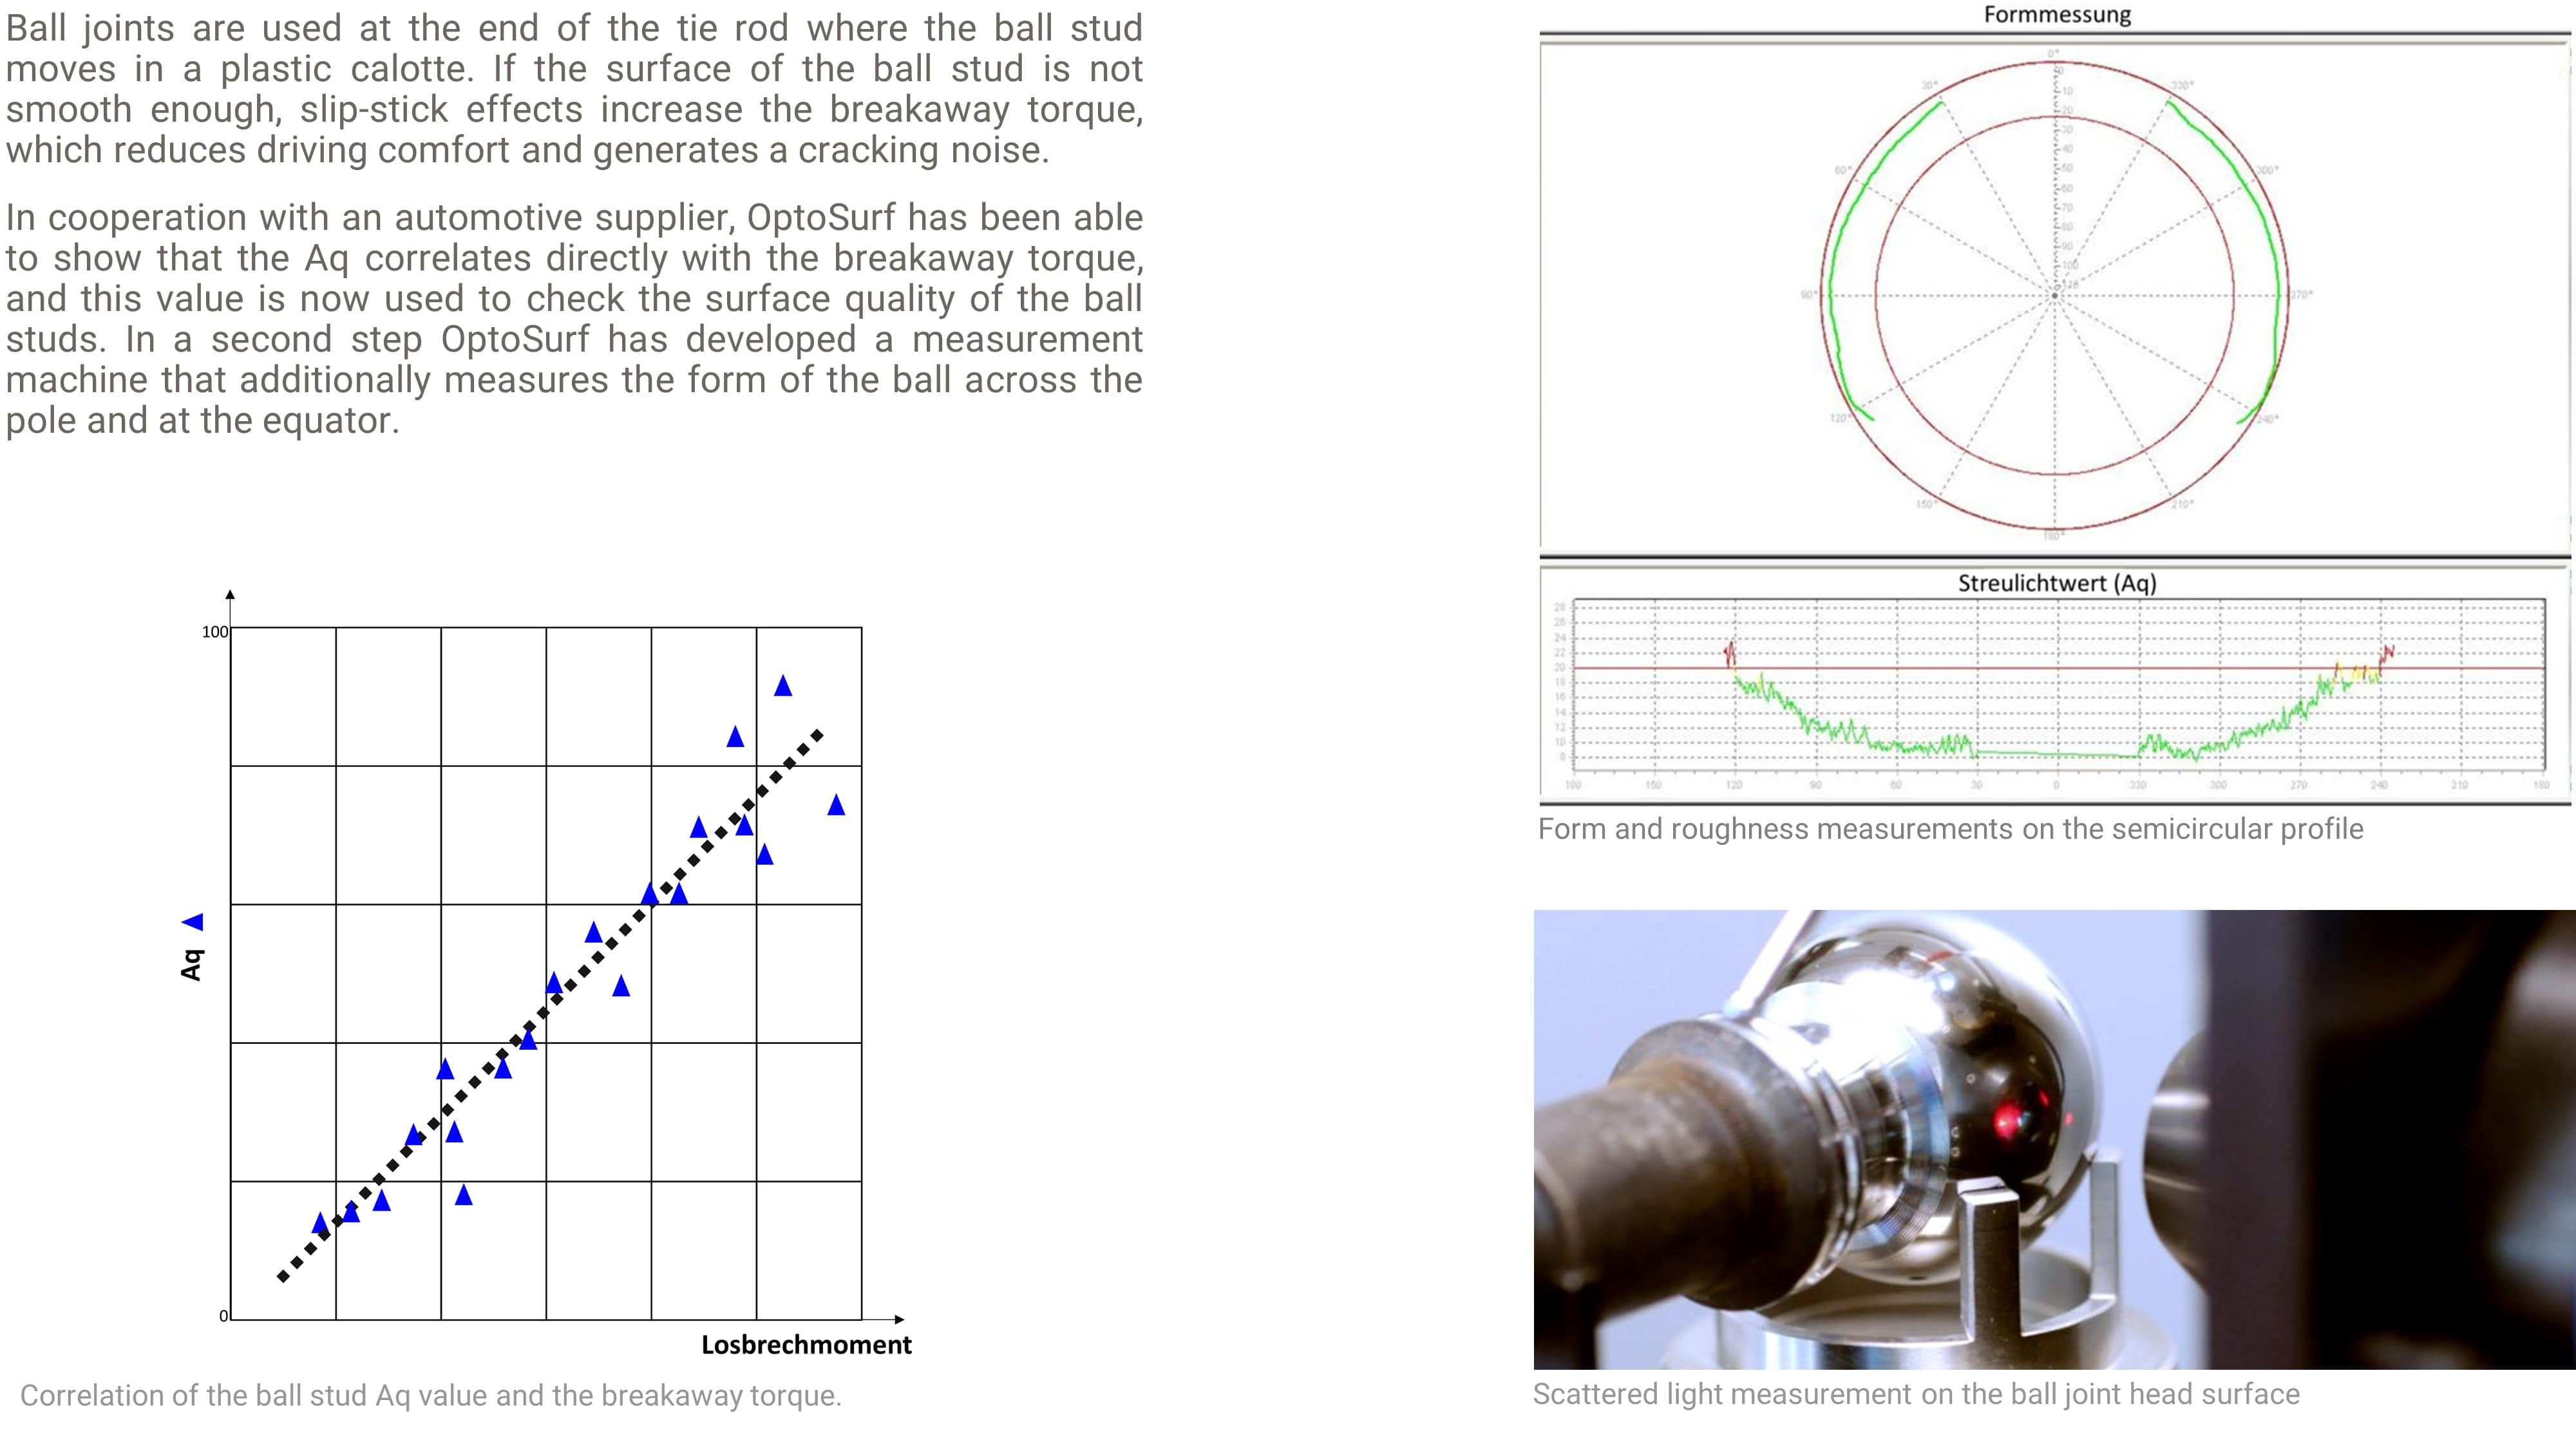
Ball studs
Optical surface measurements in a harshly shop floor environment
Quality control – process control – cost reduction
Contact
Optosurf GmbH
Im Stöck 4a
GER-76275 Ettlingen
Phone: +49 72 43 20053 00
Email: info@optosurf.de
This site uses cookies. By continuing to use the site, you agree to the use of cookies.
Accept settingssettingsCookie and Privacy Settings
We may request cookies to be set on your device. We use cookies to let us know when you visit our websites, how you interact with us, to enrich your user experience, and to customize your relationship with our website.
Click on the different category headings to find out more. You can also change some of your preferences. Note that blocking some types of cookies may impact your experience on our websites and the services we are able to offer.
These cookies are strictly necessary to provide you with services available through our website and to use some of its features.
Because these cookies are strictly necessary to deliver the website, refusing them will have impact how our site functions. You always can block or delete cookies by changing your browser settings and force blocking all cookies on this website. But this will always prompt you to accept/refuse cookies when revisiting our site.
We fully respect if you want to refuse cookies but to avoid asking you again and again kindly allow us to store a cookie for that. You are free to opt out any time or opt in for other cookies to get a better experience. If you refuse cookies we will remove all set cookies in our domain.
We provide you with a list of stored cookies on your computer in our domain so you can check what we stored. Due to security reasons we are not able to show or modify cookies from other domains. You can check these in your browser security settings.
We also use different external services like Google Webfonts, Google Maps, and external Video providers. Since these providers may collect personal data like your IP address we allow you to block them here. Please be aware that this might heavily reduce the functionality and appearance of our site. Changes will take effect once you reload the page.
Google Webfont Settings:
Google Map Settings:
Google reCaptcha Settings:
Vimeo and Youtube video embeds:
From laboratory to 100 % production measurements. Roughness measurement < Ra 10 nm
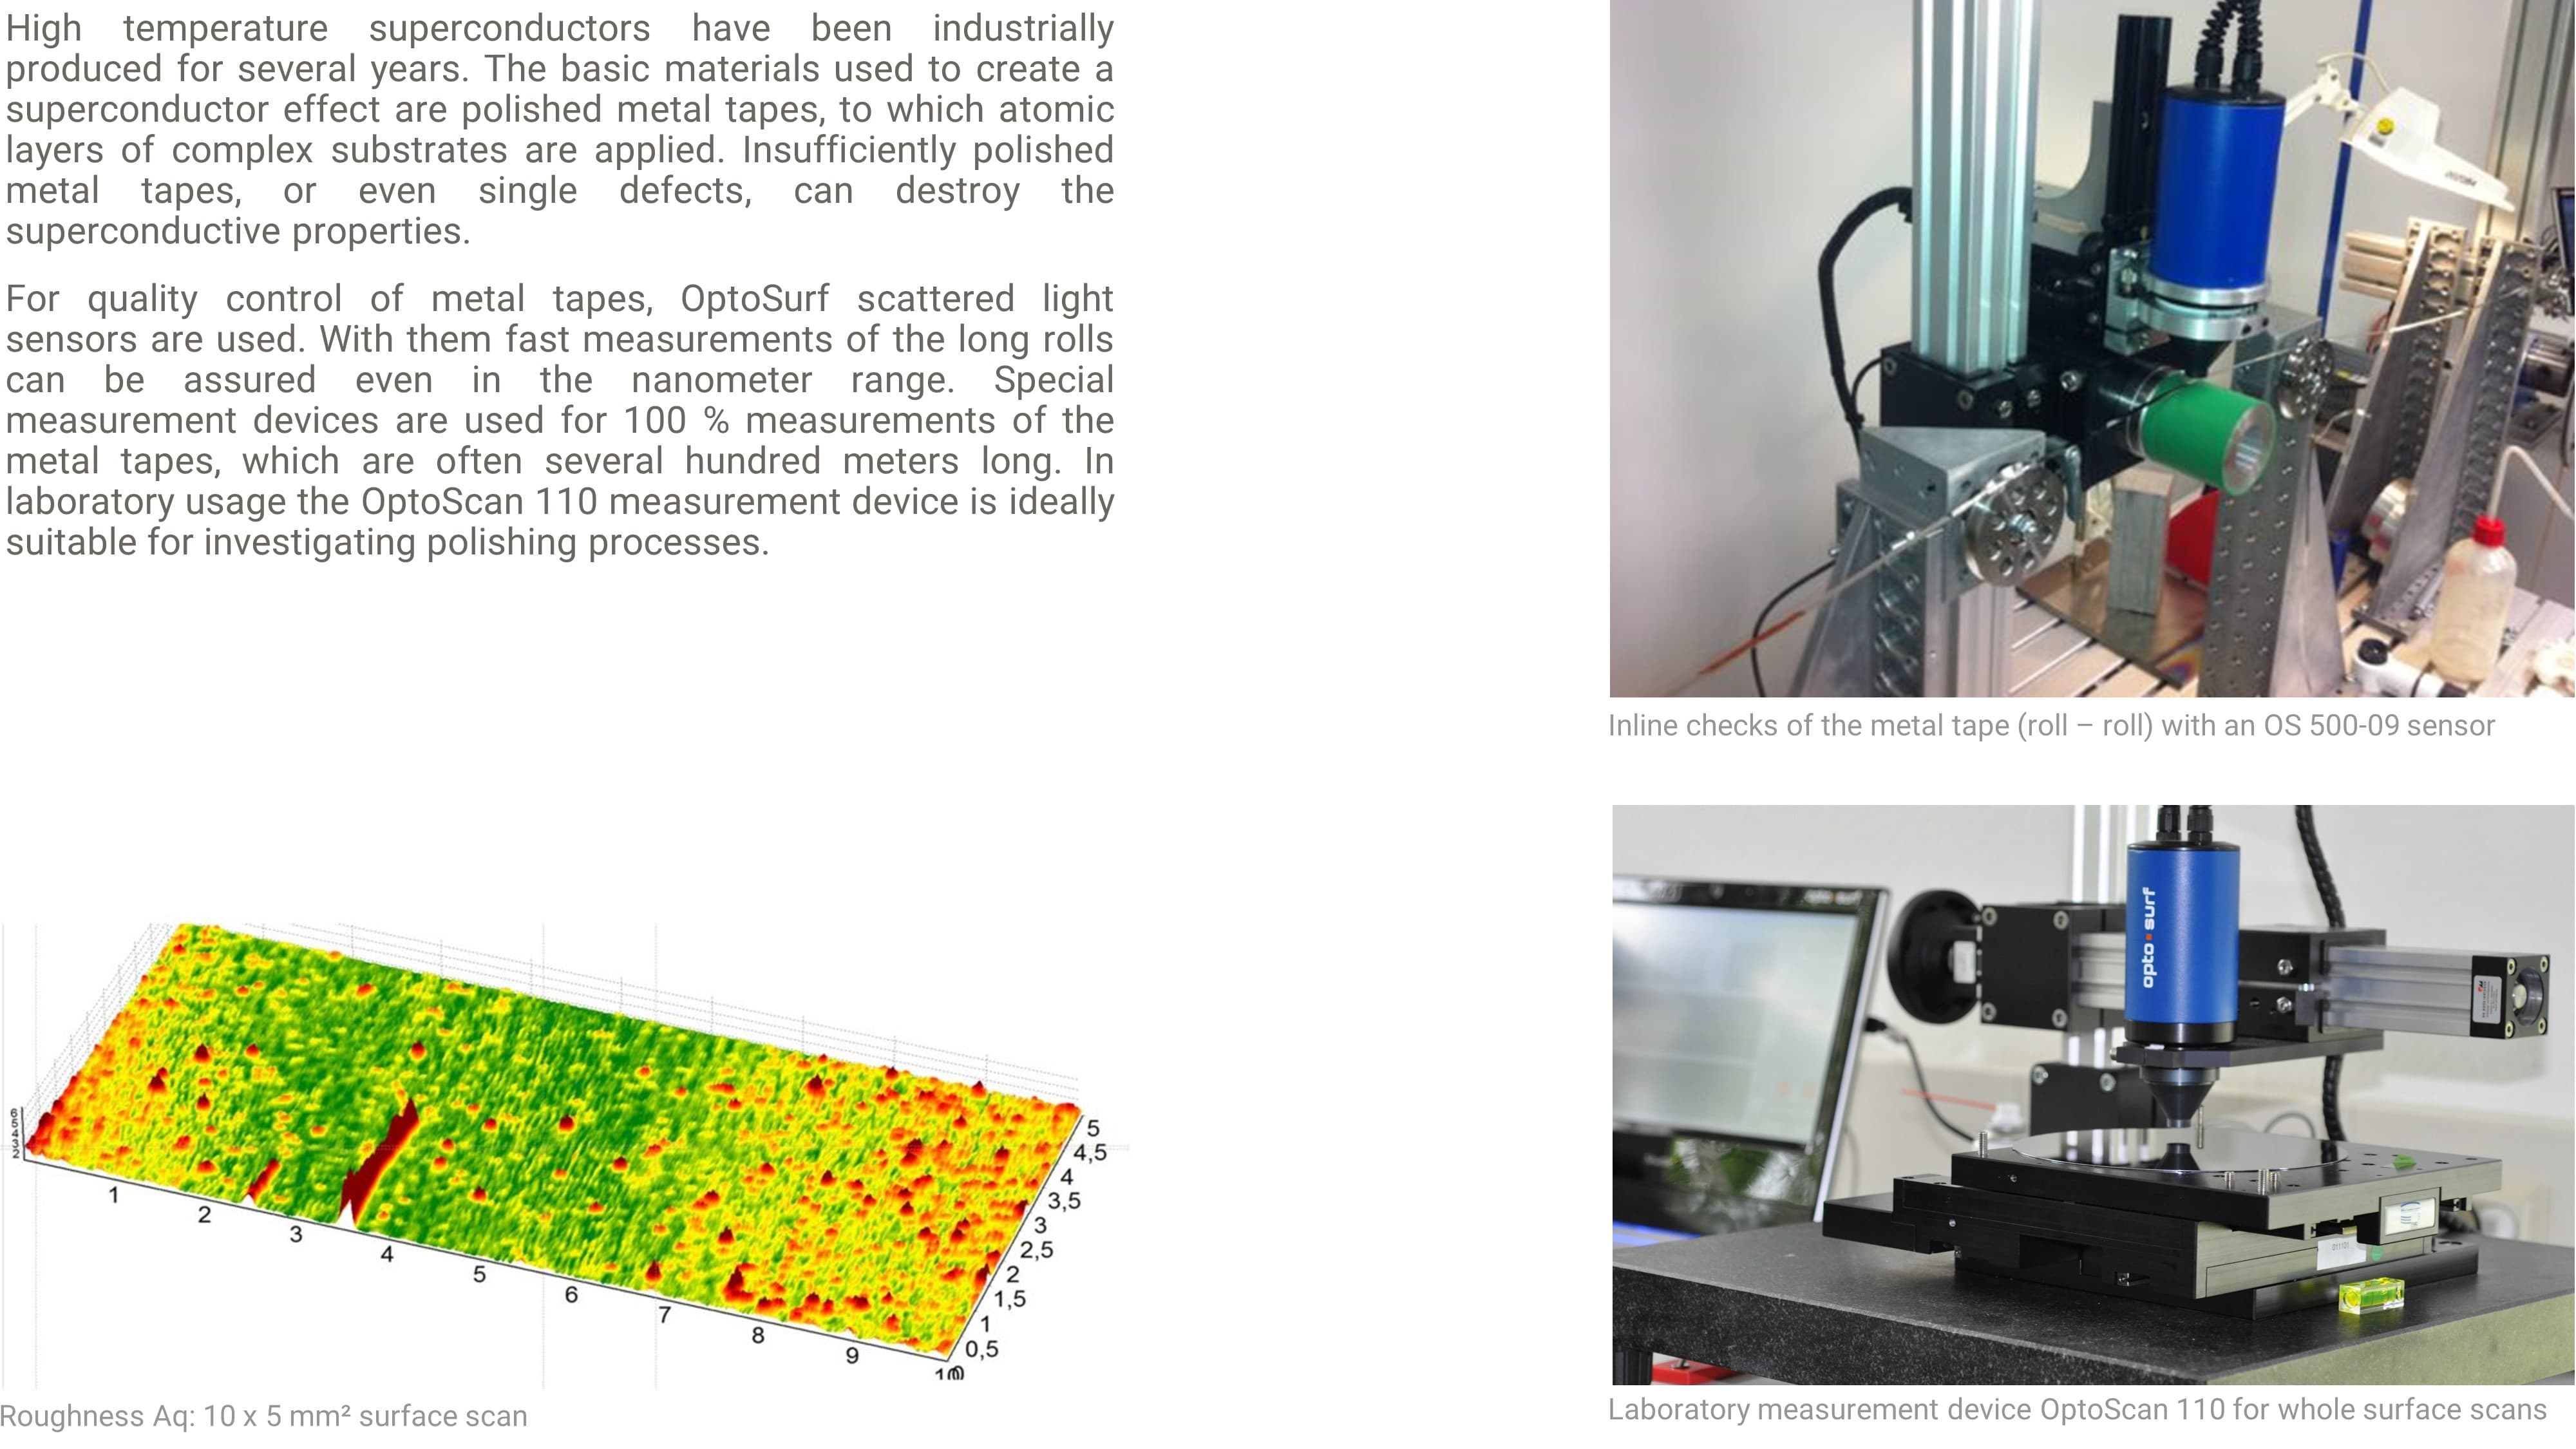
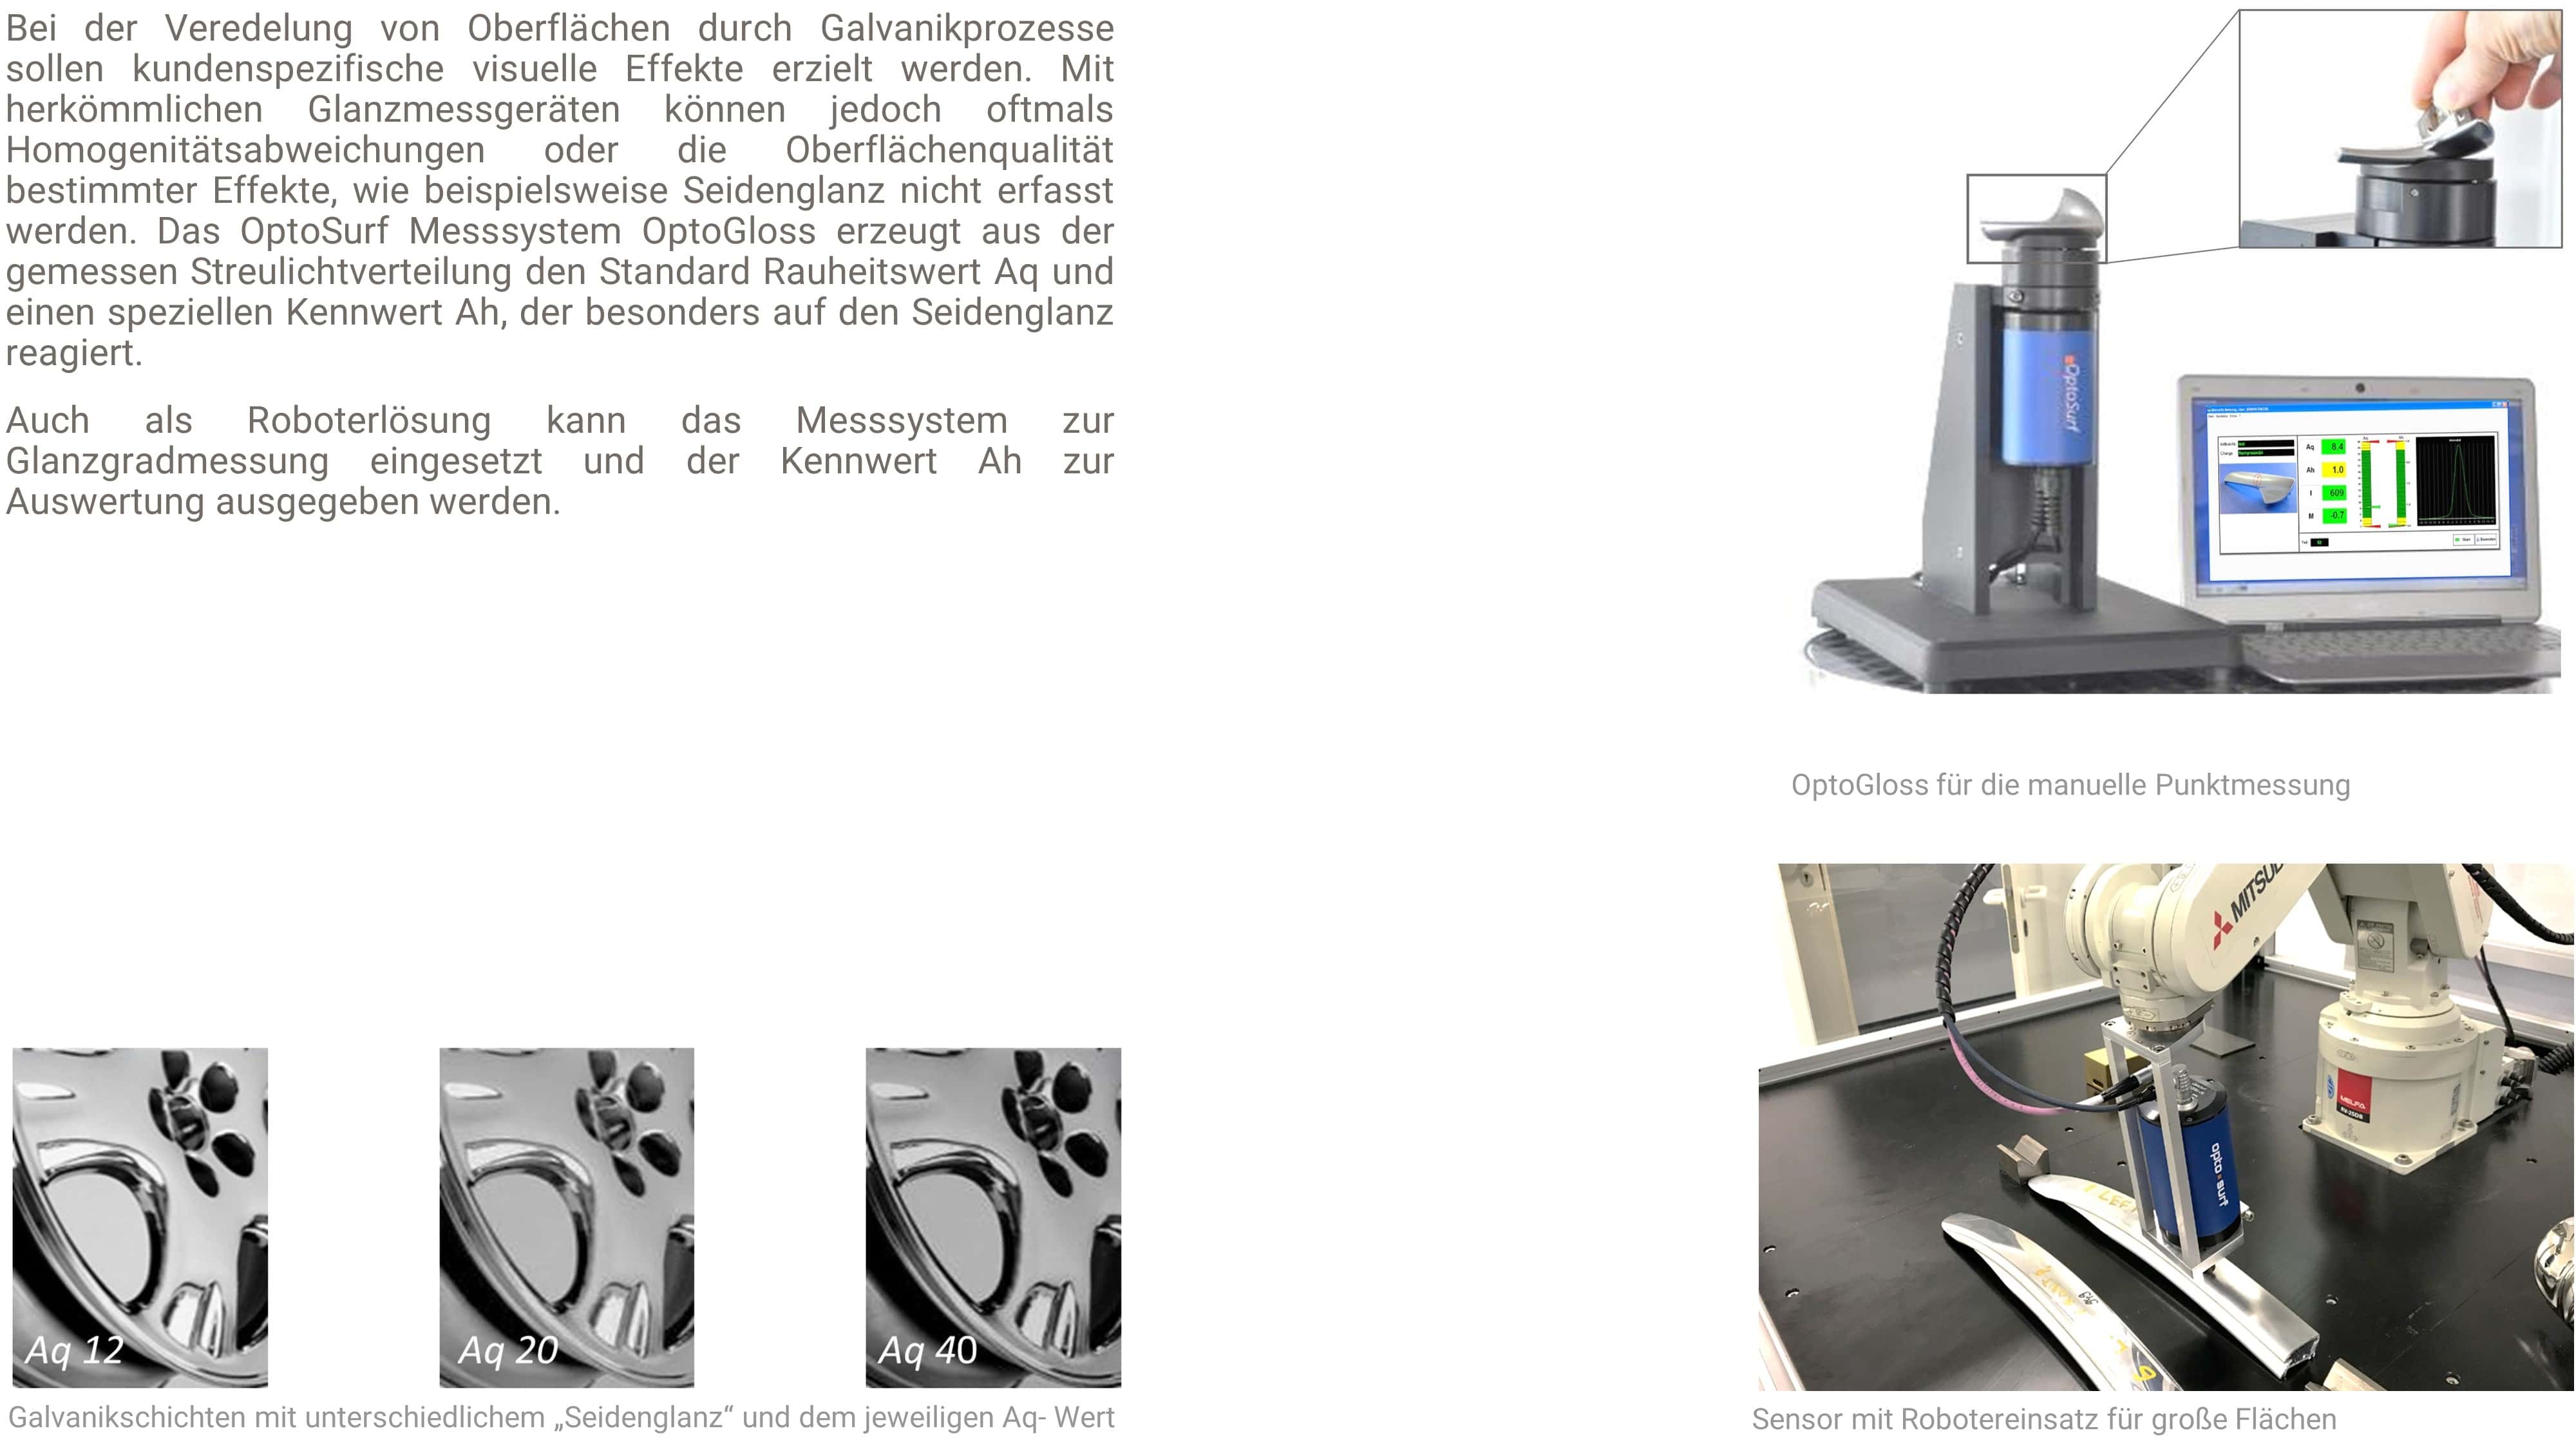
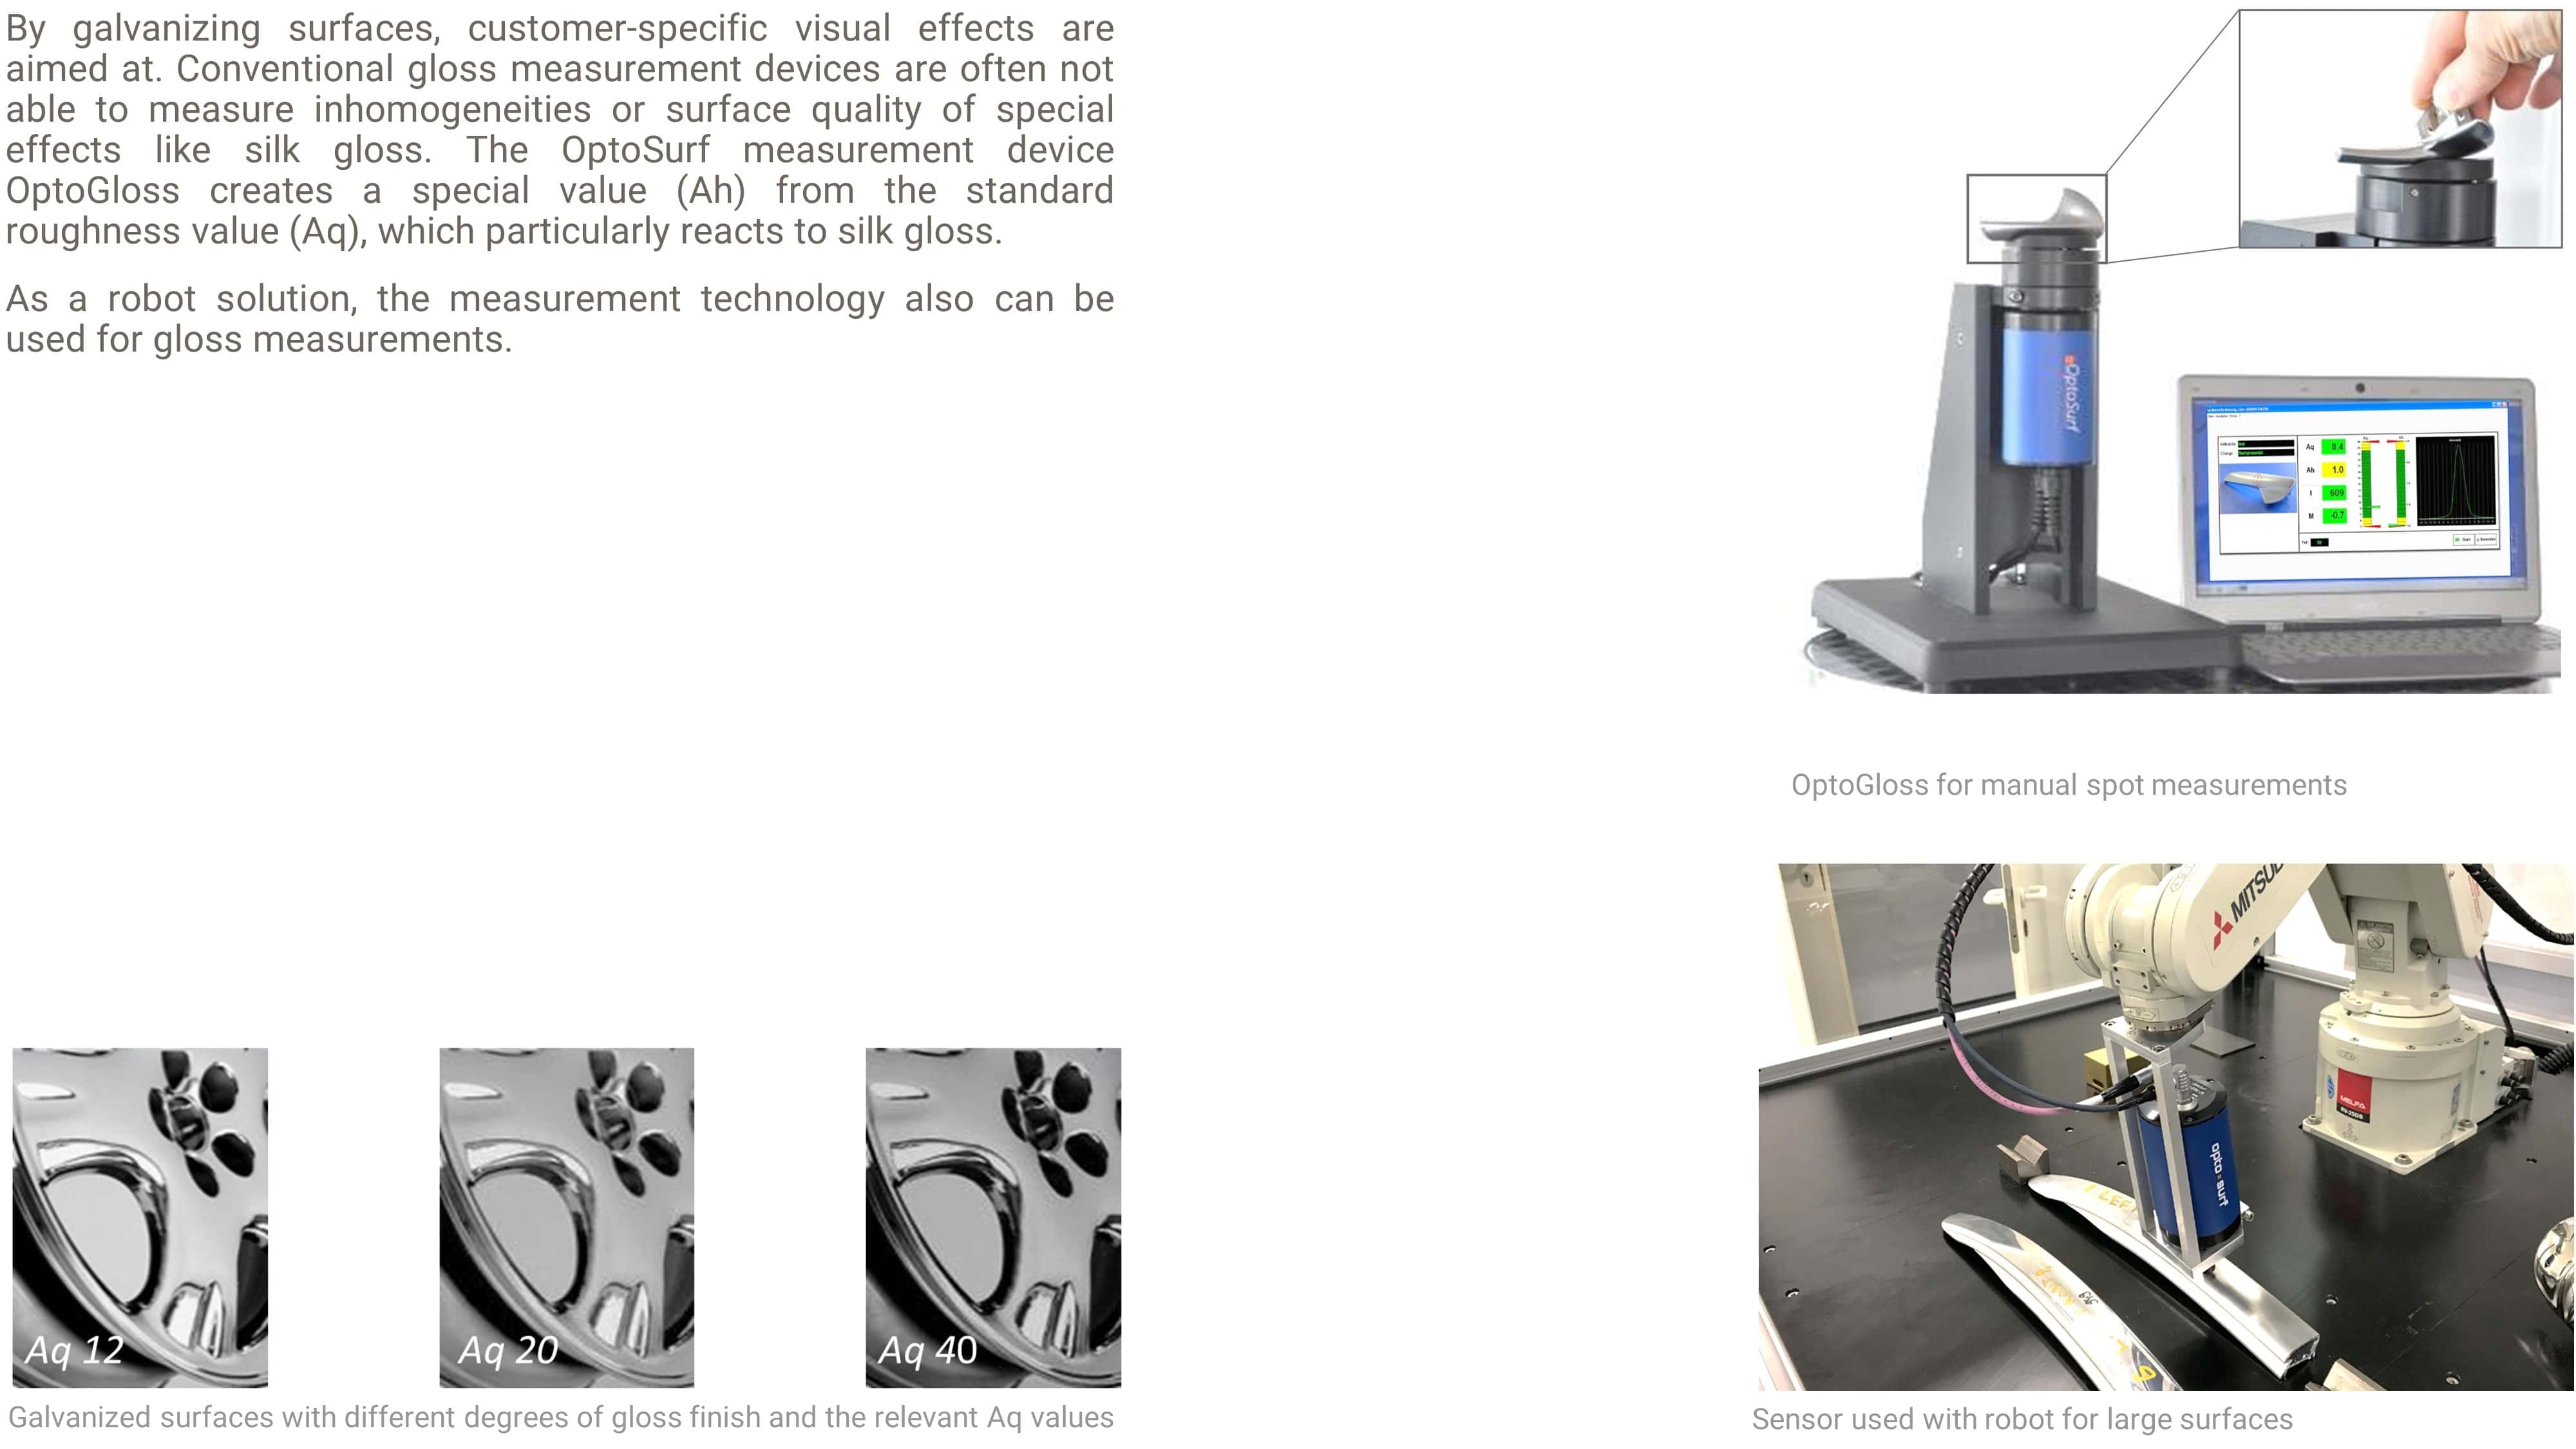
Manual and automated gloss measurement on galvanized surfaces (coated)
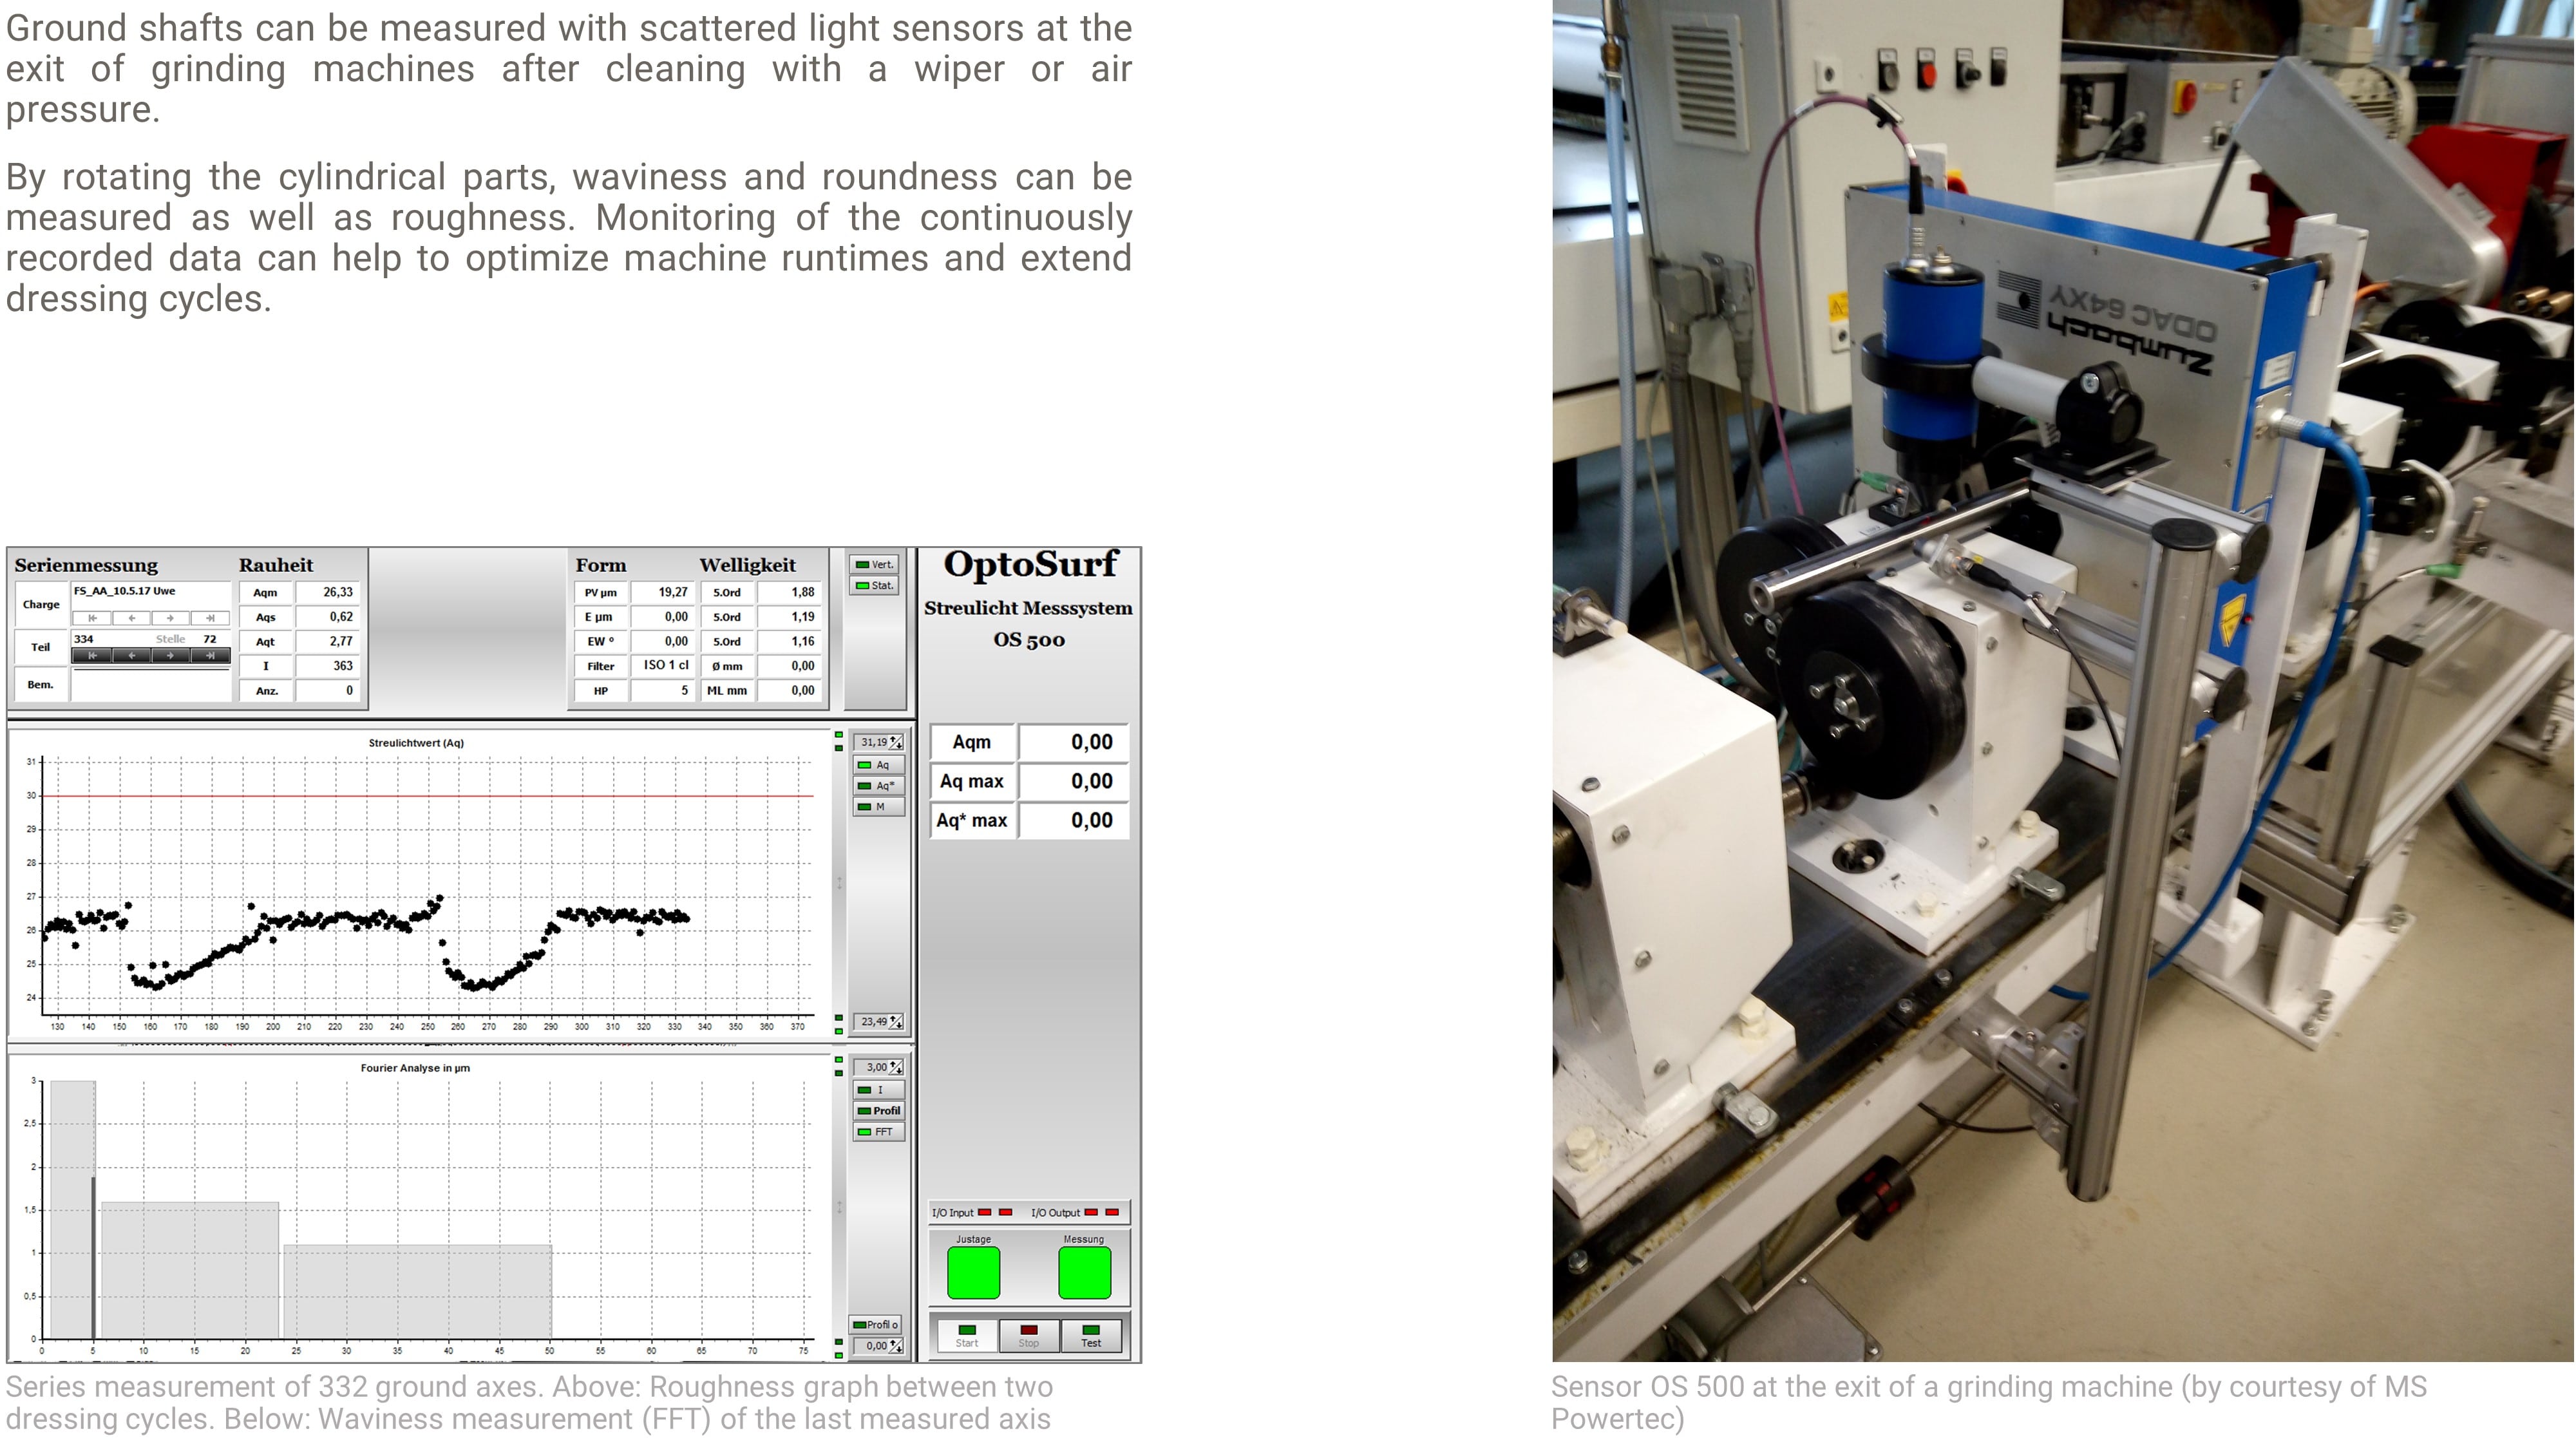
Tool lifetime monitoring of grinding wheels while measuring roundness and waviness
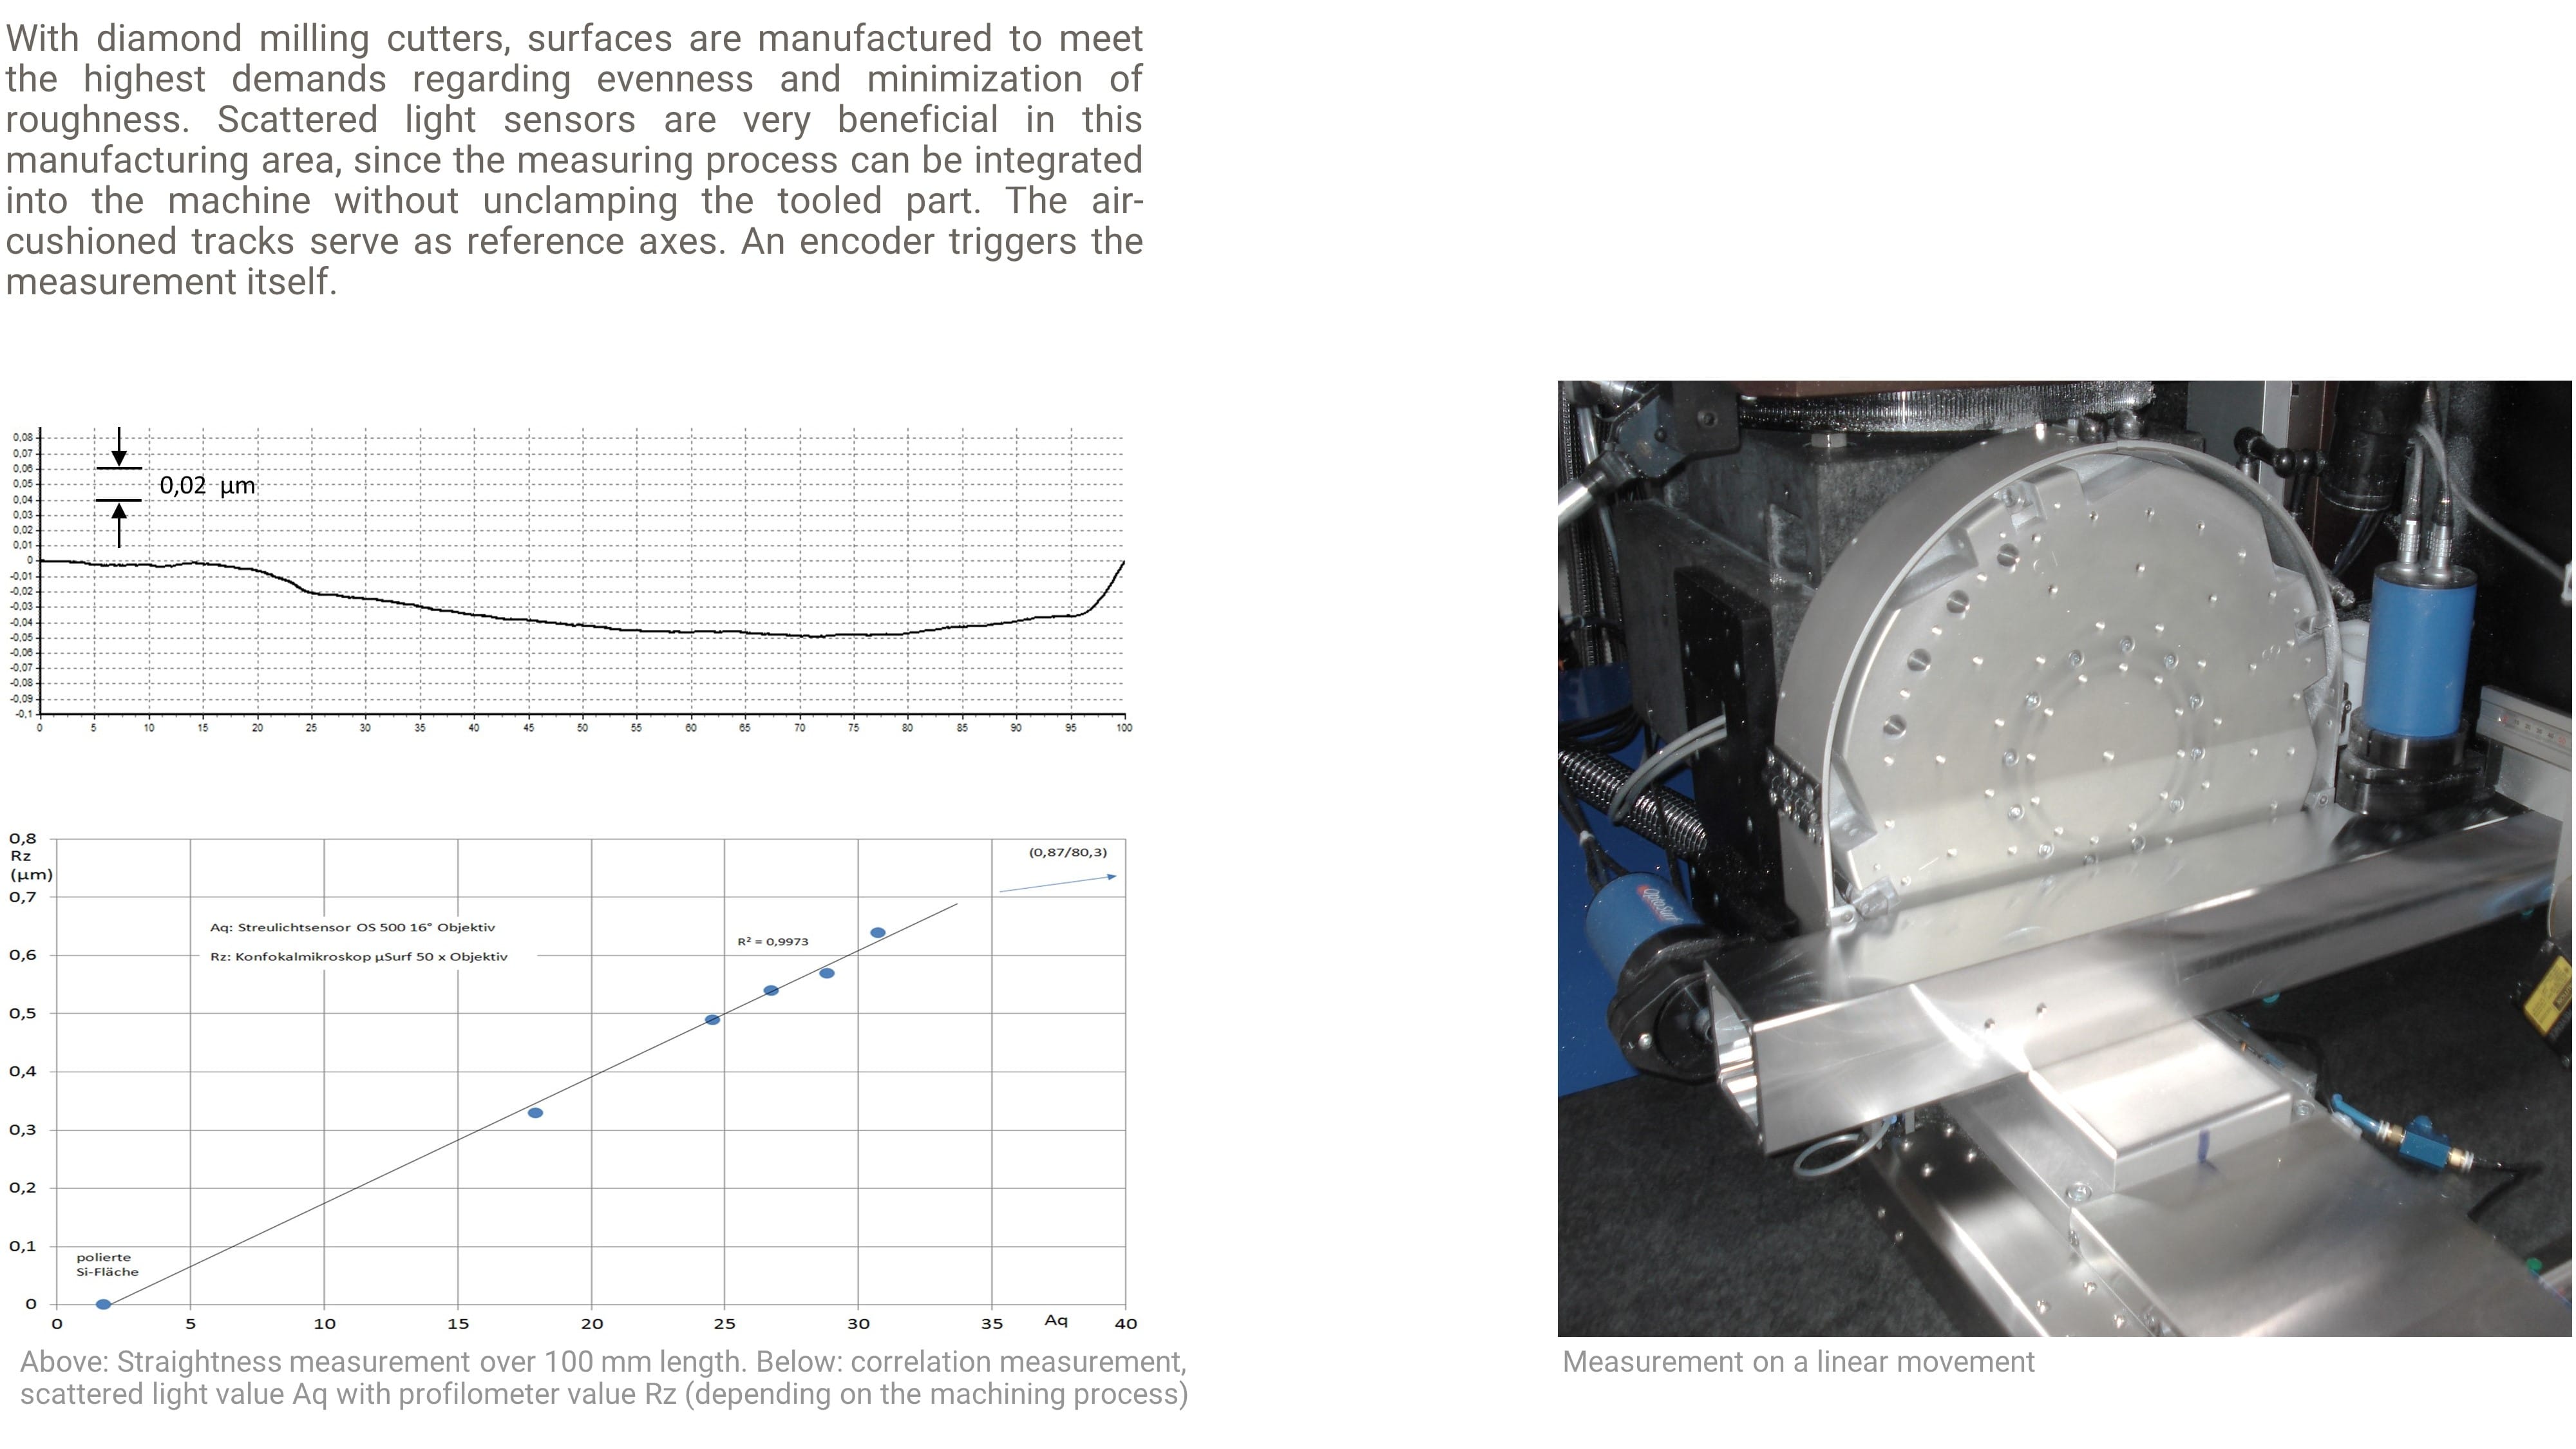
In-process measurement (rougness, straightness) in the nanometer range
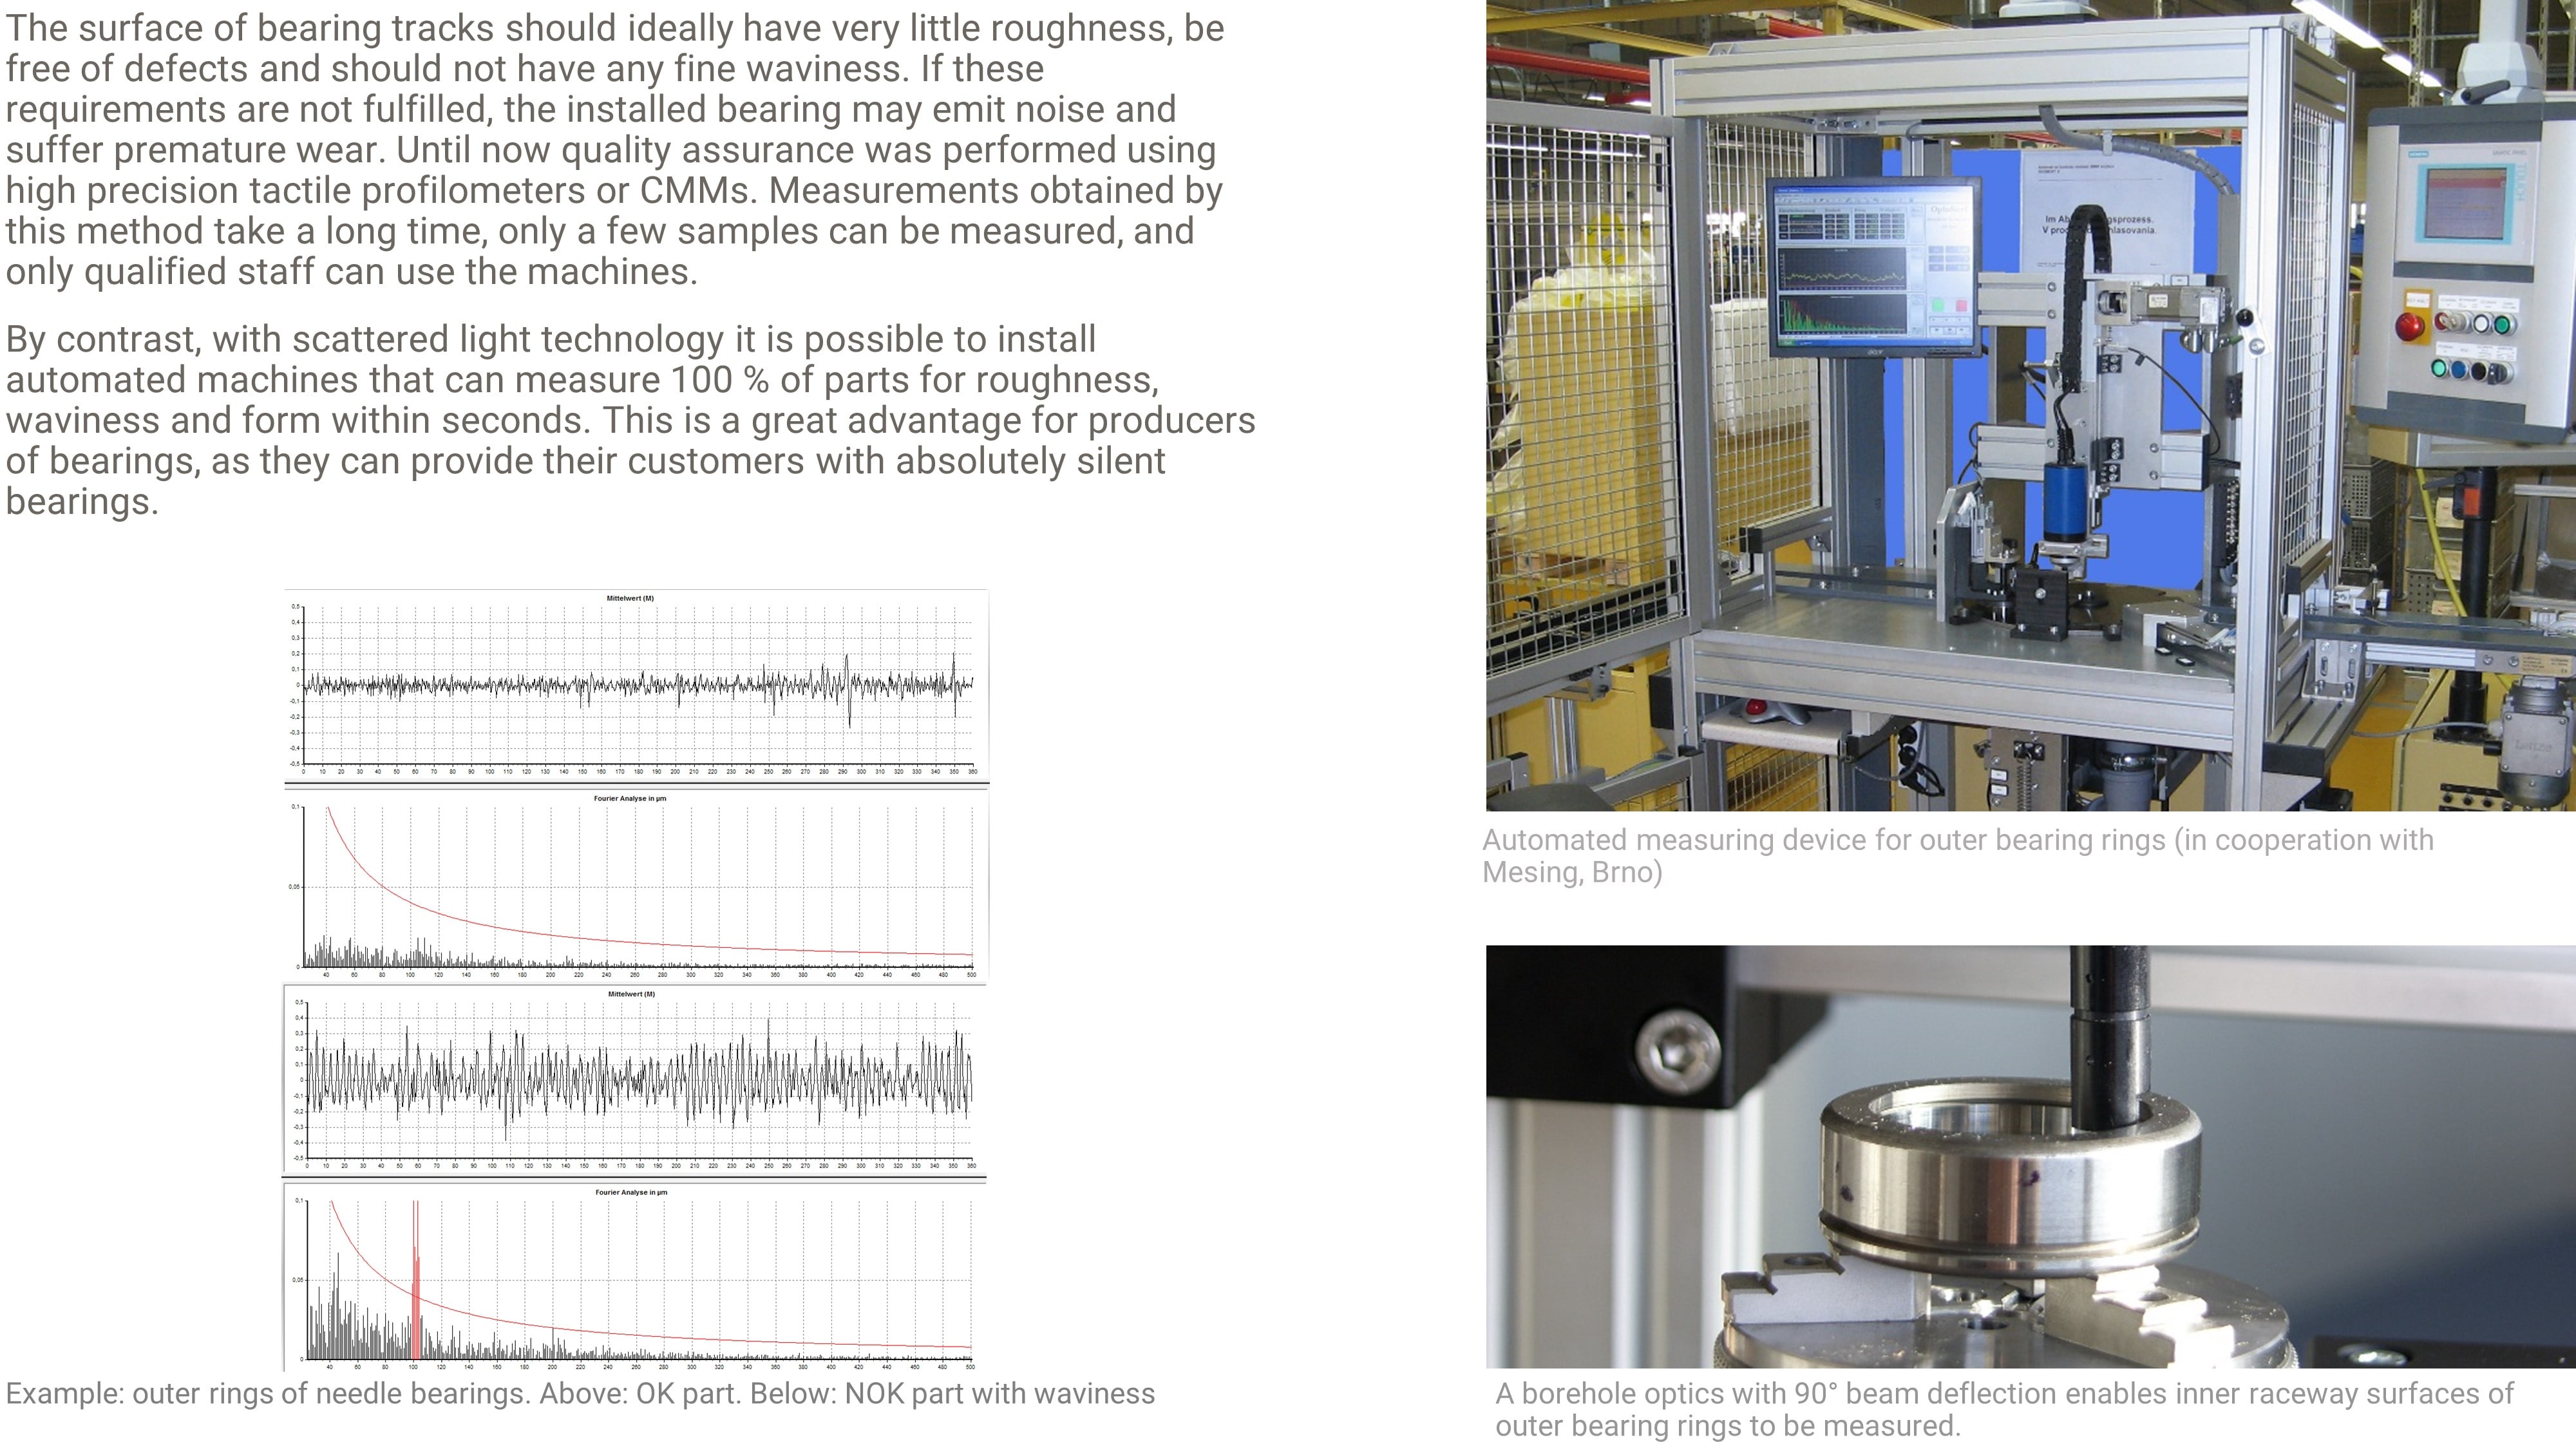
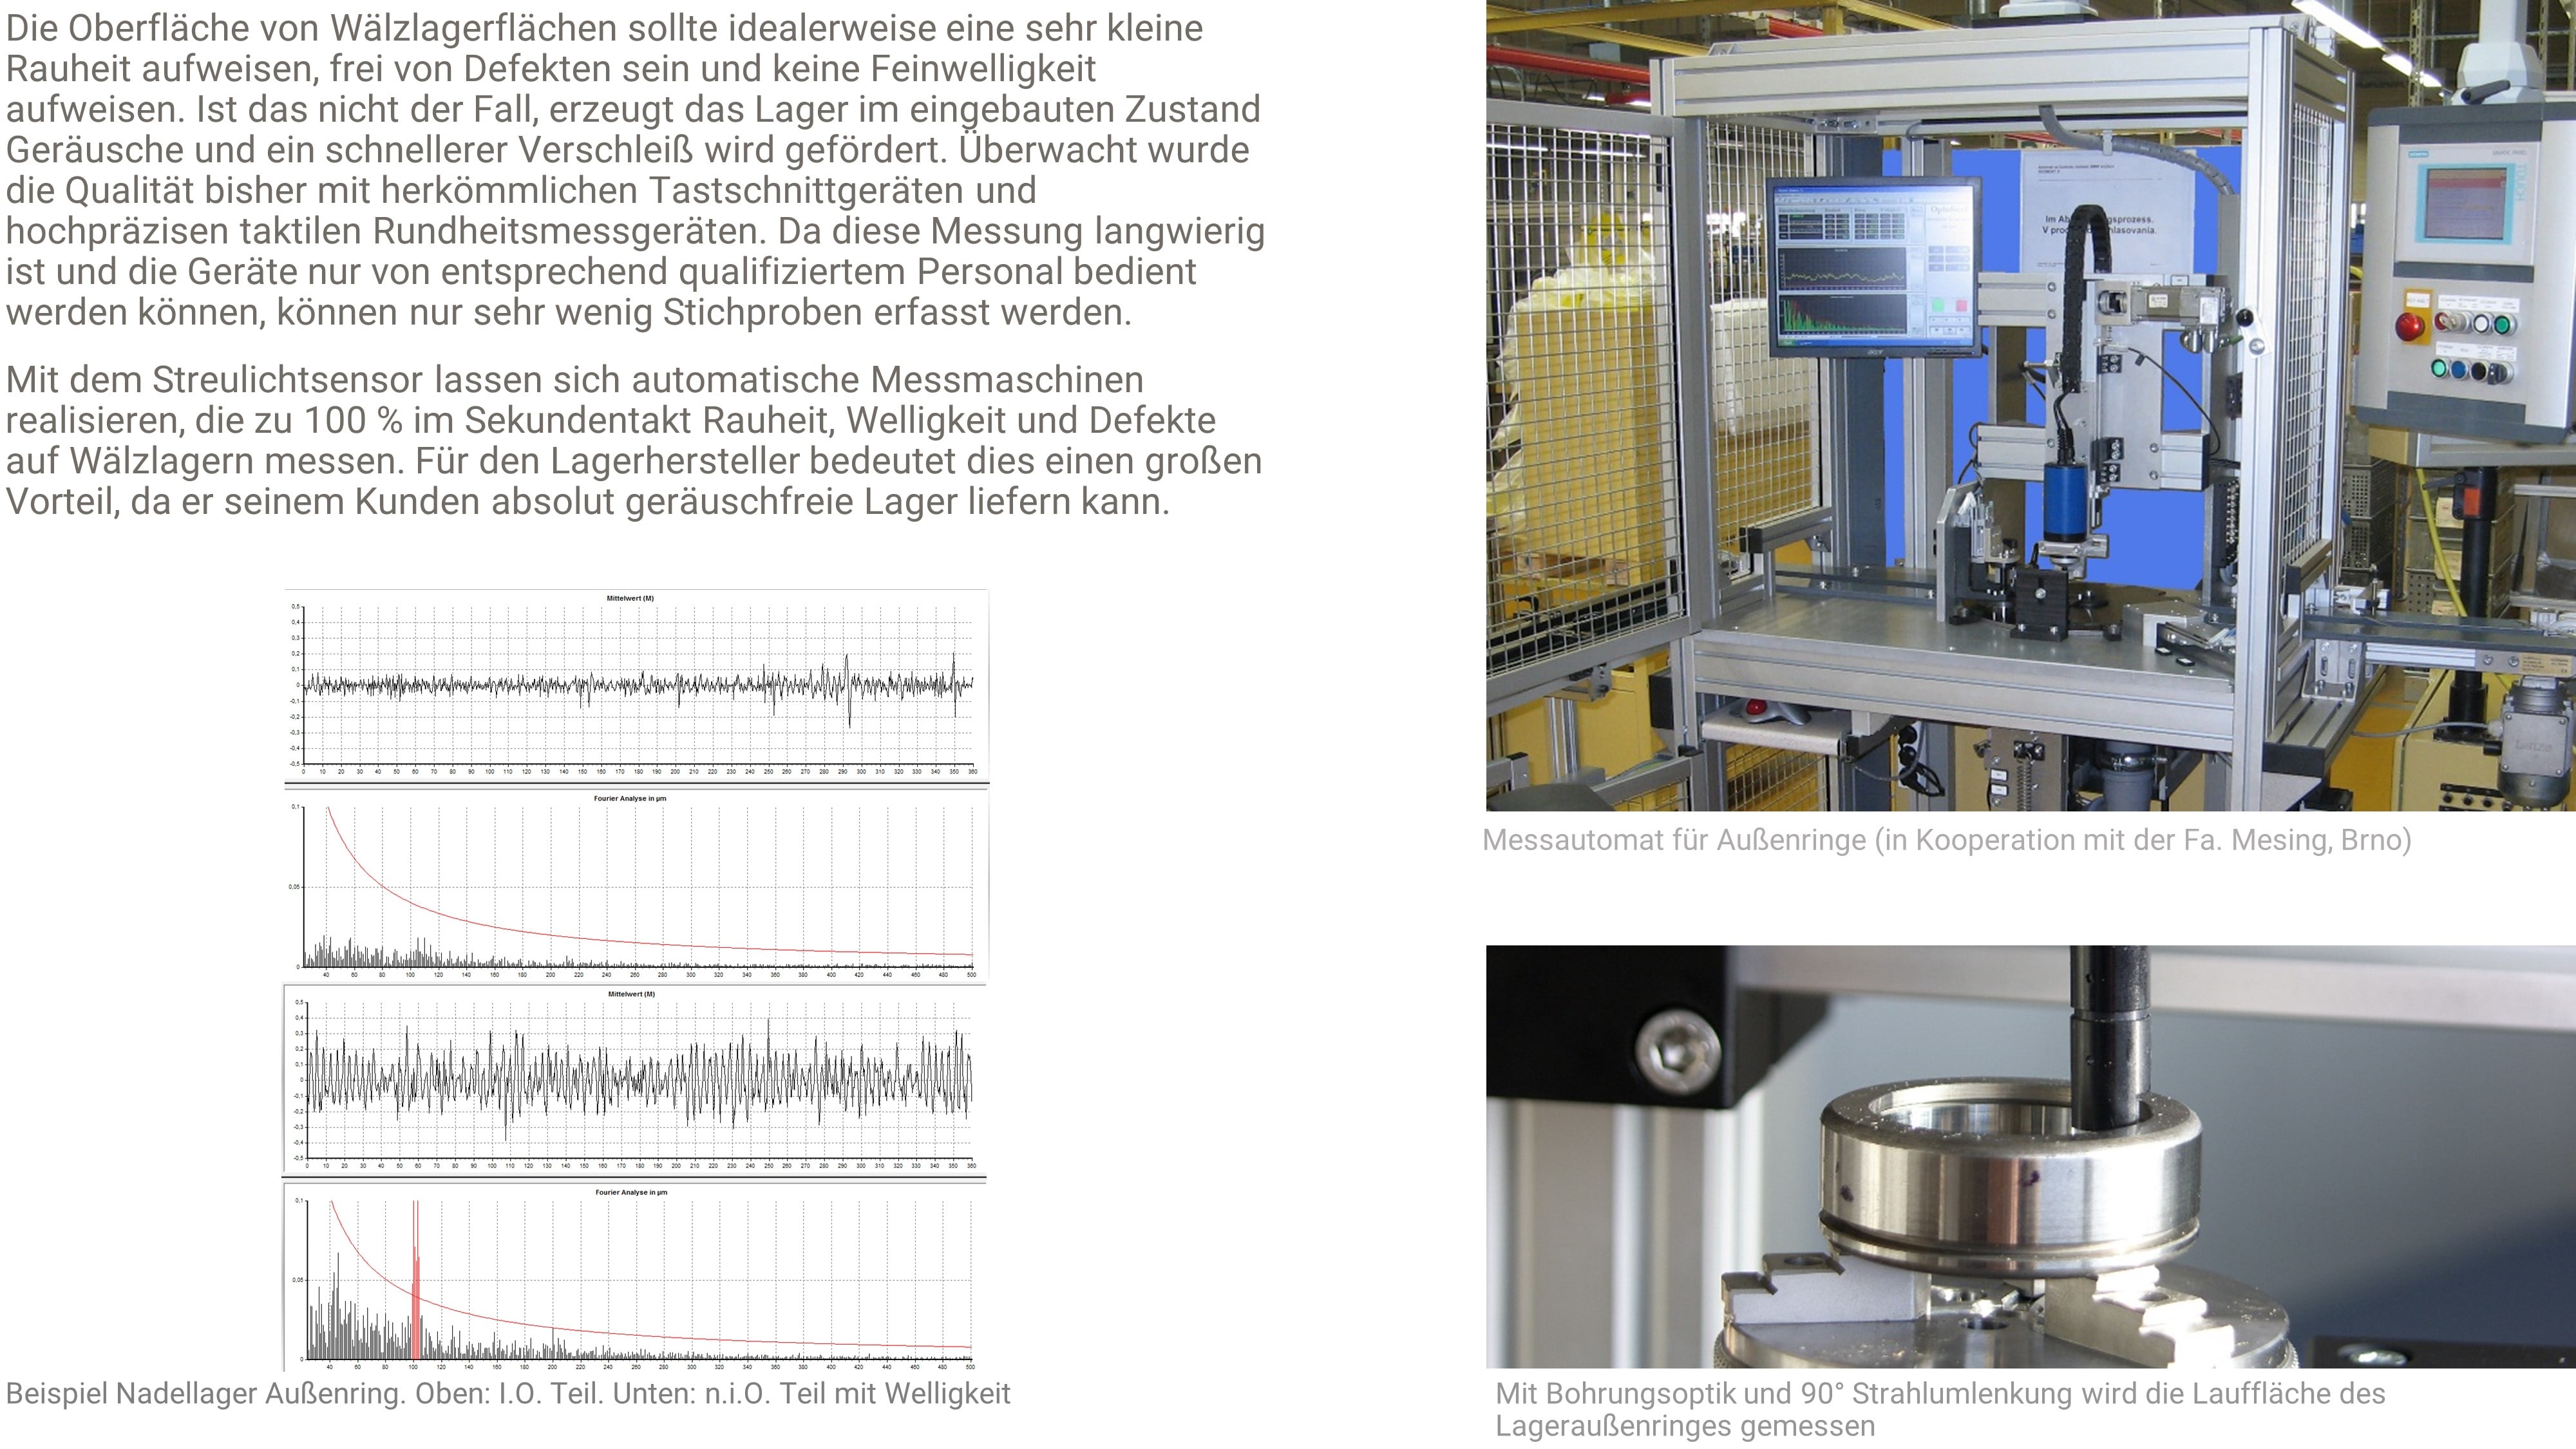
Rauheits-, Rundheits- und Welligkeitsmessung auf Wälzlager Innen- und Außenringen und Wälzkörpern
Standzeitüberwachung von Schleifscheiben bei simultaner Rundheits- und Welligkeitsmessung

Rauheits- und Welligkeitsmessung auf polierten Lackflächen
Die Qualität polierter Lackflächen trägt wesentlich zum Erscheinungsbild, beispielsweise von Karrosserien in der Automobilindustrie bei. Die Prüfung auf Inhomogenitäten oder Kratzer der Lacke, erfolgt größtenteils mit dem menschlichen Auge in speziellen Prüfräumen. Die Ergebnisse sind jedoch nicht eindeutig quantifizierbar, reproduzierbar und darüber hinaus rein subjektiv. Der Streulichtsensor ist in der Lage eine automatische Homogenitätsprüfung vorzunehmen und die Qualitätssicherung zu automatisieren. Je nach Lackzusammensetzung können Grenzwerte definiert werden, um iO- und niO-Teile zu unterscheiden.


